Kurt is the proud owner of an immaculate 1993 Convertible, which has had a built TT engine swapped in. With the extra power, we agreed that he needed some extra stopping force. The Akebono Brake kit is, in my opinion, the best bang for your buck for a big brake kit. After installing the front kit on my own car, my first thought was that the Z32 should have used brakes like these from the factory. And now, I’m so spoiled, that every time I drive a Z32 with stock brakes, I’m shocked with how poor they perform from the factory. Not only are they tiny, but the calipers just don’t give good pedal feedback. When you step on them, you hit a brick wall and the stopping force barely increases as you continue to press the pedal. It’s completely changed with the Akebonos. It doesn’t give you whiplash, but it gives you a very linear, progressive pedal feel, so it’s very easy to modulate how much they’re biting. Additionally, because they were factory equipment on the 370Z Sport and G37 Sport, it’s extremely easy to find replacement parts. You’ll be able to walk into an auto parts store in 10 years and pick up pads if needed!
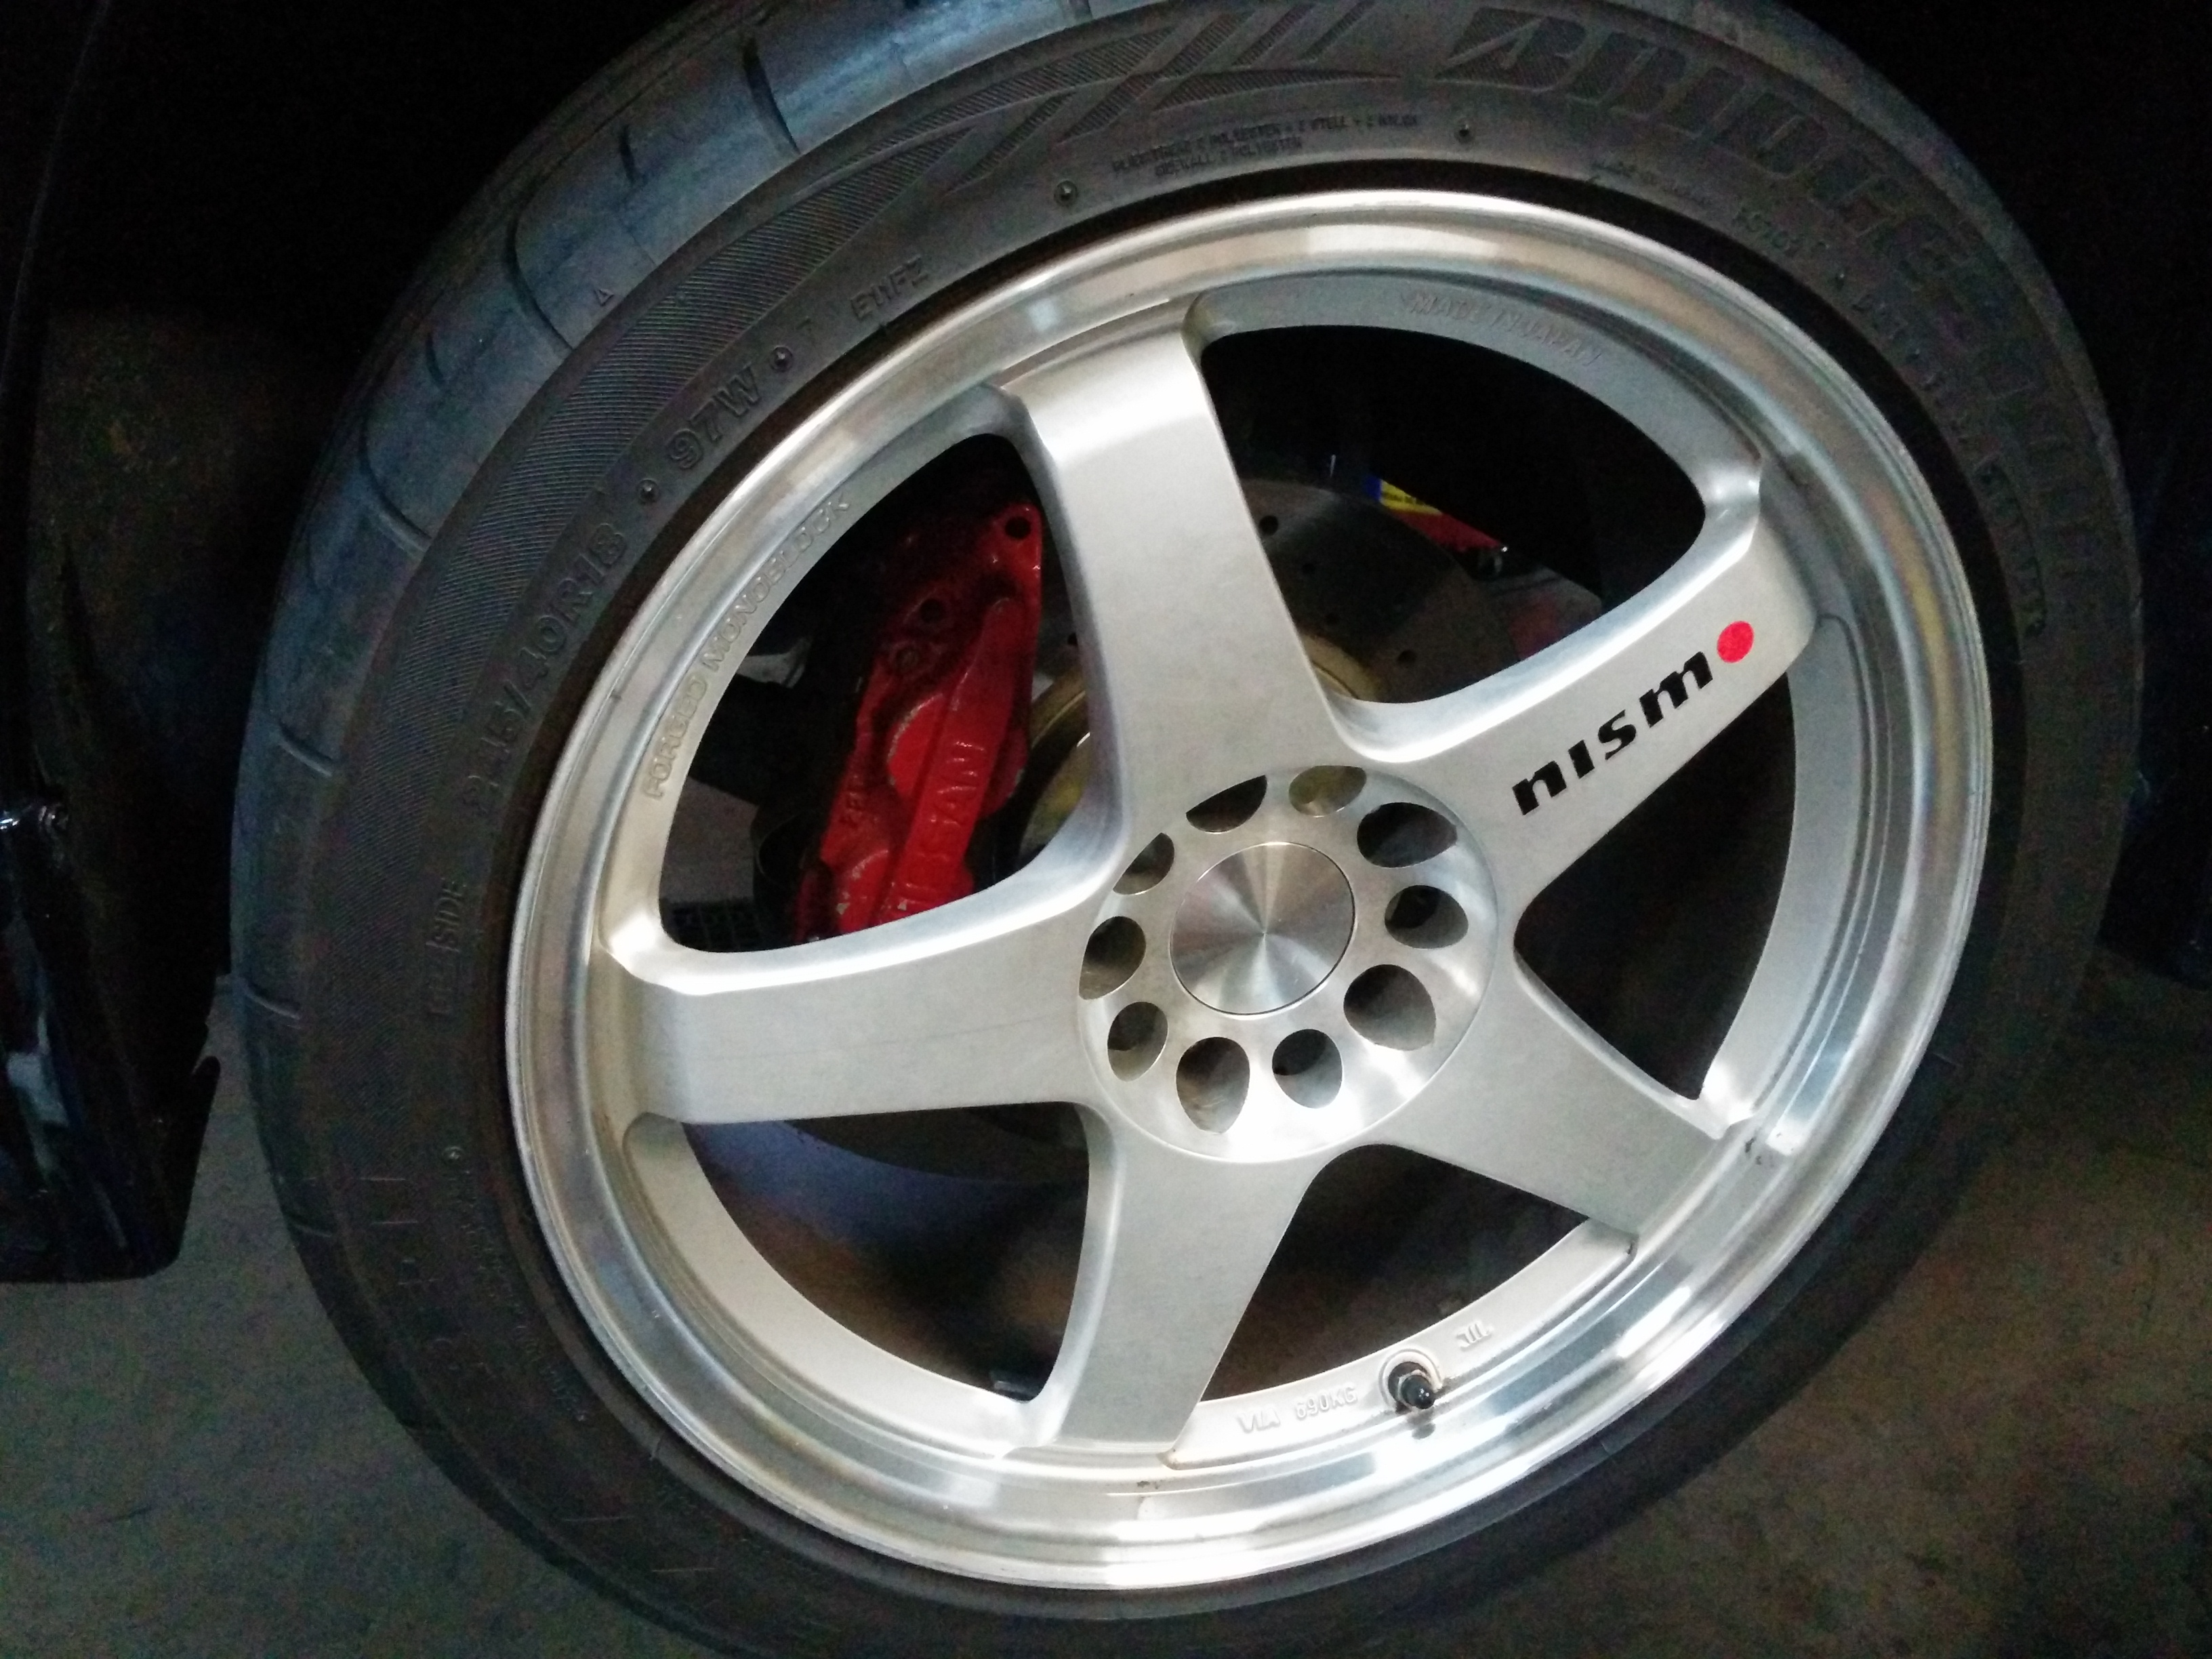
Before messing up a brand new brake kit, we decided to test Kurt’s front wheels on my car. My wheels are Rota P45Rs, which are replicas of his LMGT4s, but mine are a wider size and more aggressive offset, so we just wanted to be sure.

Perfect fit!
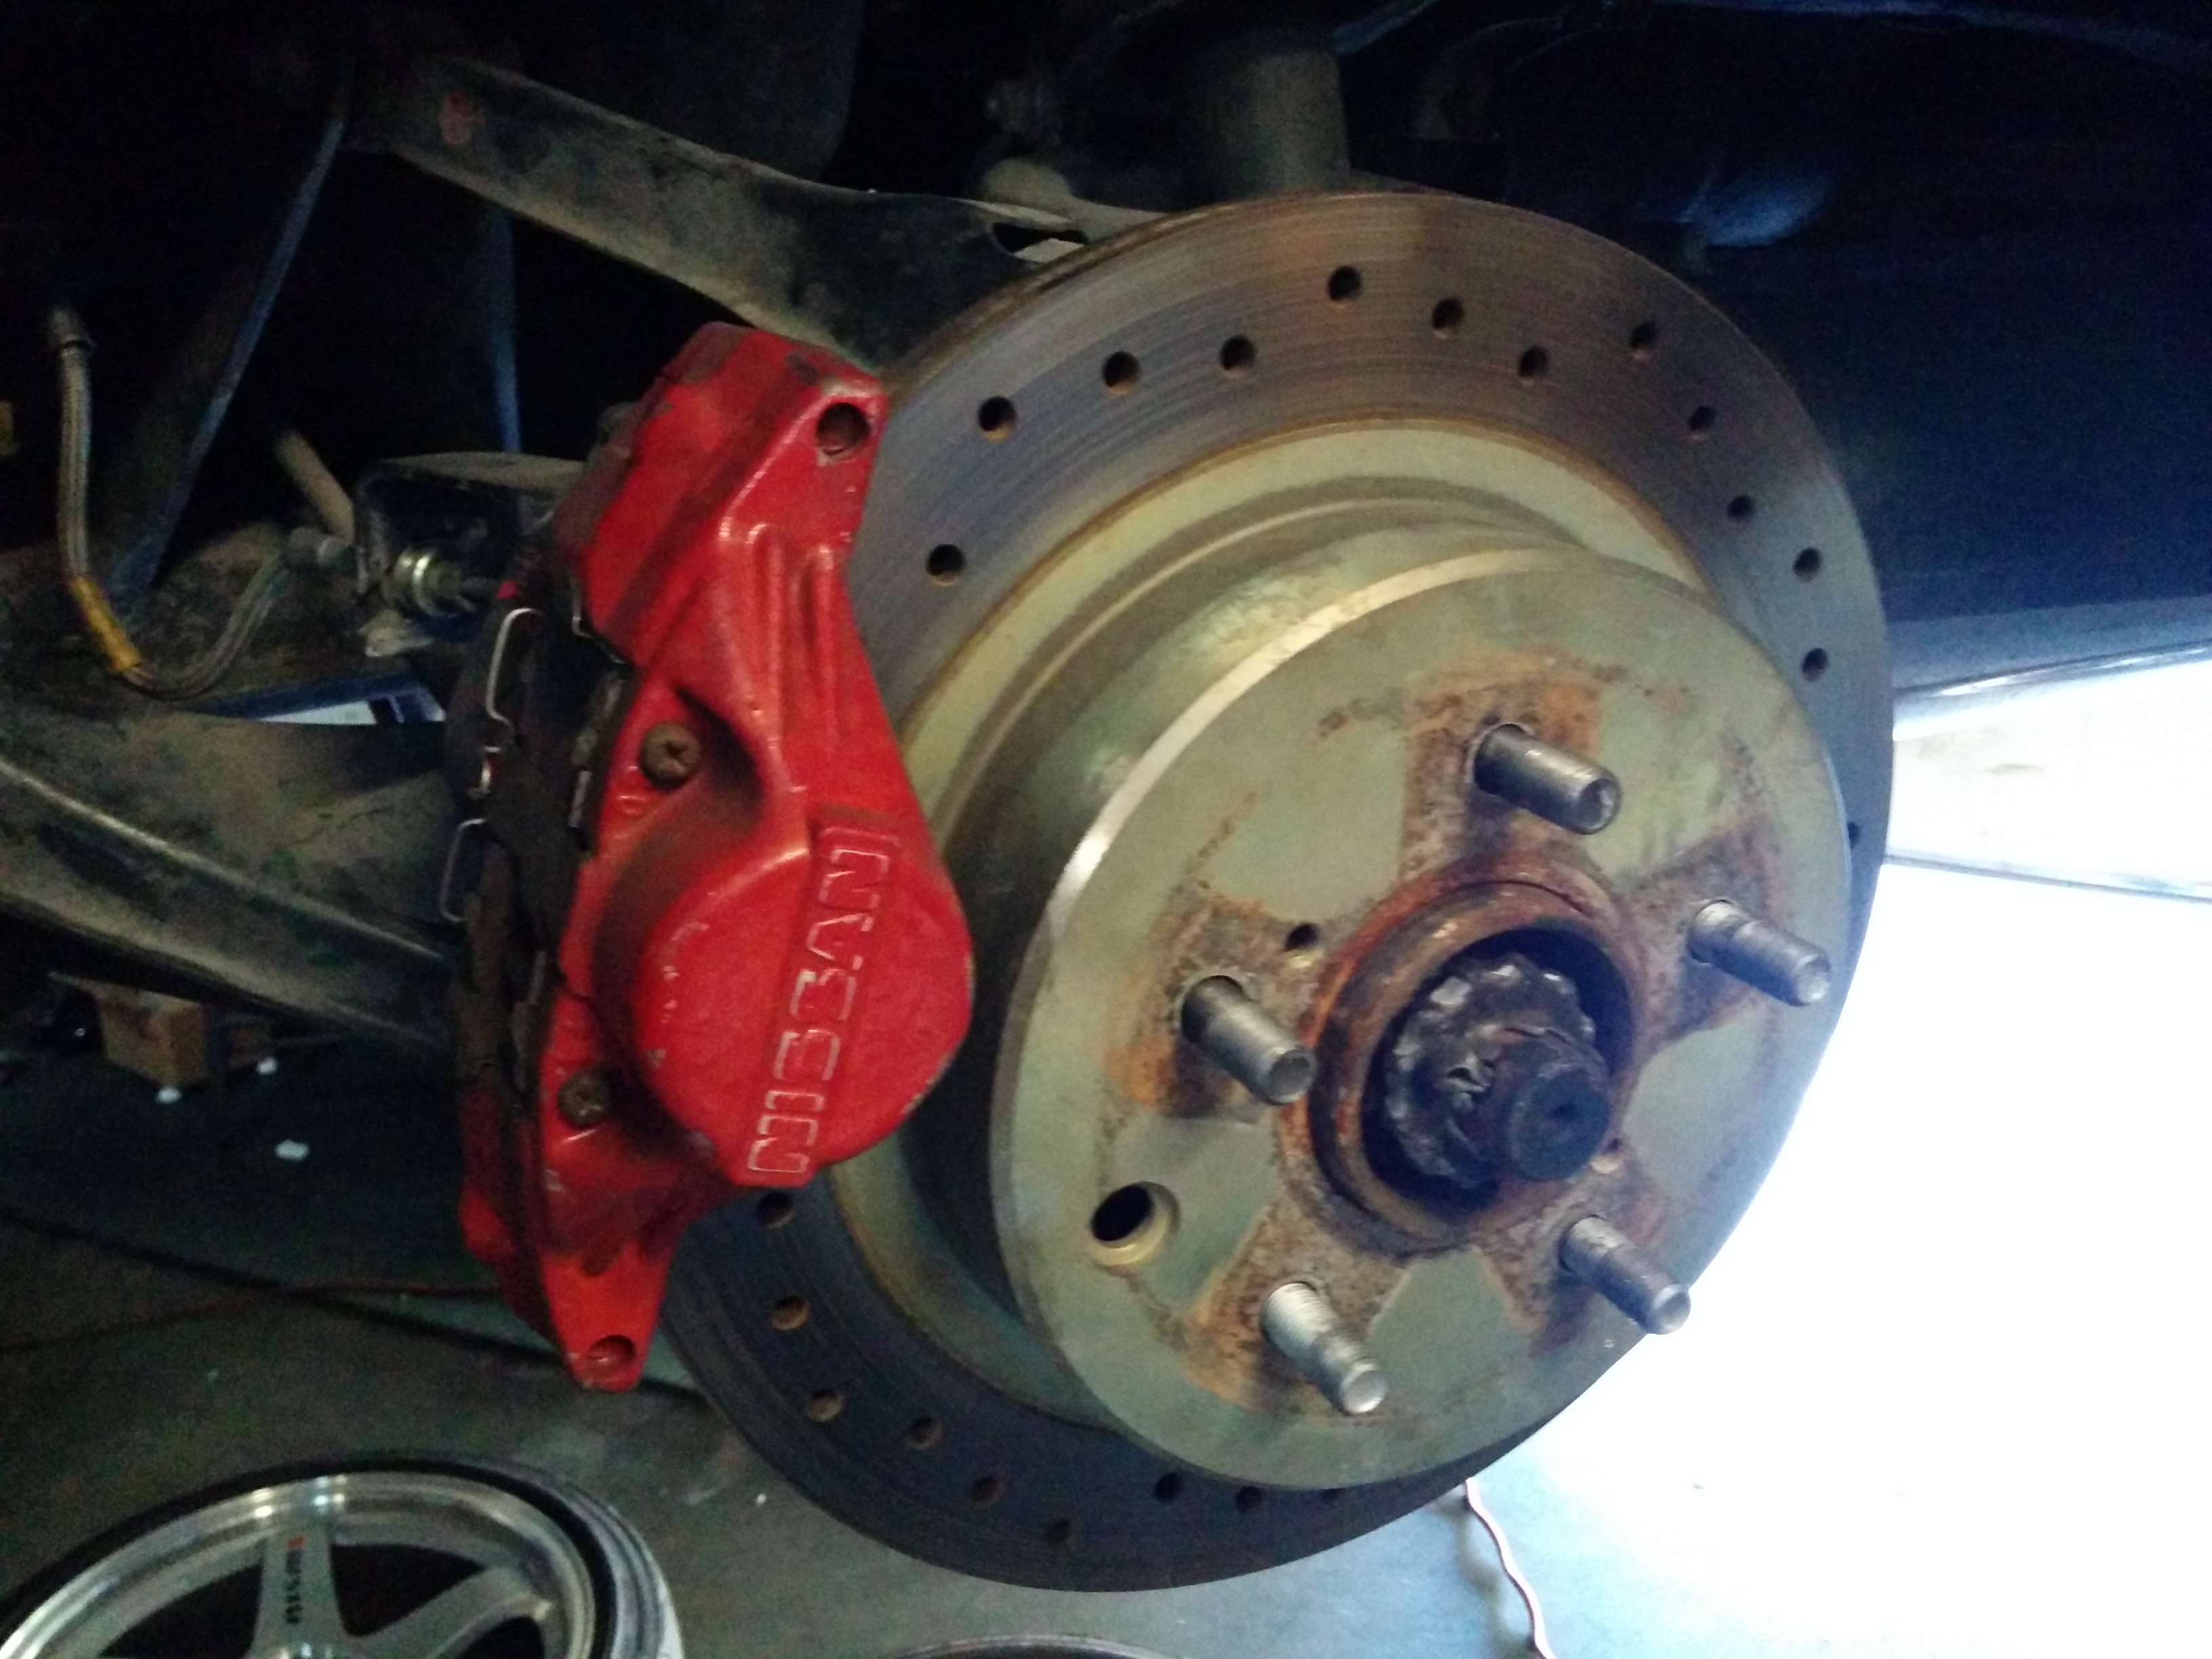
Next, we had to pull that old junk off!
Look how tiny they are in there.
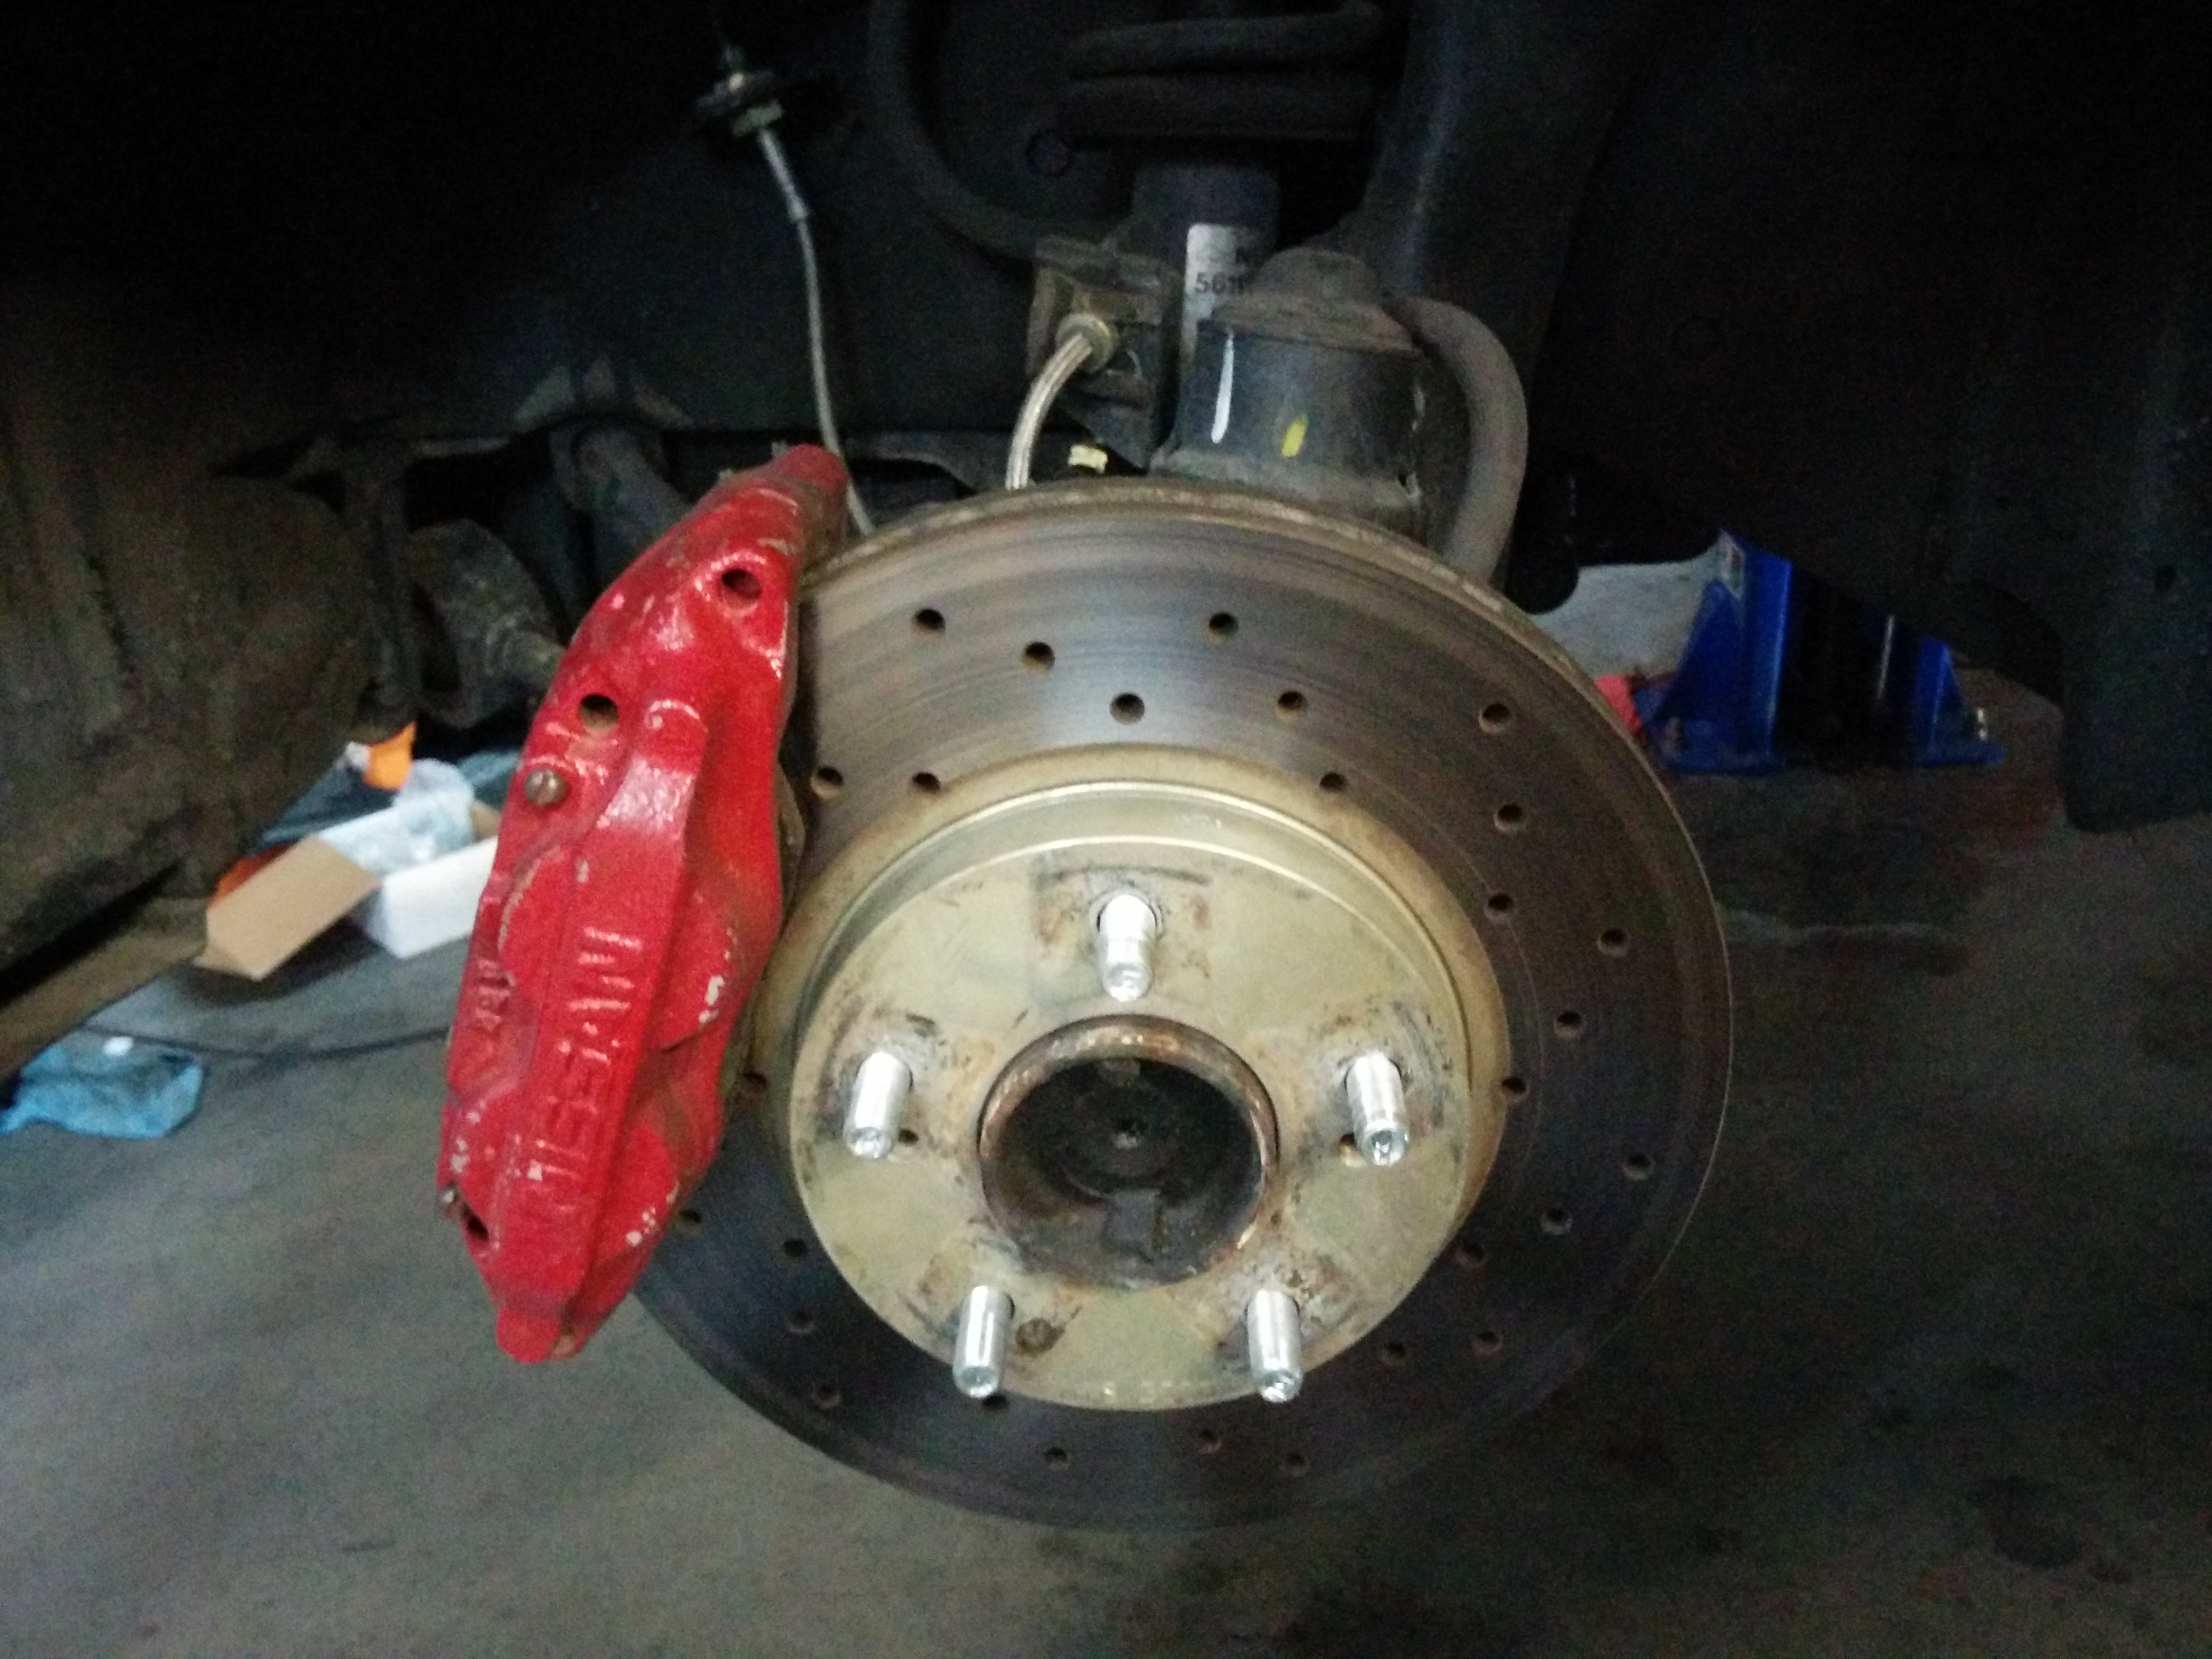
OEM Calipers
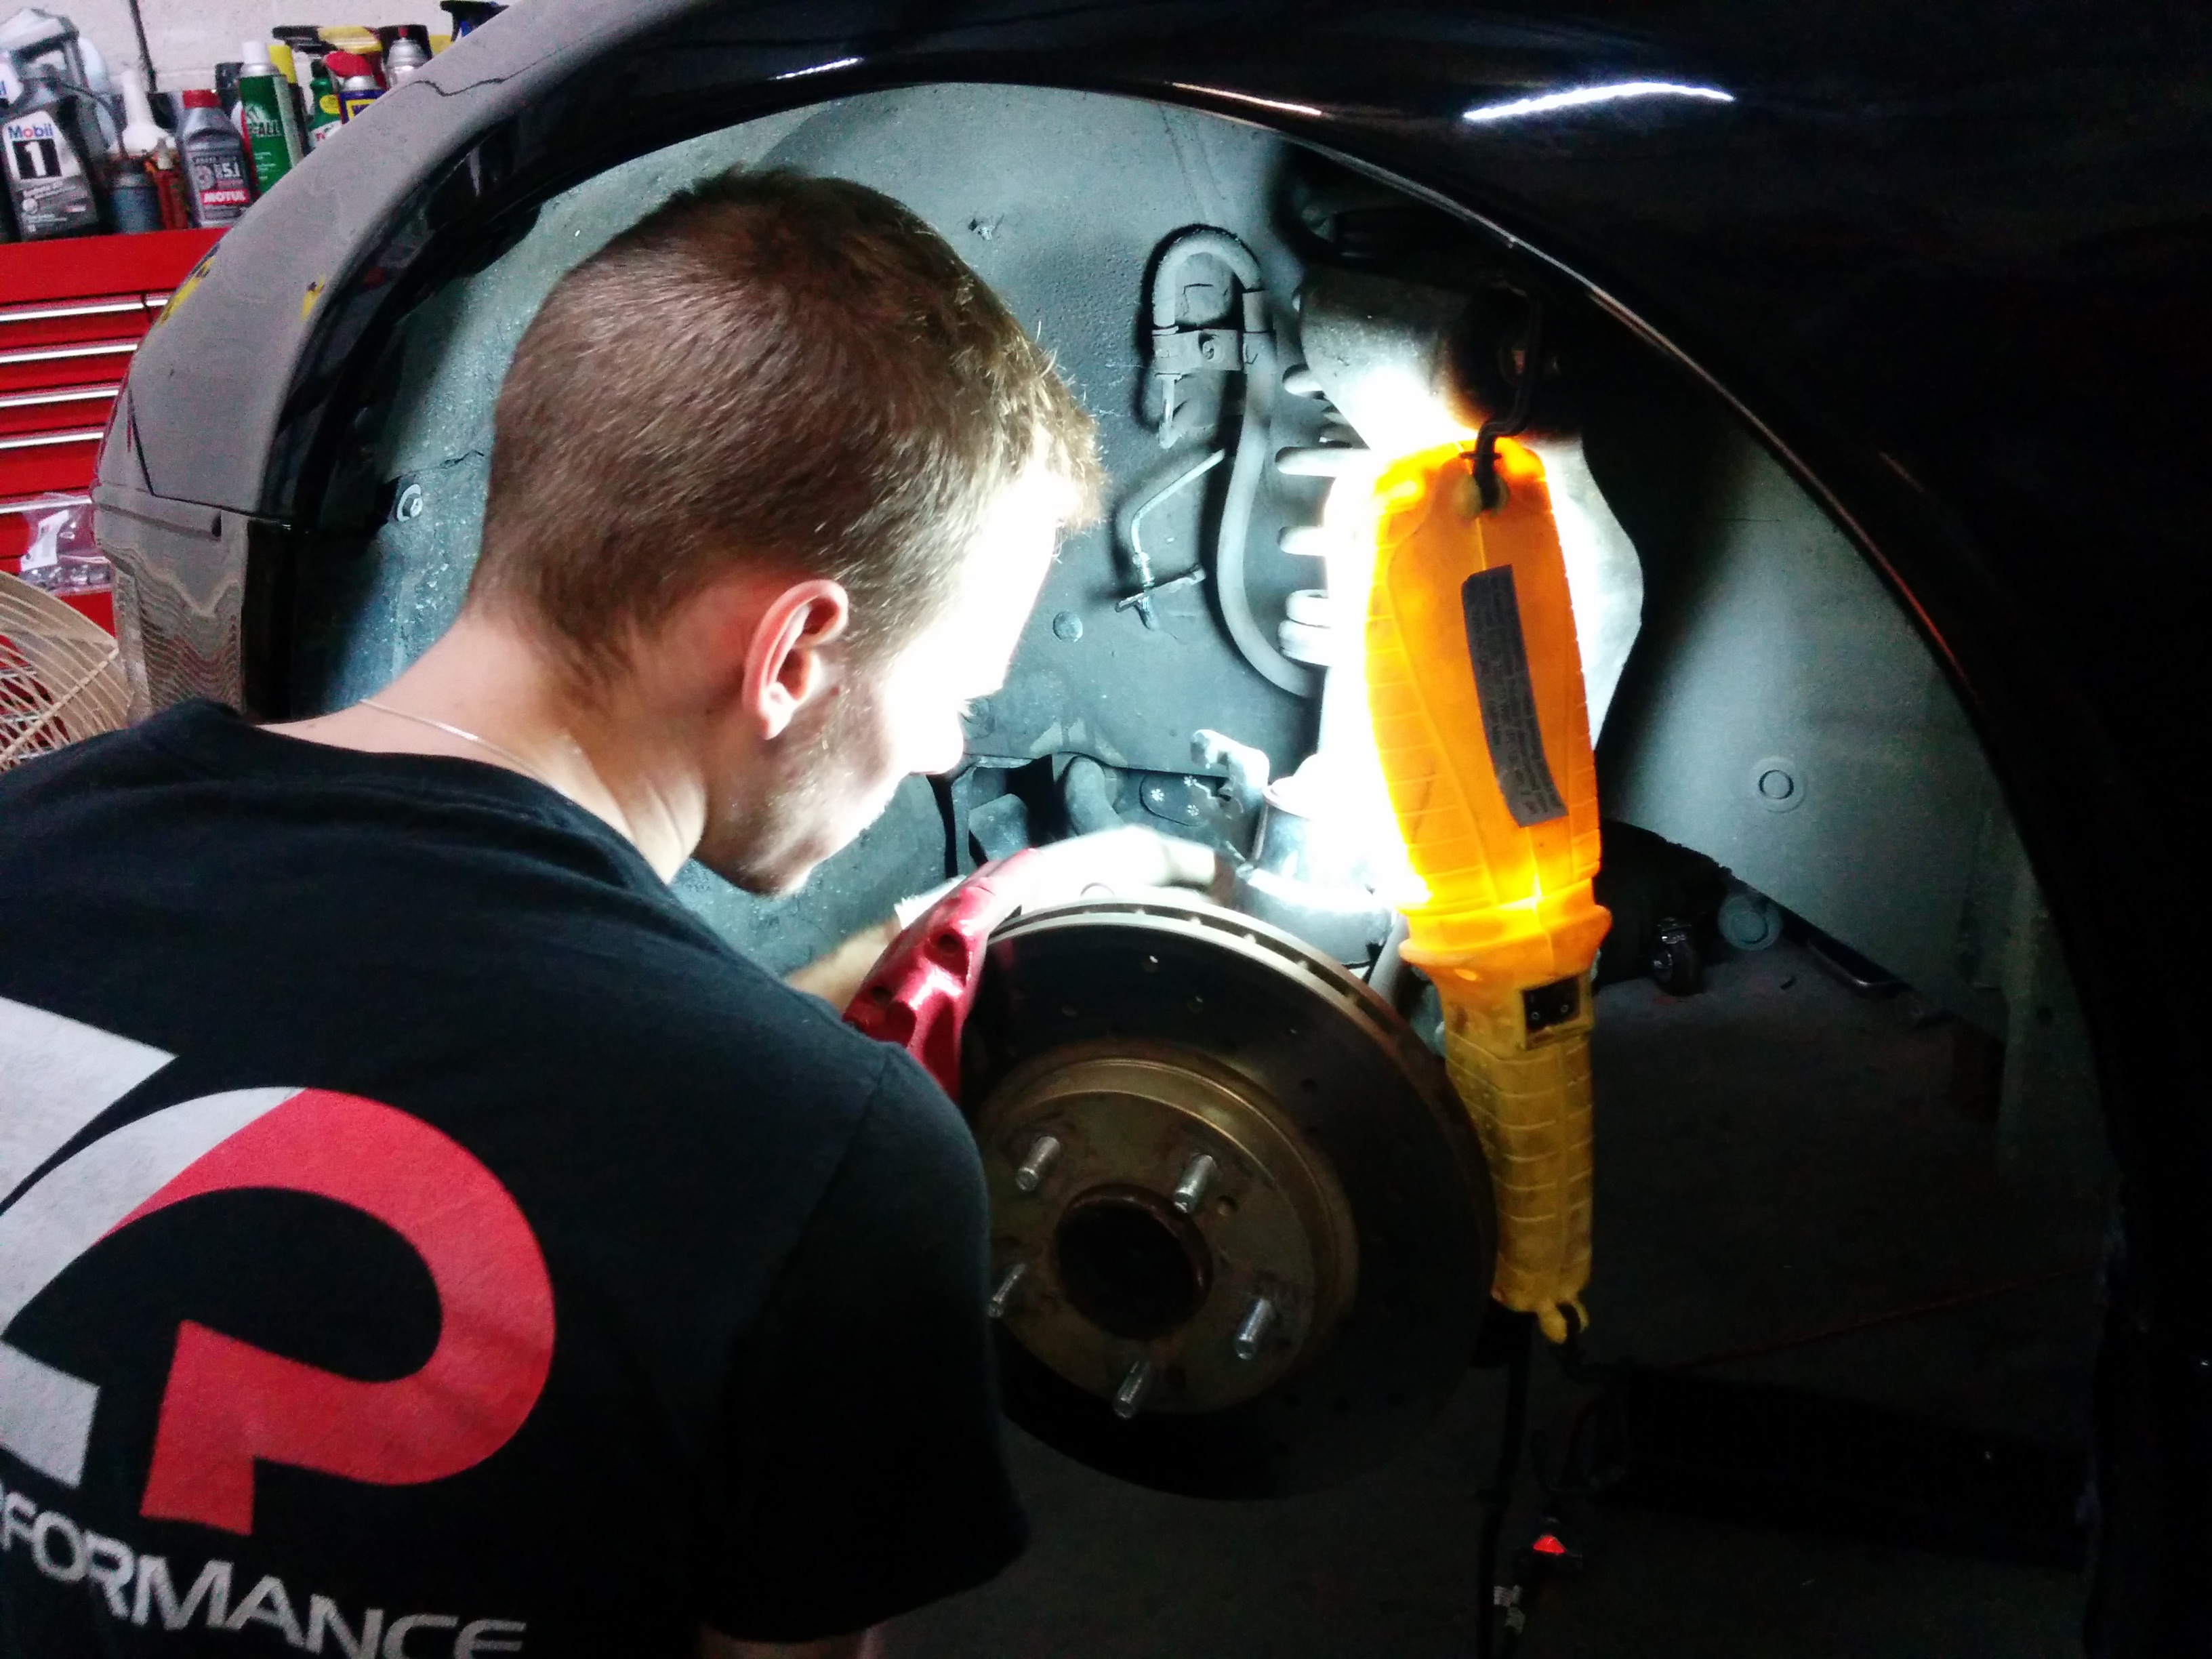
Getting my hands dirty!
The previous owner had already lightly upgraded the brake system. It clearly had some kind of aftermarket pads on, had been painted red, had Goodridge lines, and also cross-drilled pads with zinc plating (most likely Centric). Additionally, the car briefly wore a huge Stoptech BBK in its past life, so luckily the dust shields had already been cut away!
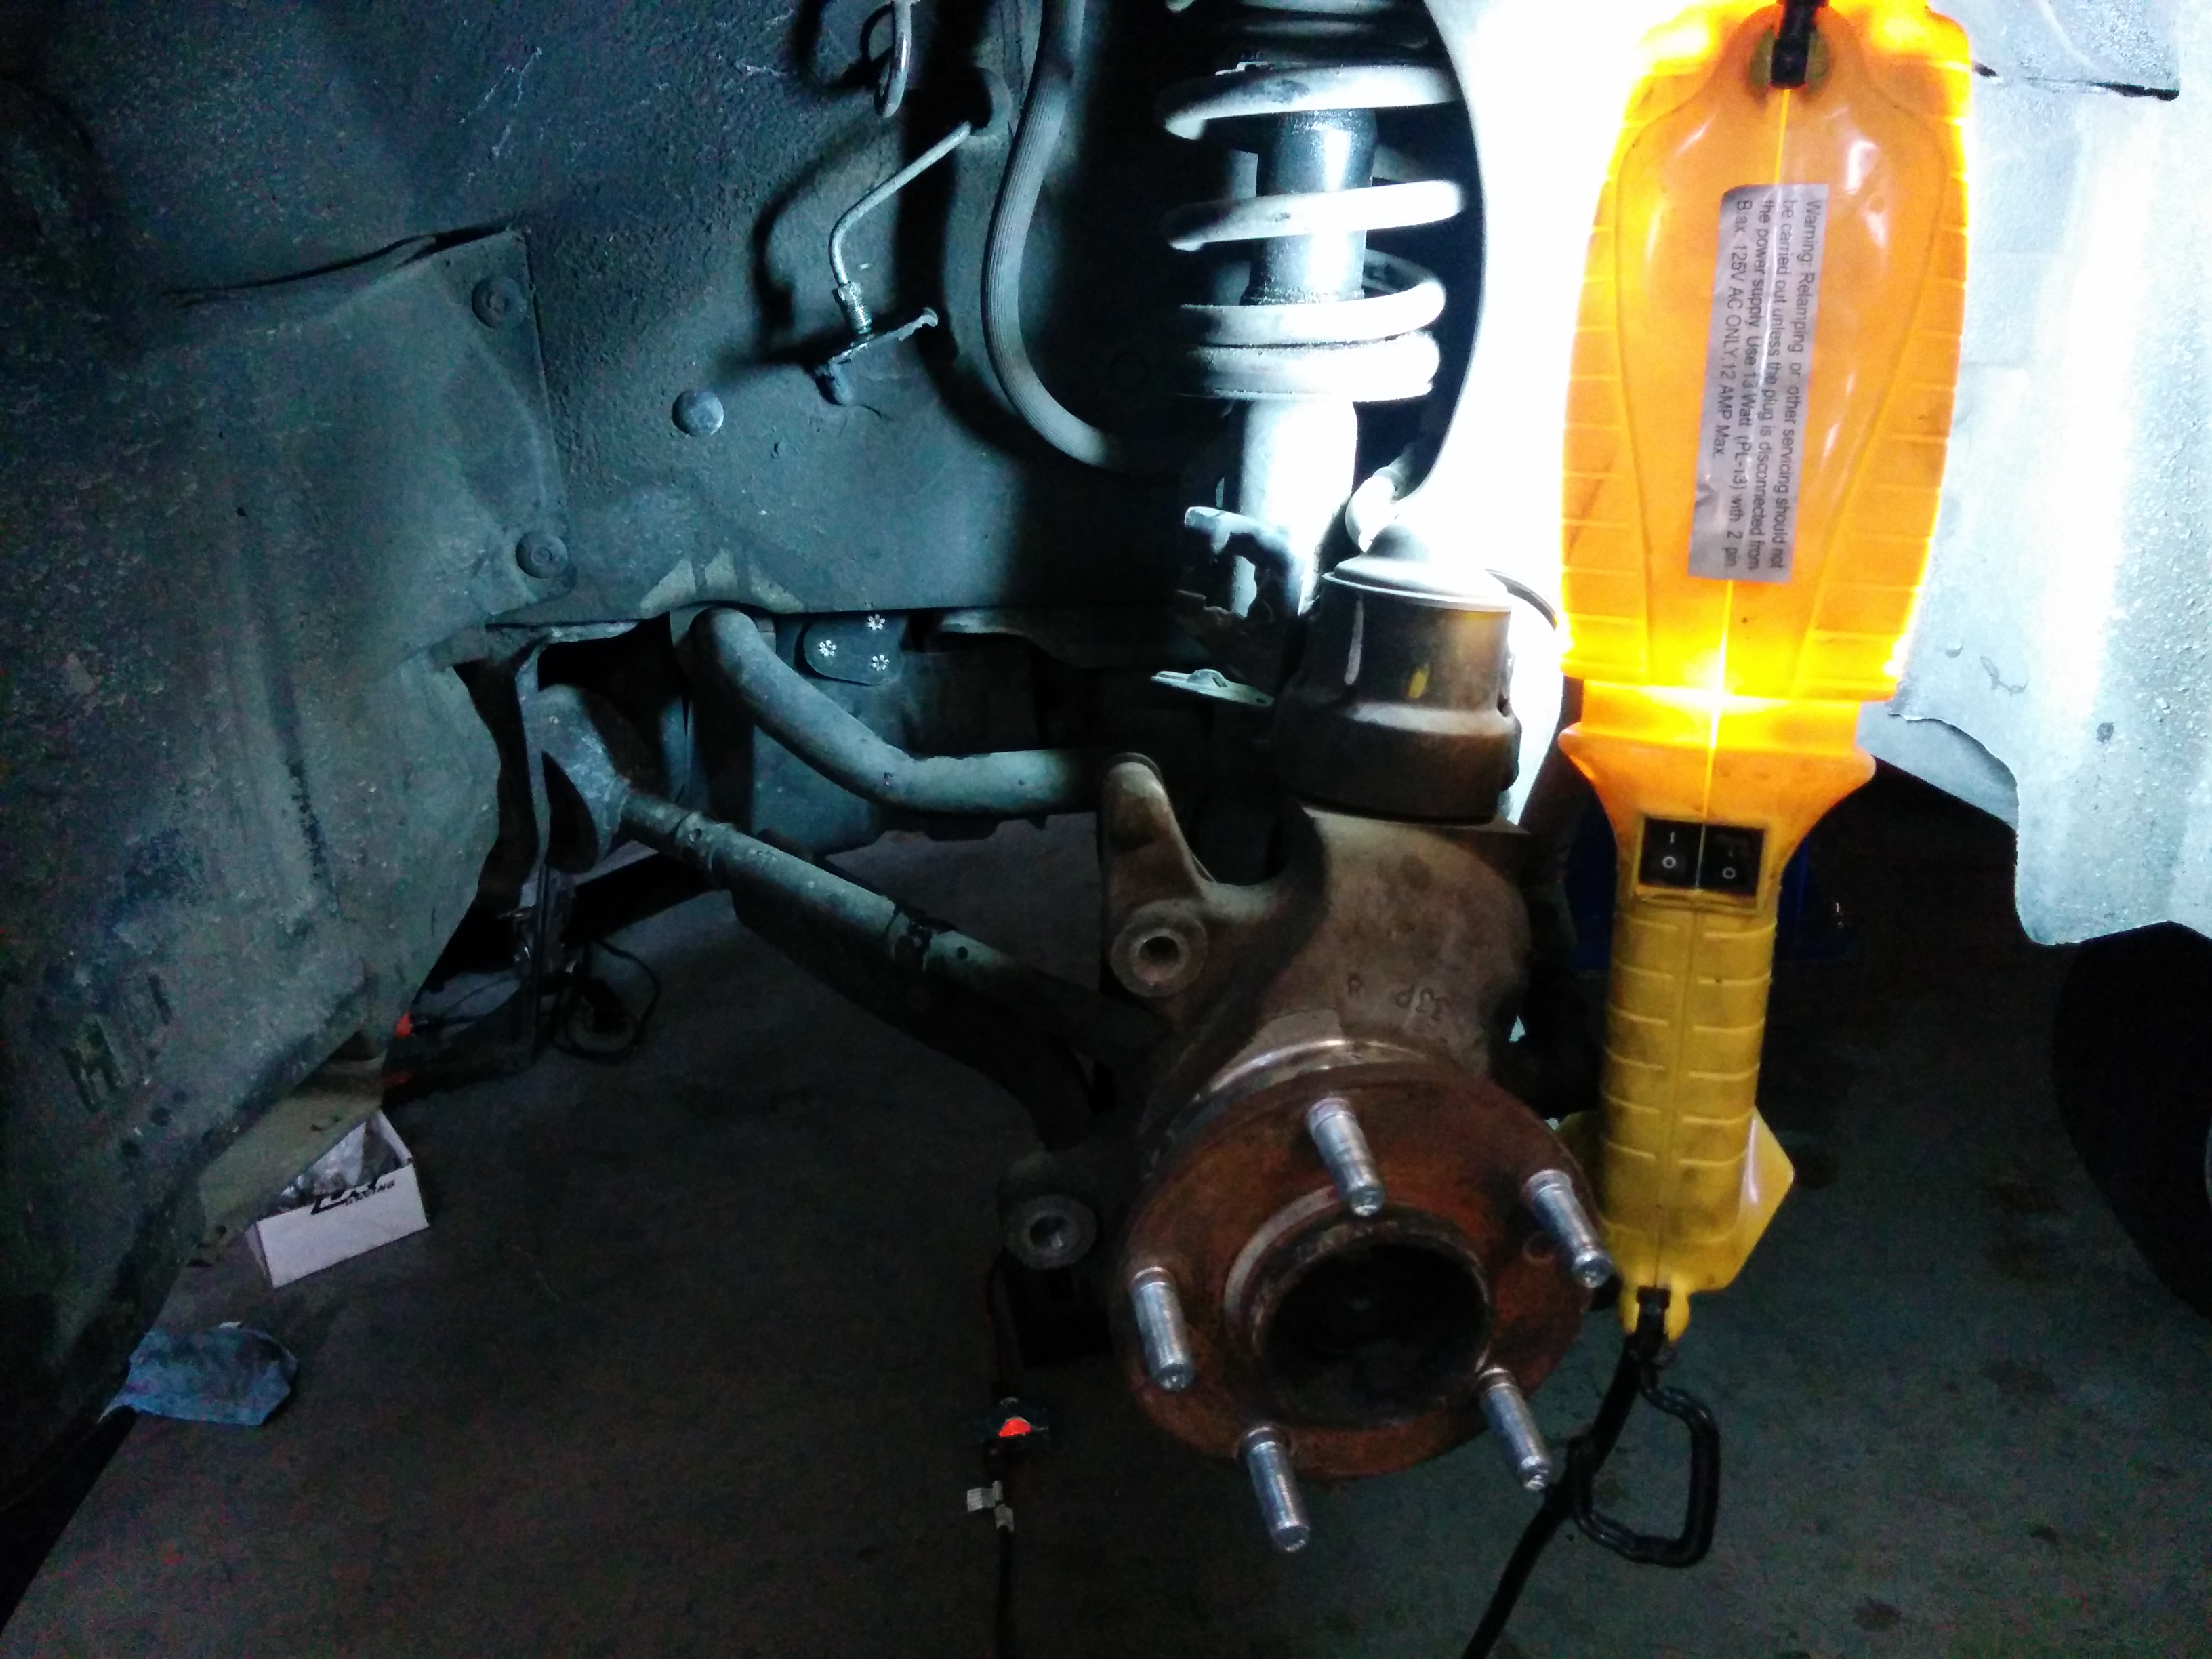
Yay, no dust shields!
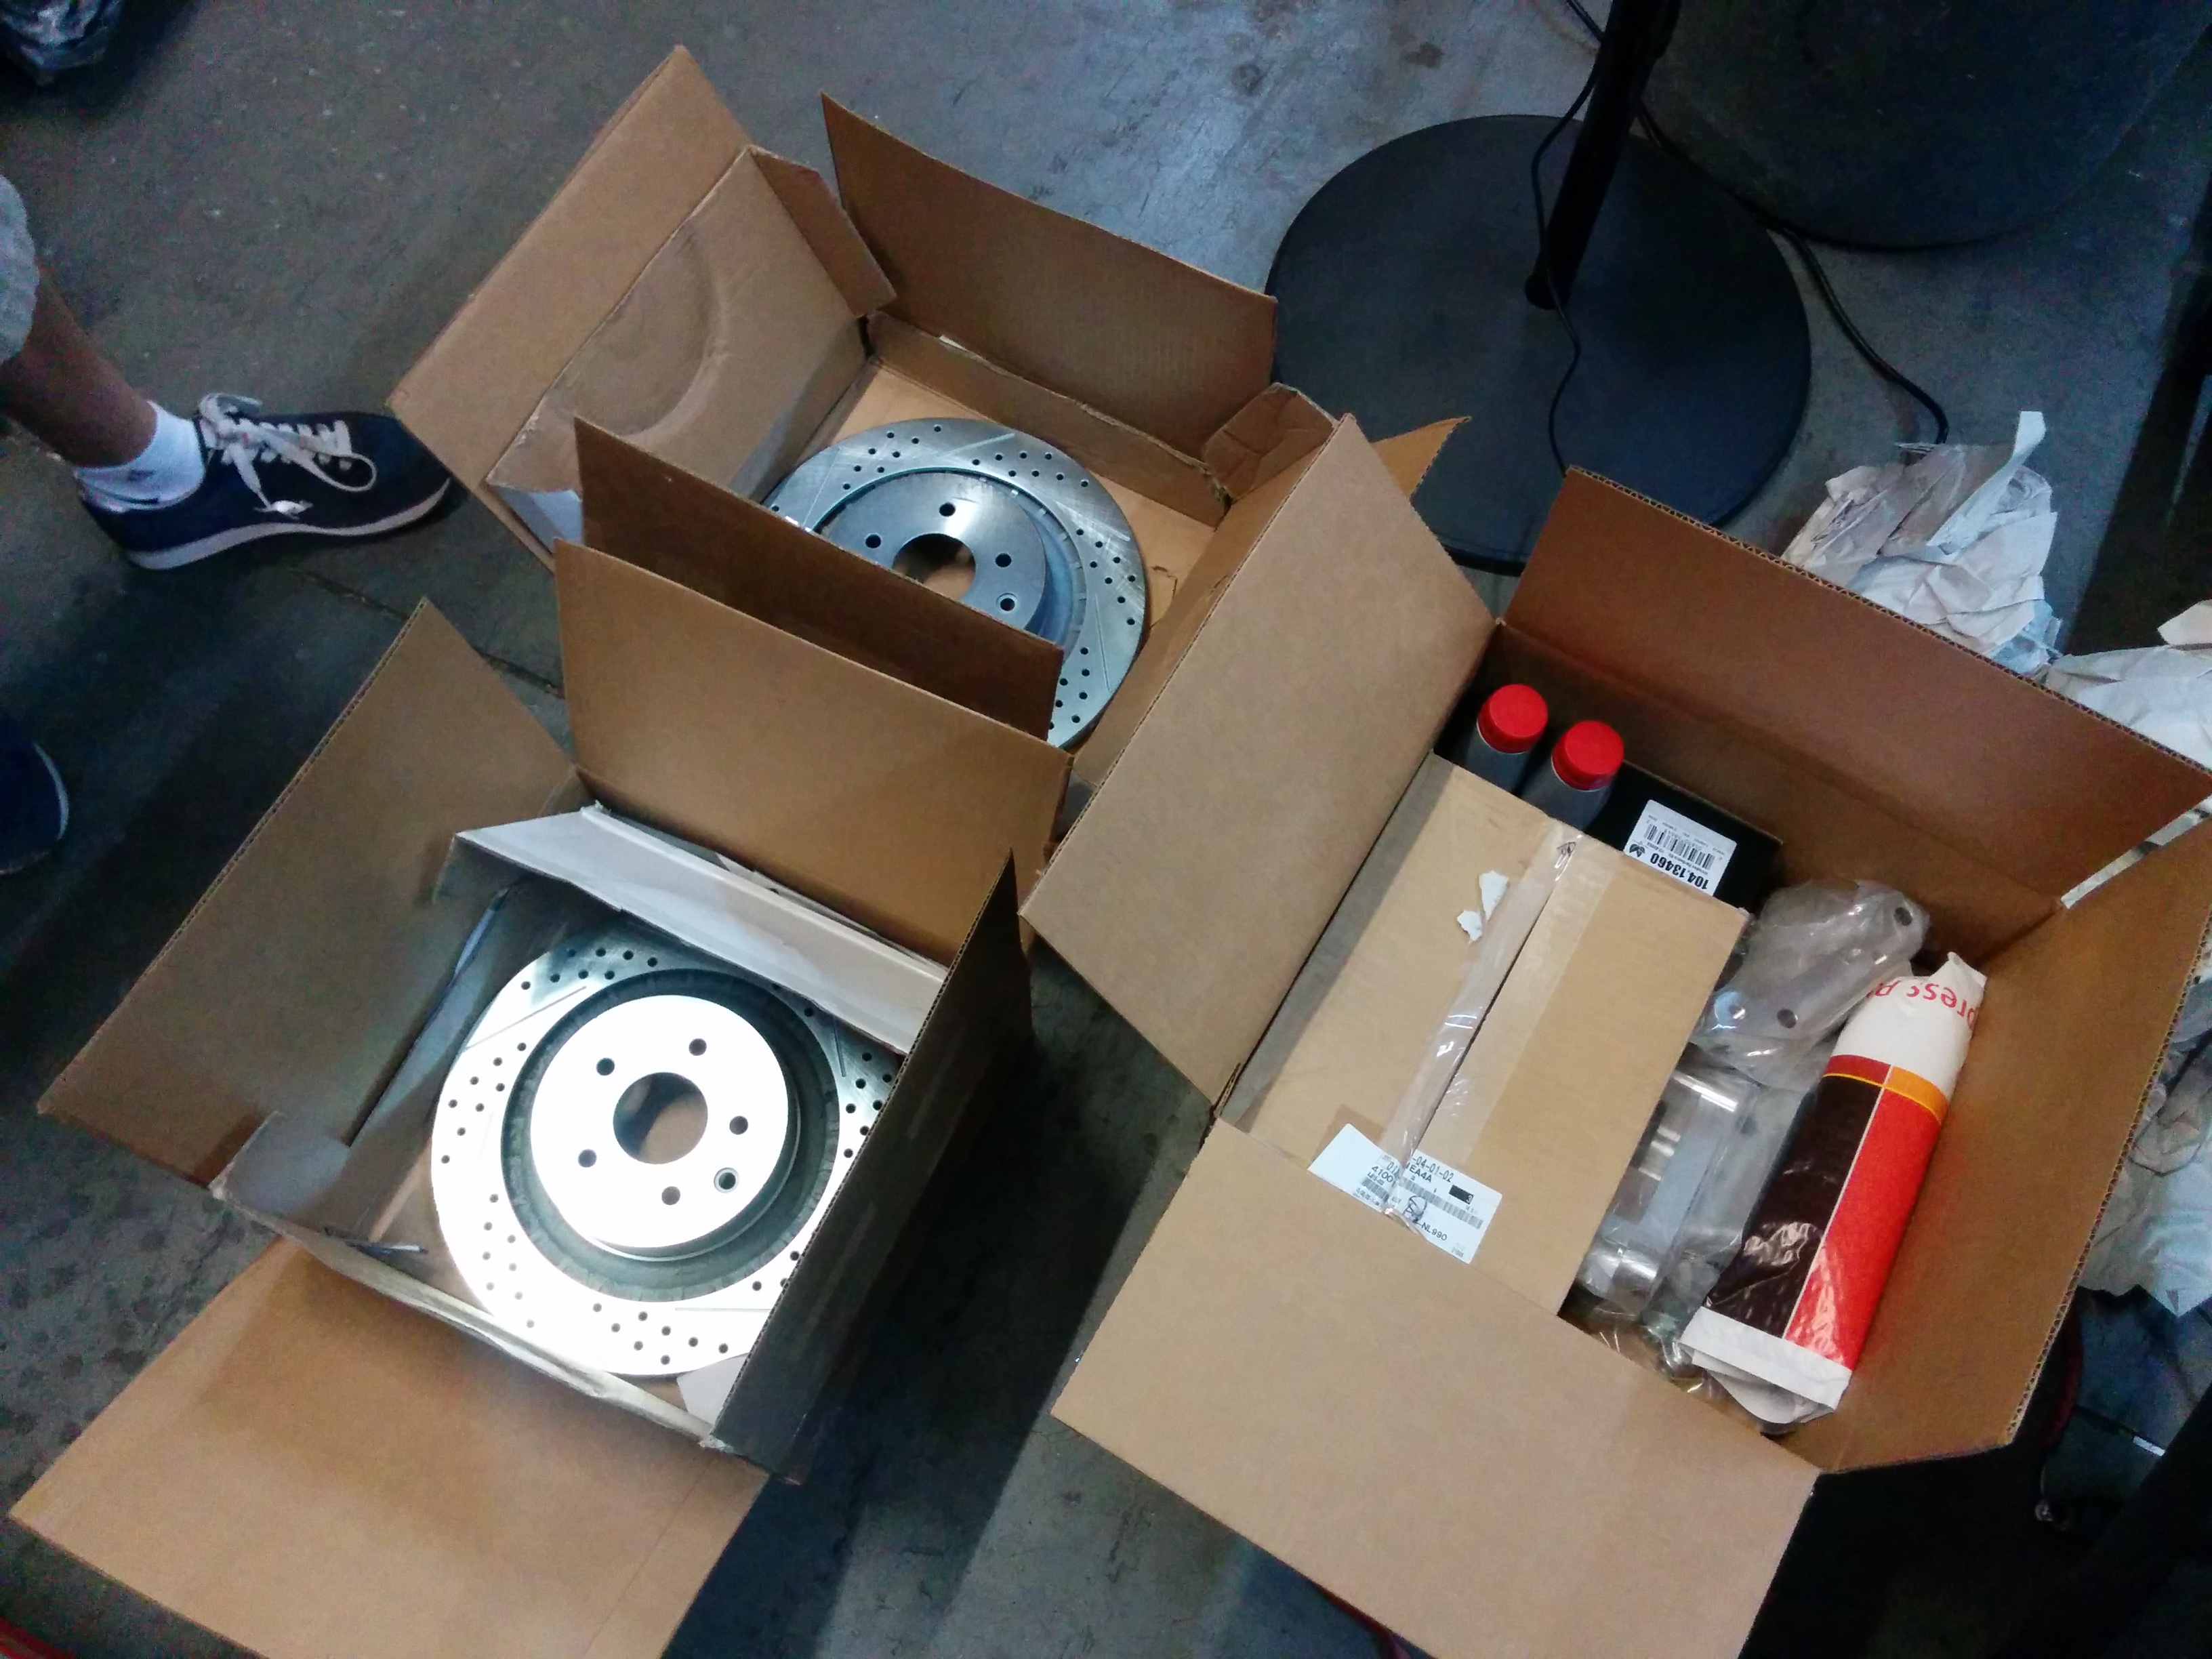
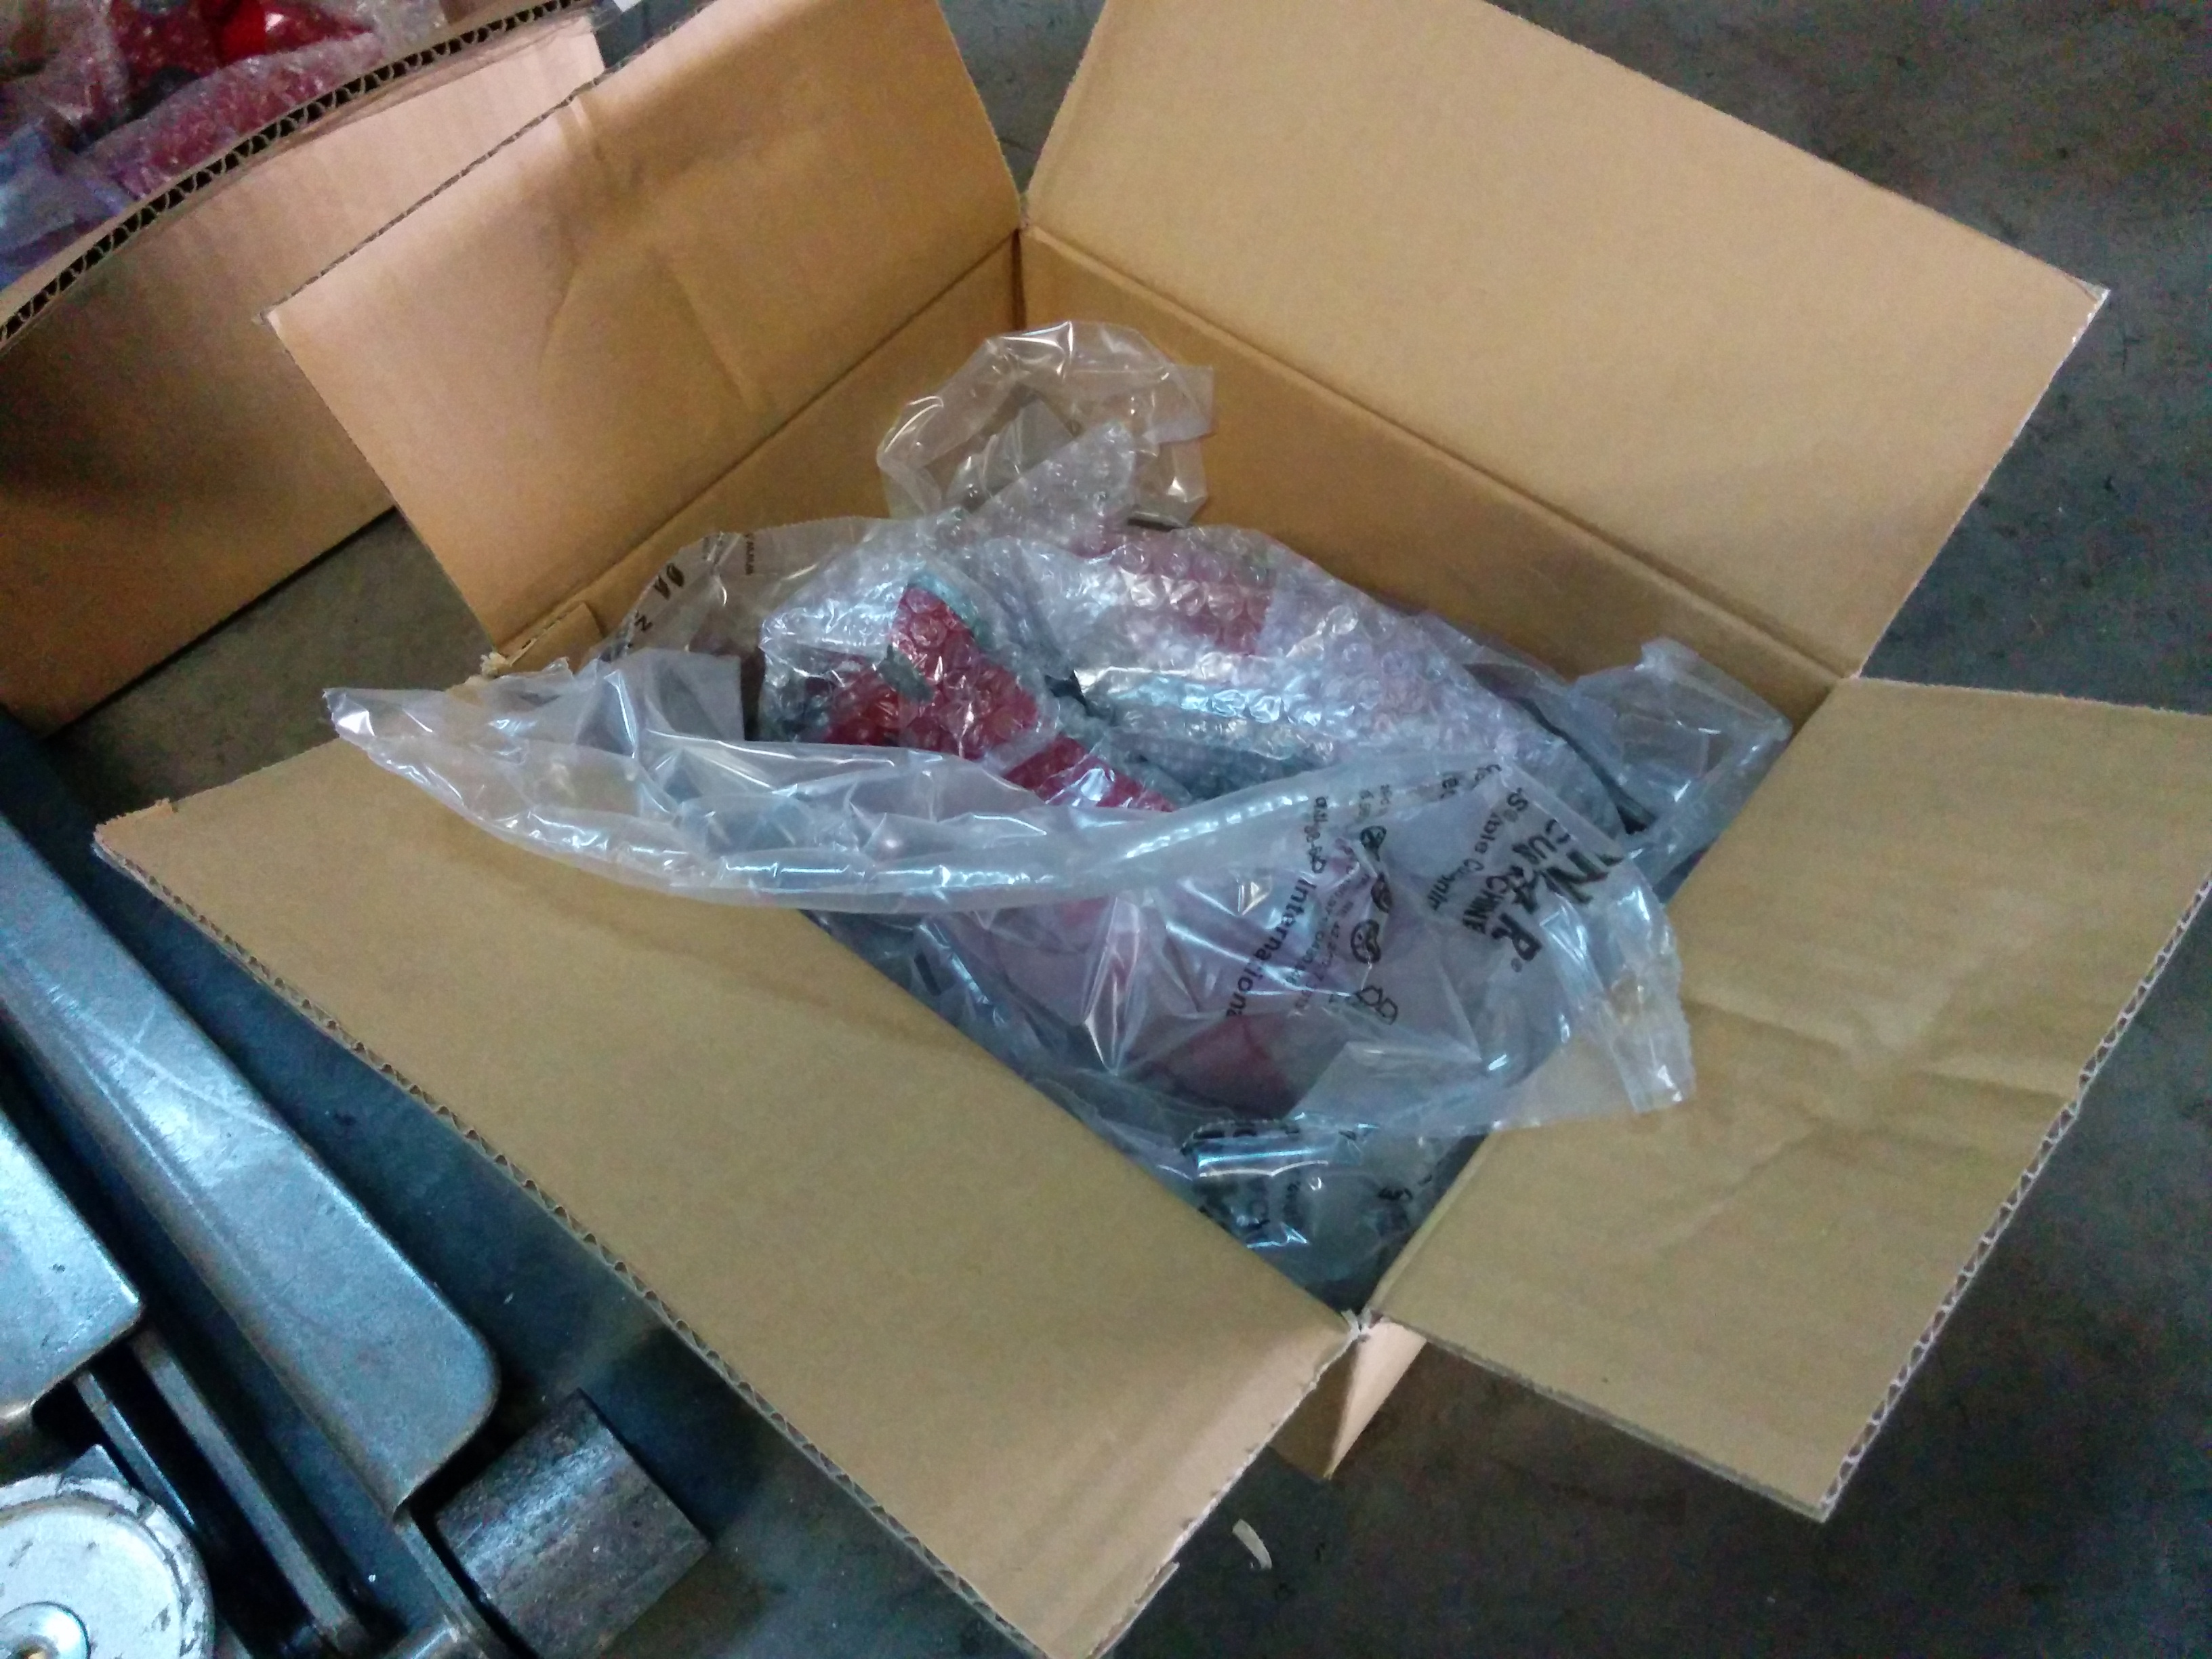
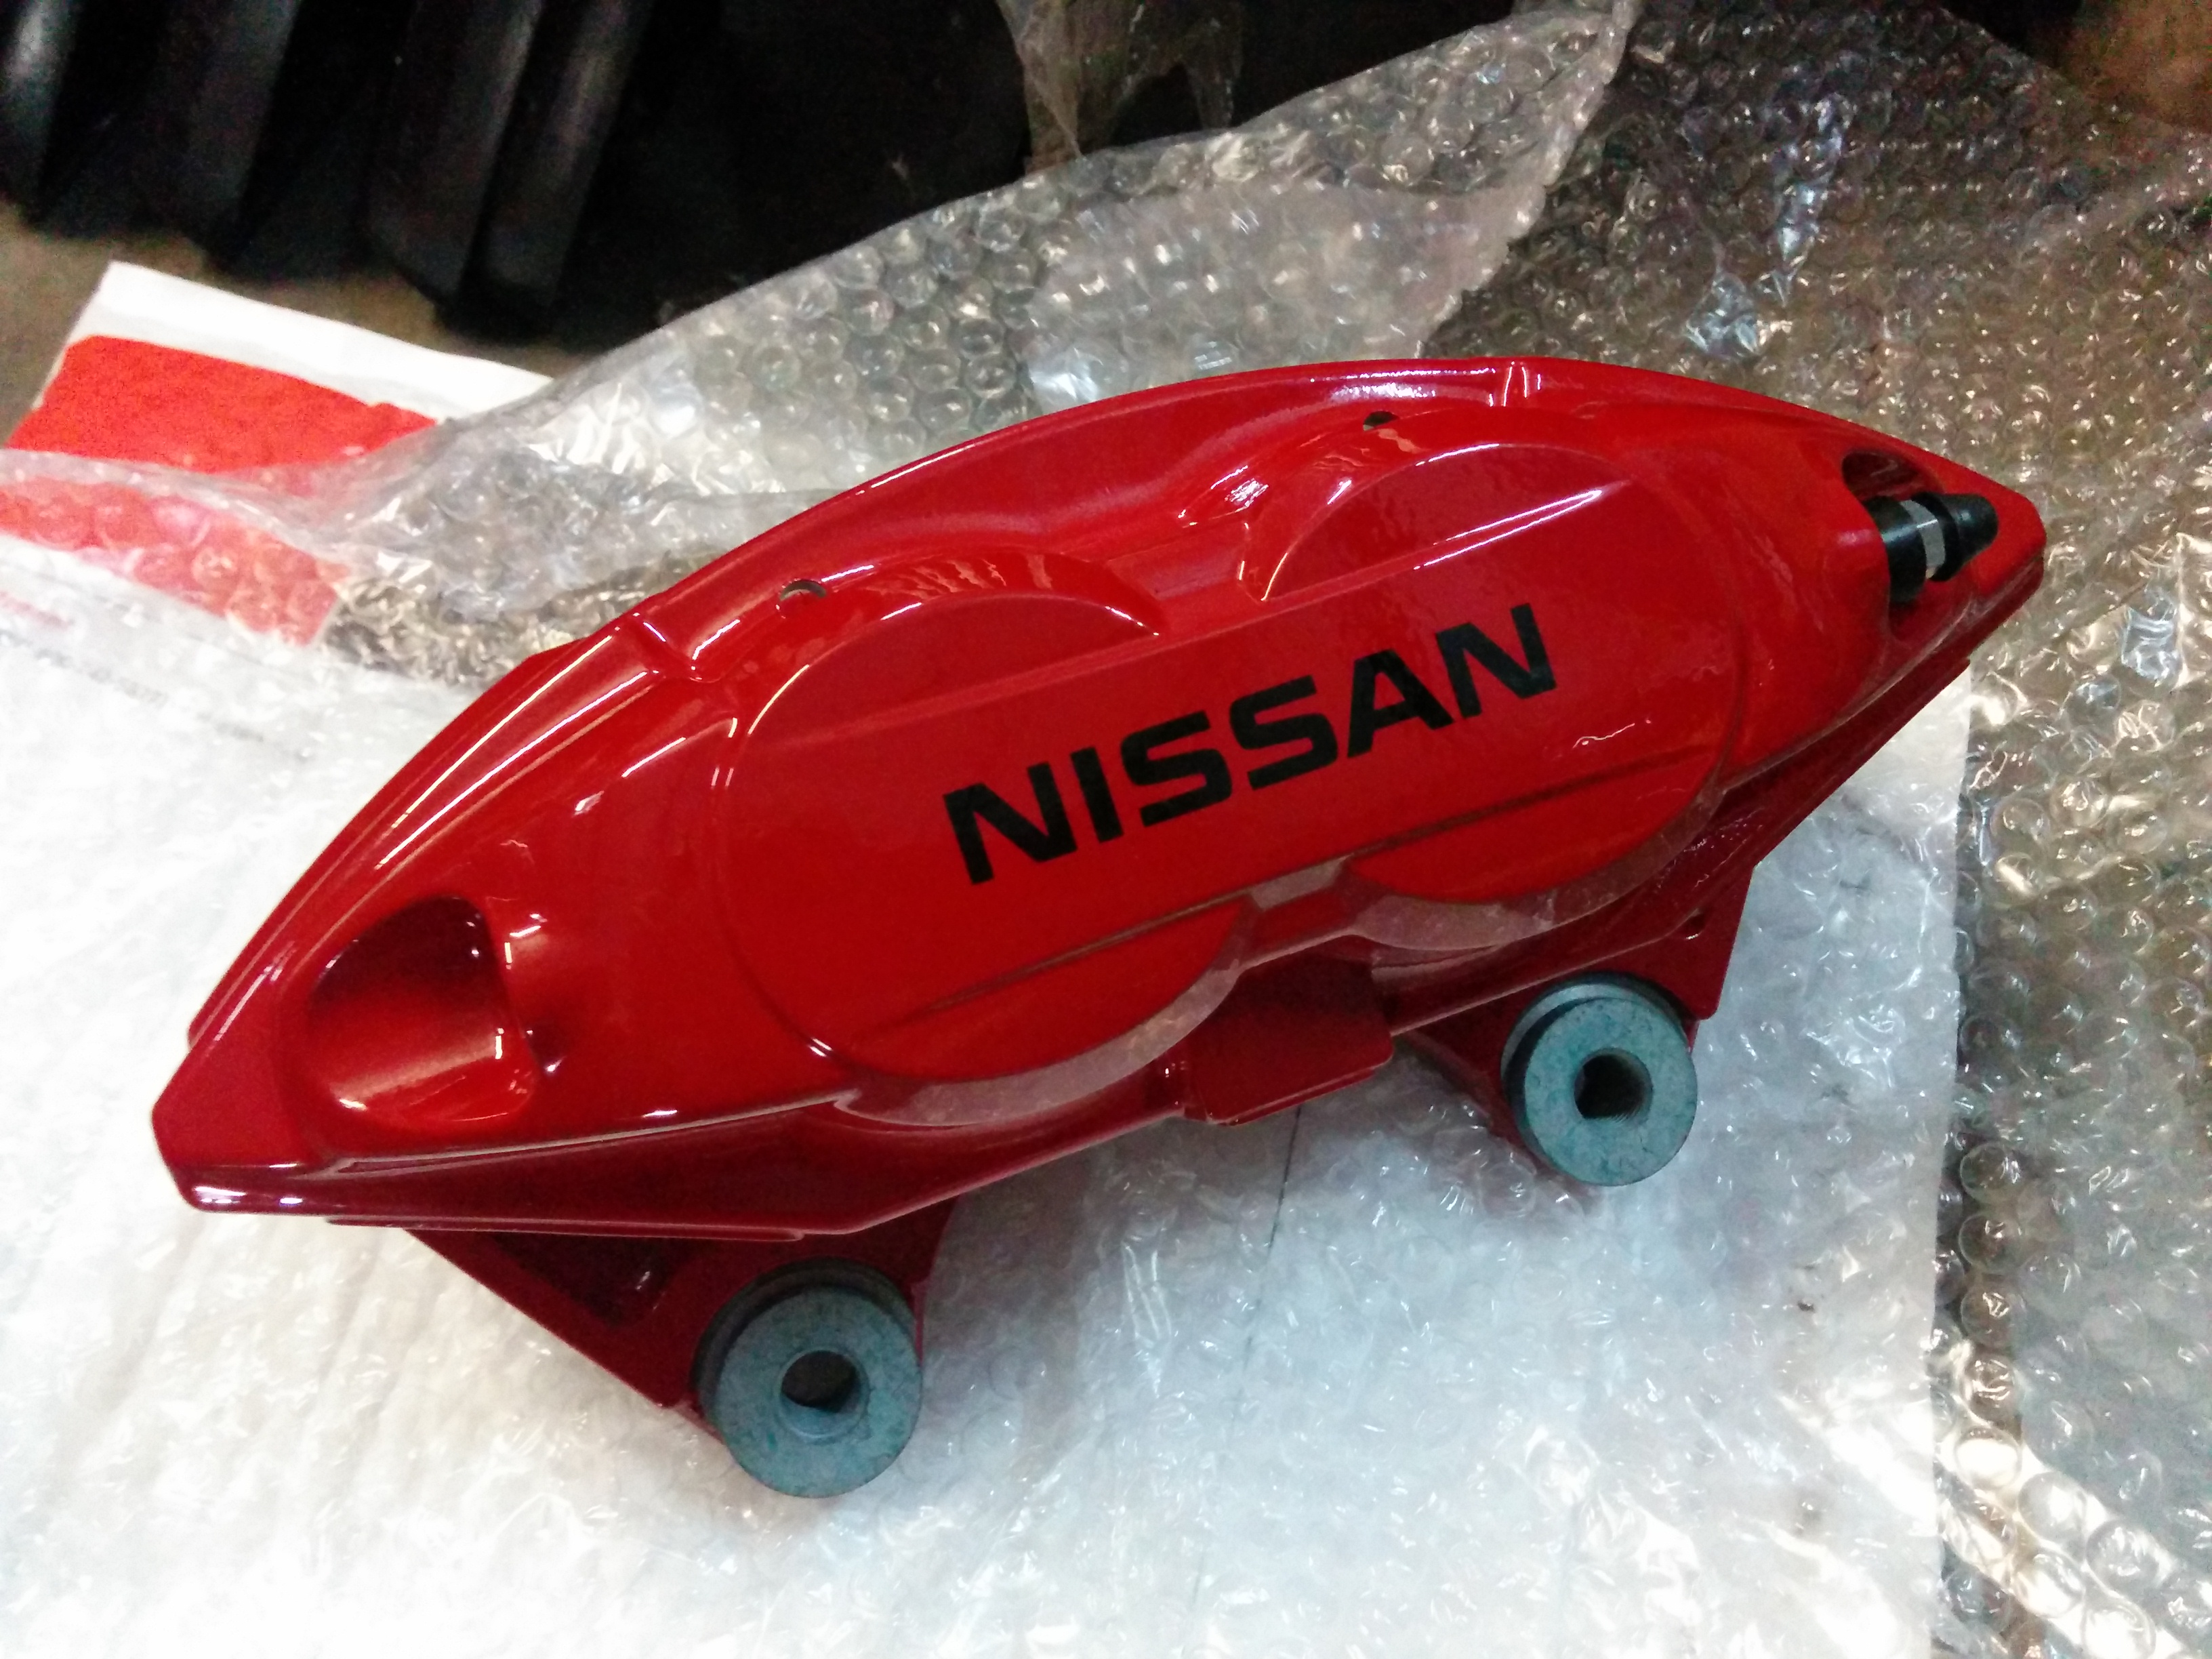
Next was the fun part, unboxing!
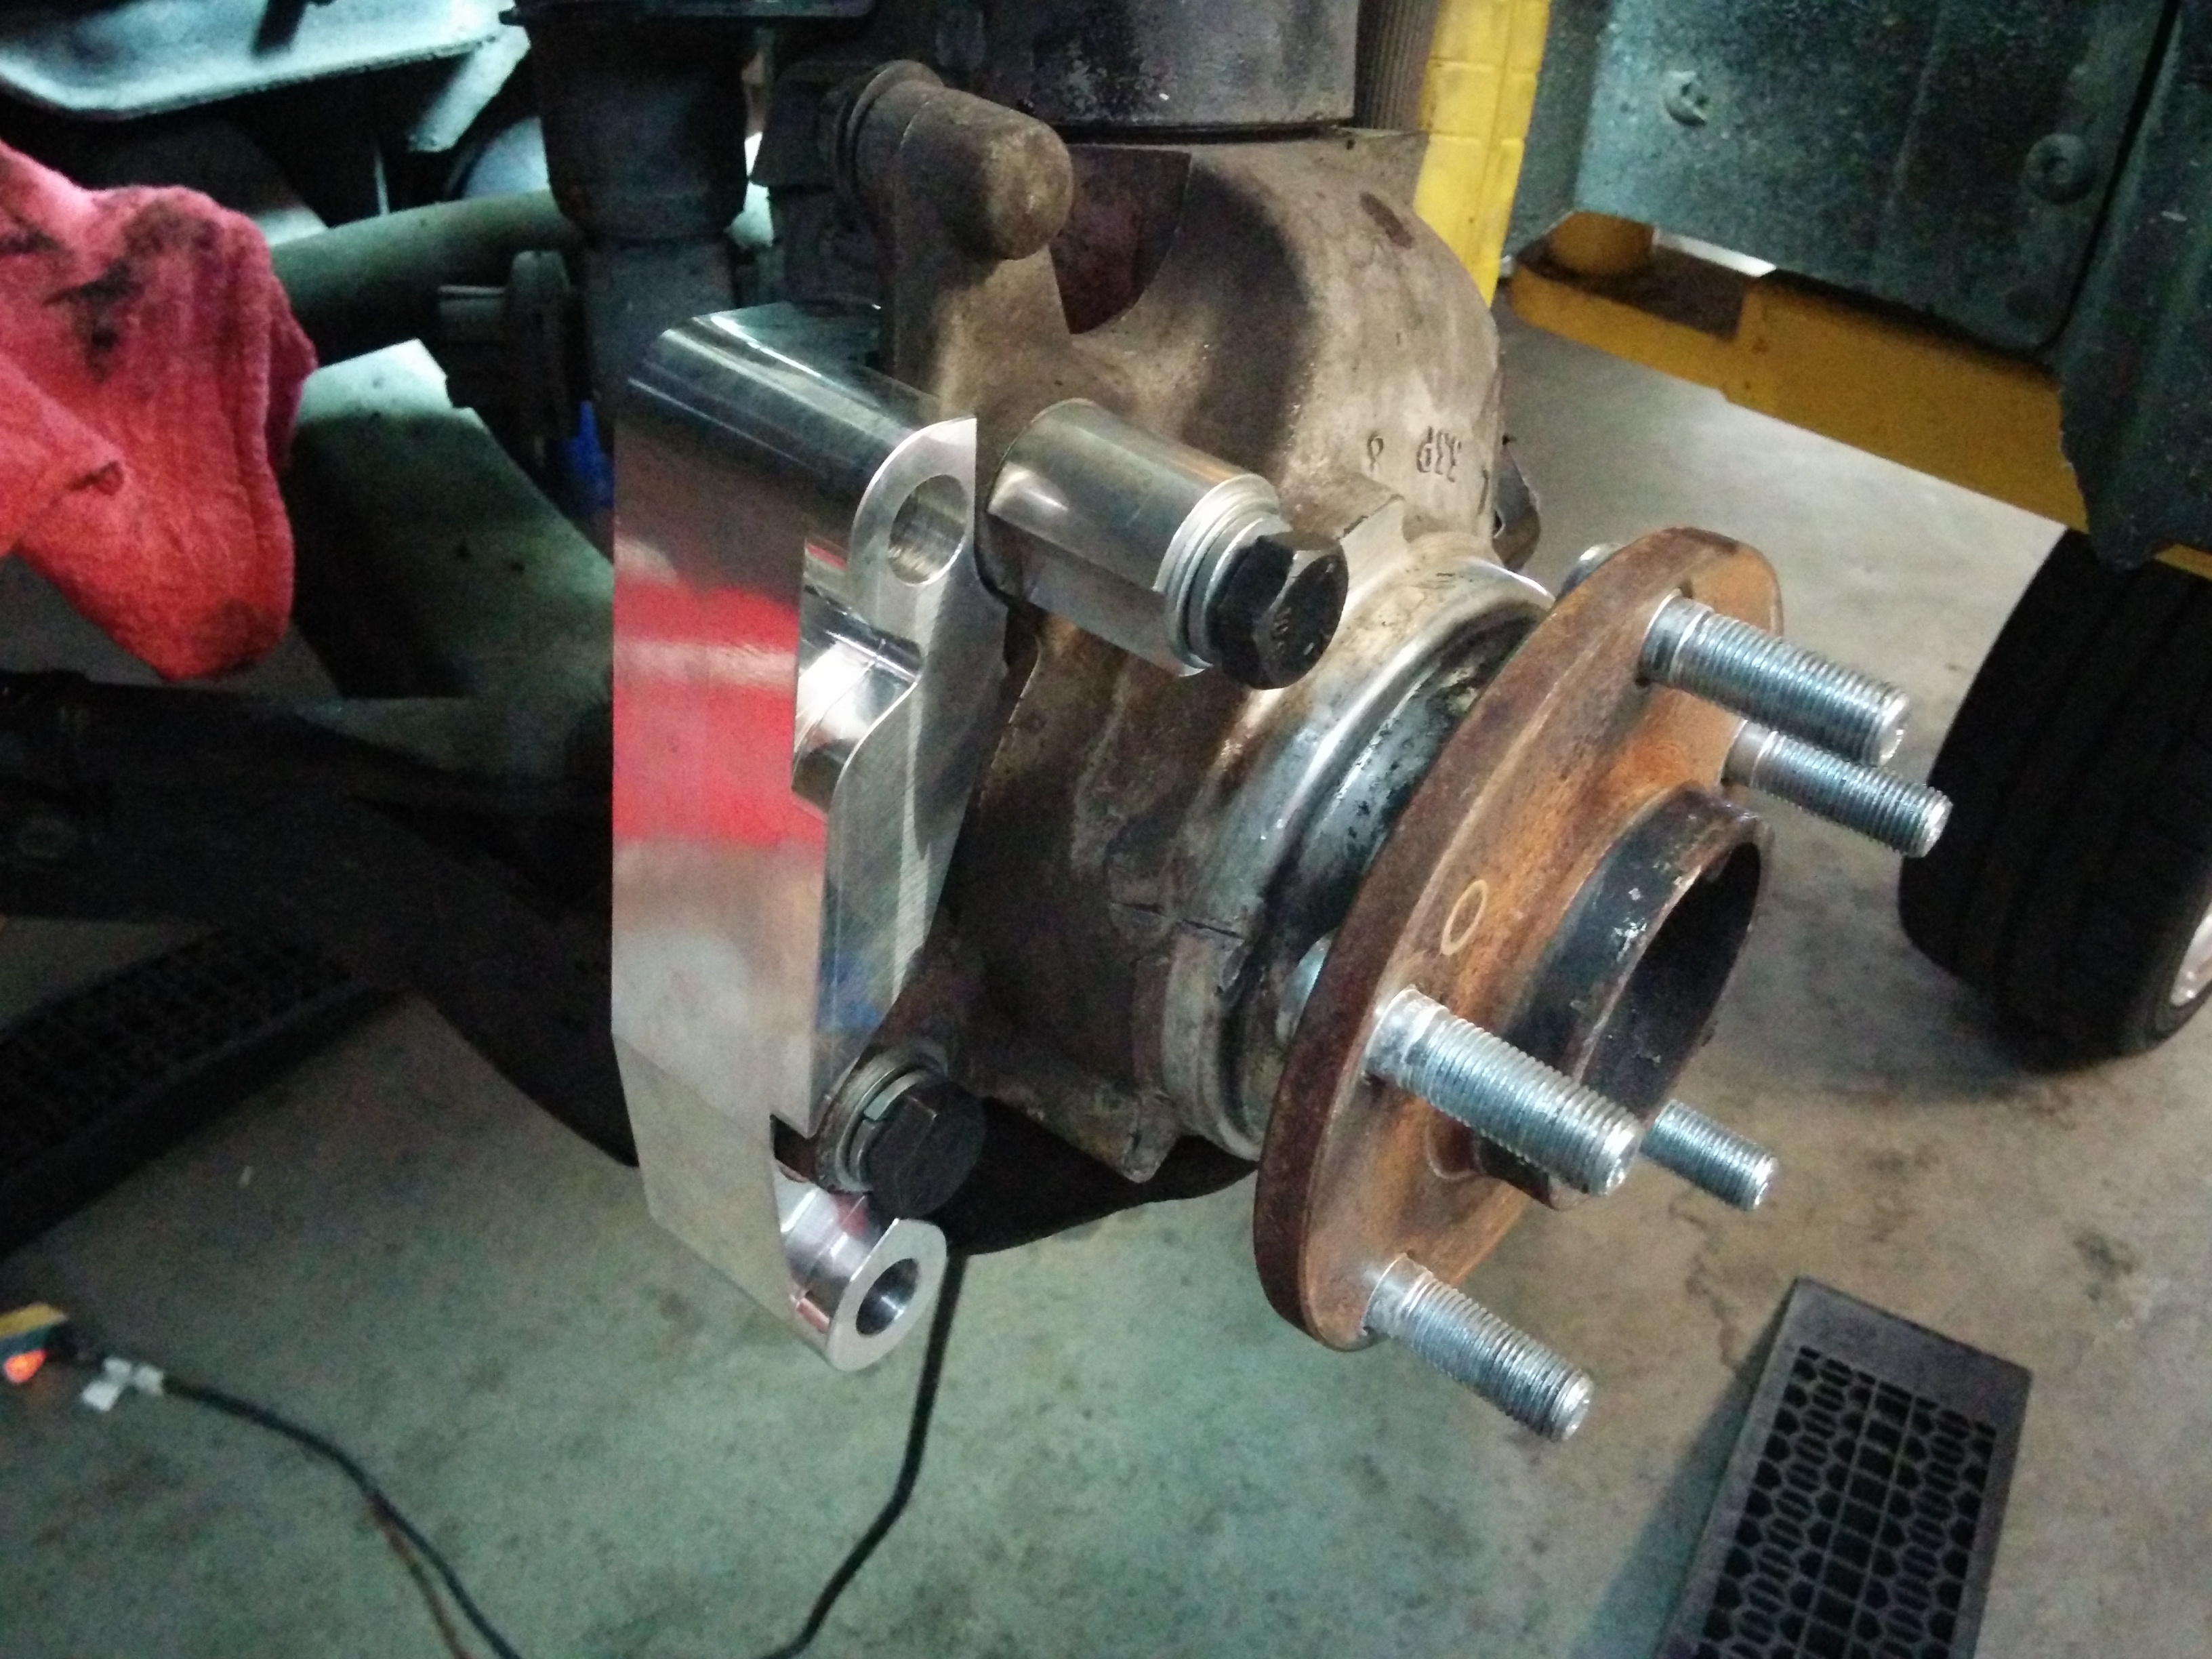
Then we mounted the front bracket adapters. We left the upper bolt (with the “ear”) loose while we test fit the caliper, as its orientation depended on the caliper, so we didn’t want to tighten that down until we knew where it wanted to be. After test fitting, we tightened it down.
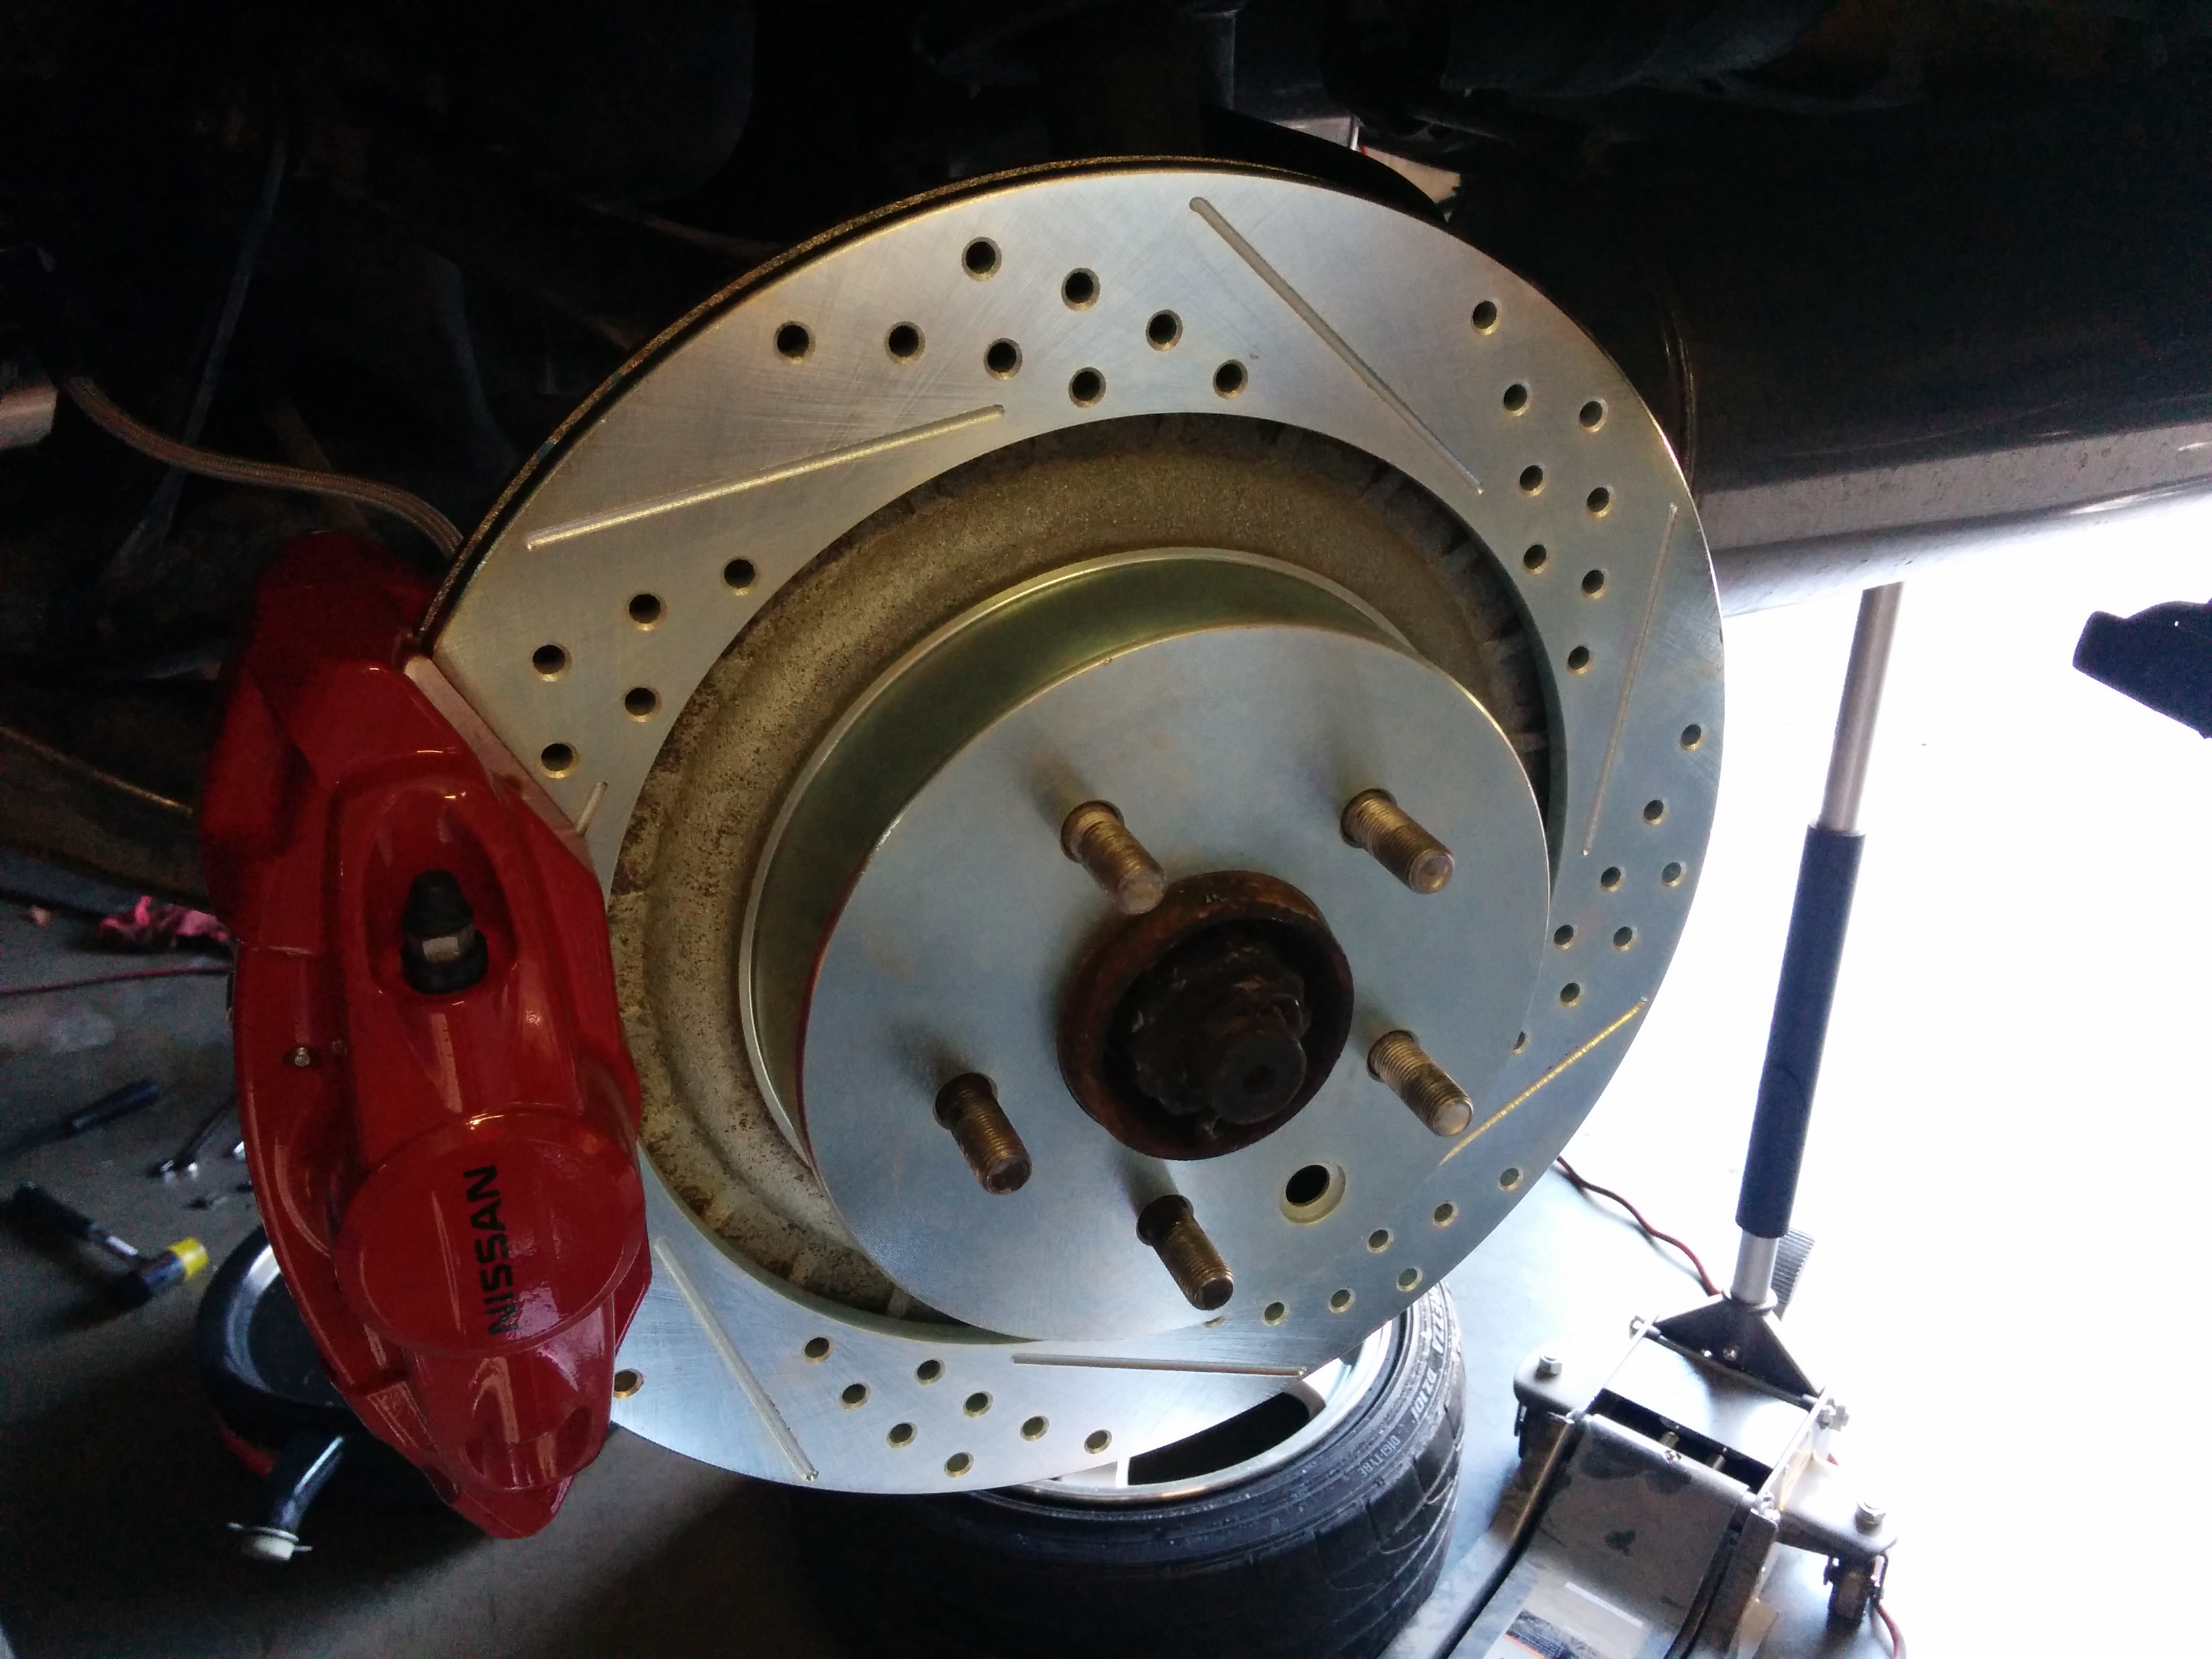
Then we popped the rotor on…
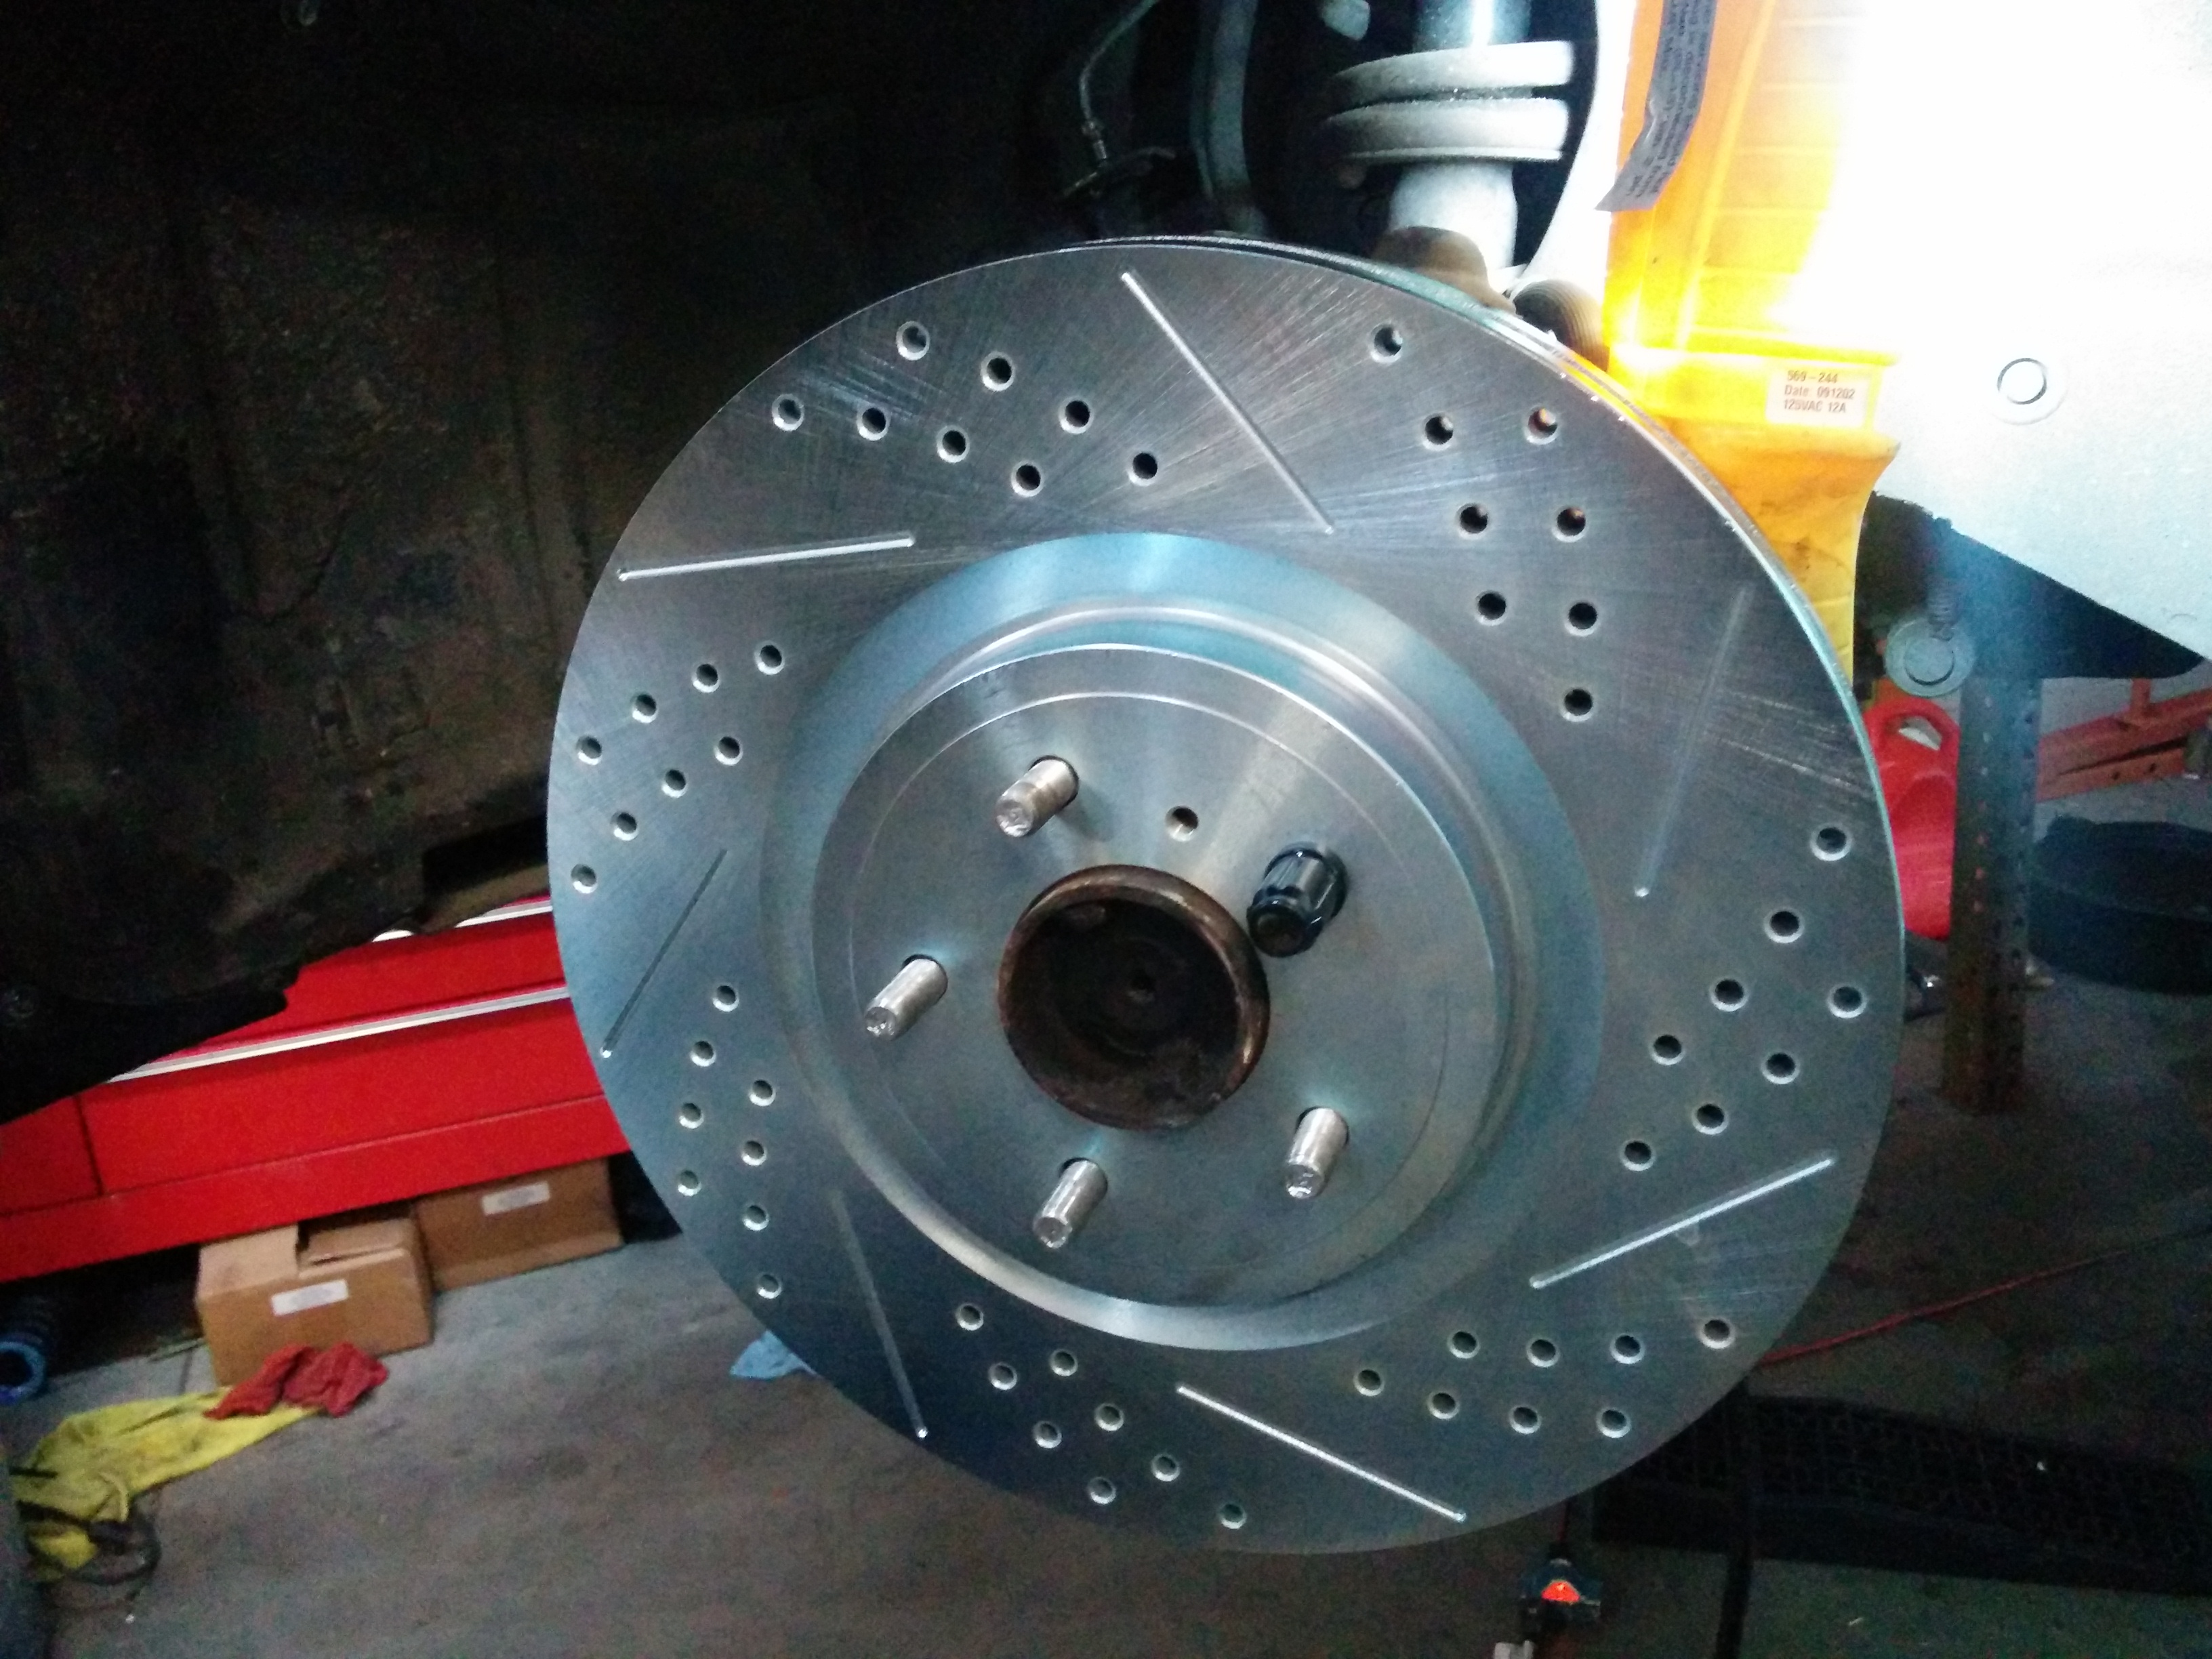
Gently snugged down with a lug nut.
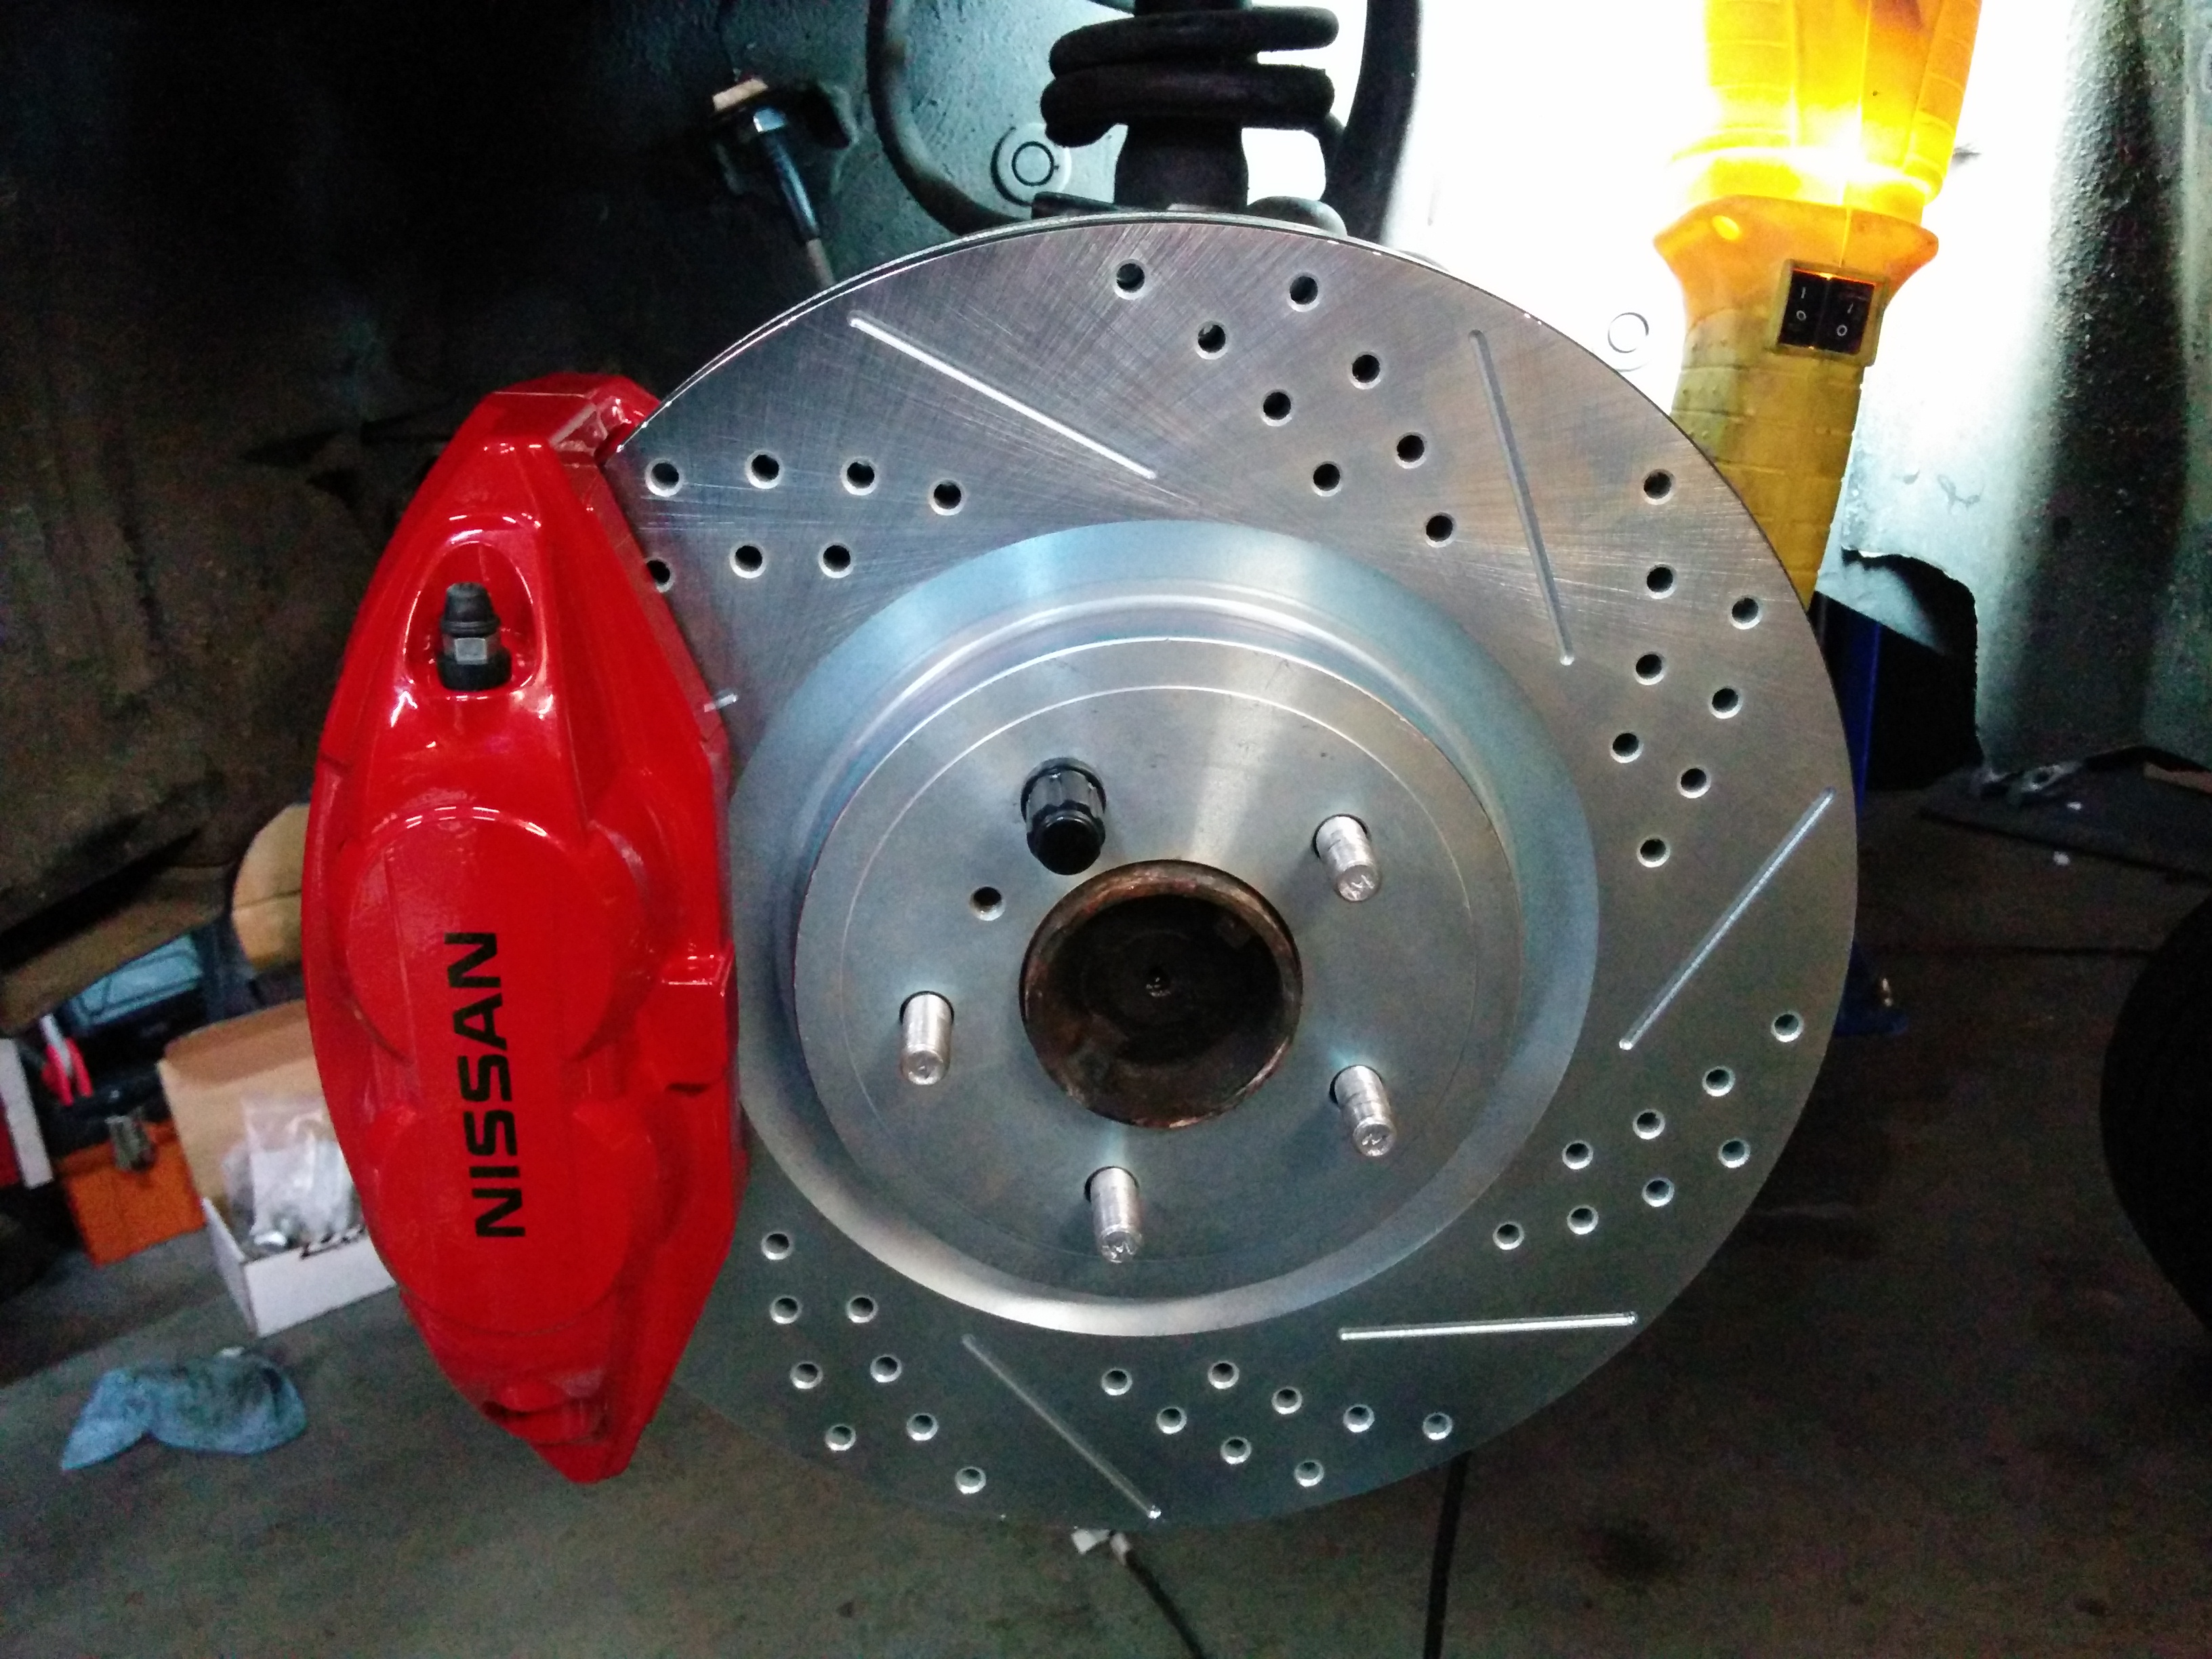
And finally mounted up the caliper.
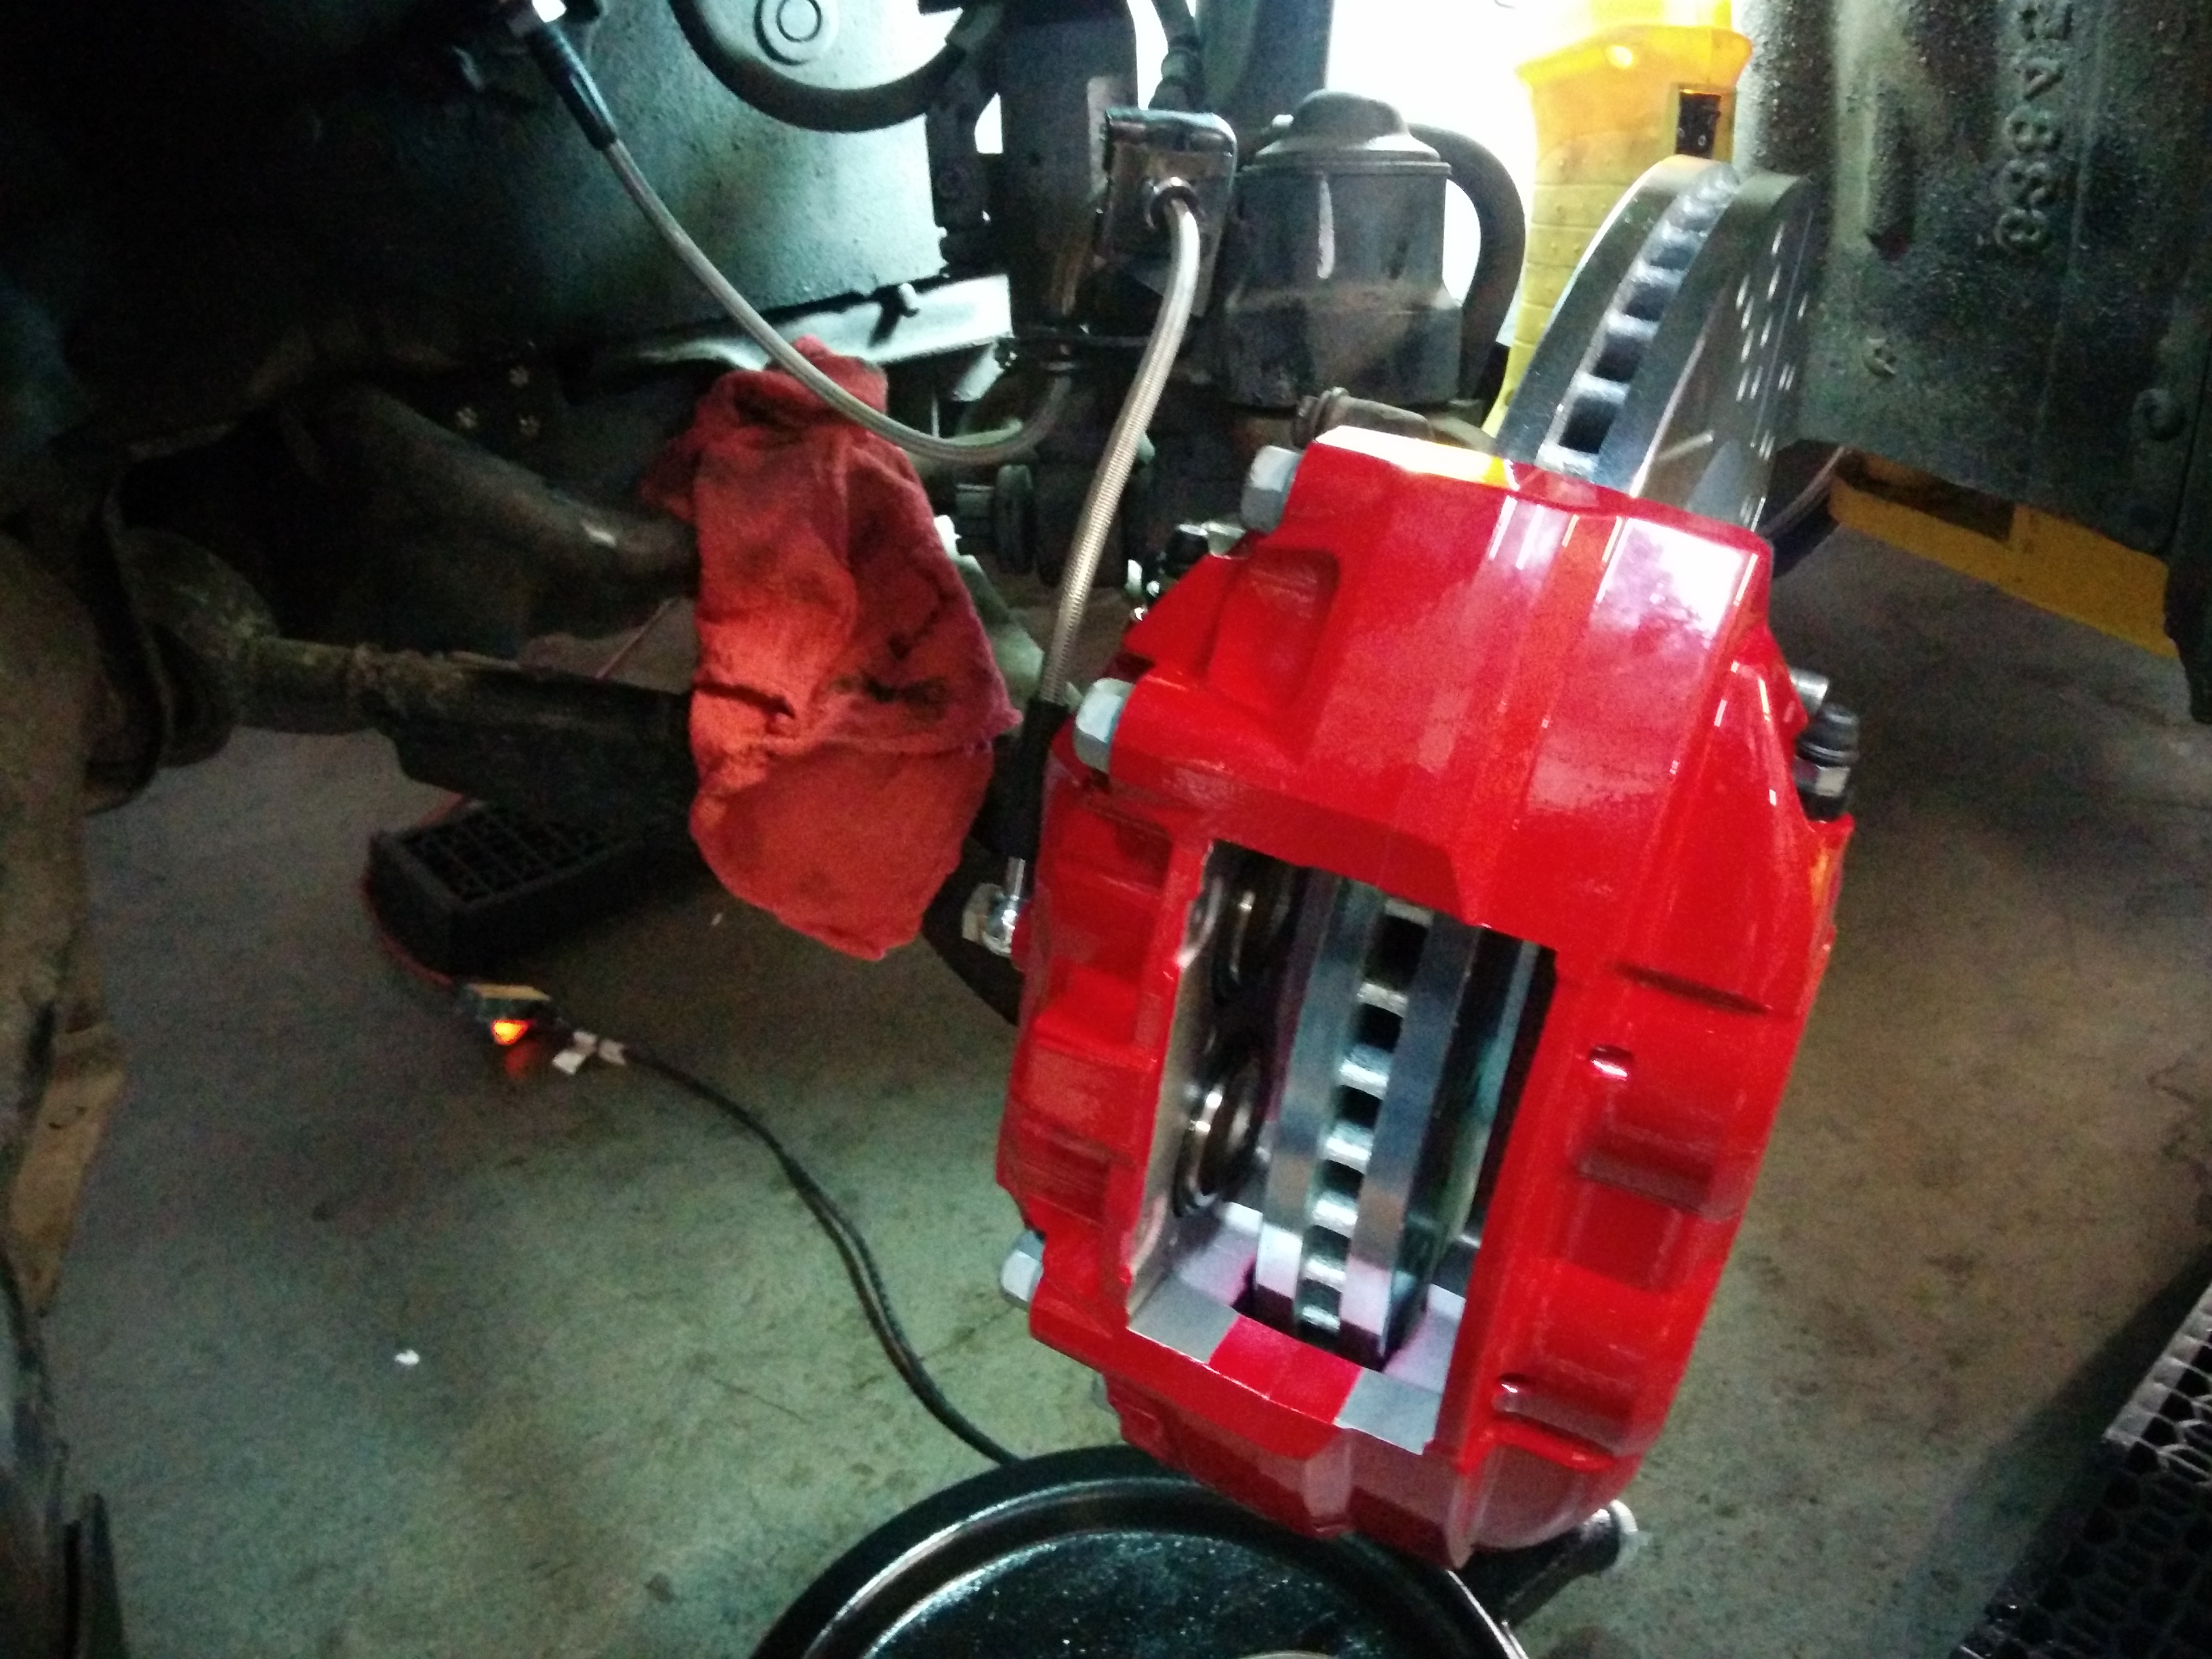
Next, we ran the new stainless steel brake line. It’s a good idea to turn the wheel from lock to lock a few times so you can make sure there are no positions in which the line will be stressed, kinked, or rub up against anything, especially the wheel.
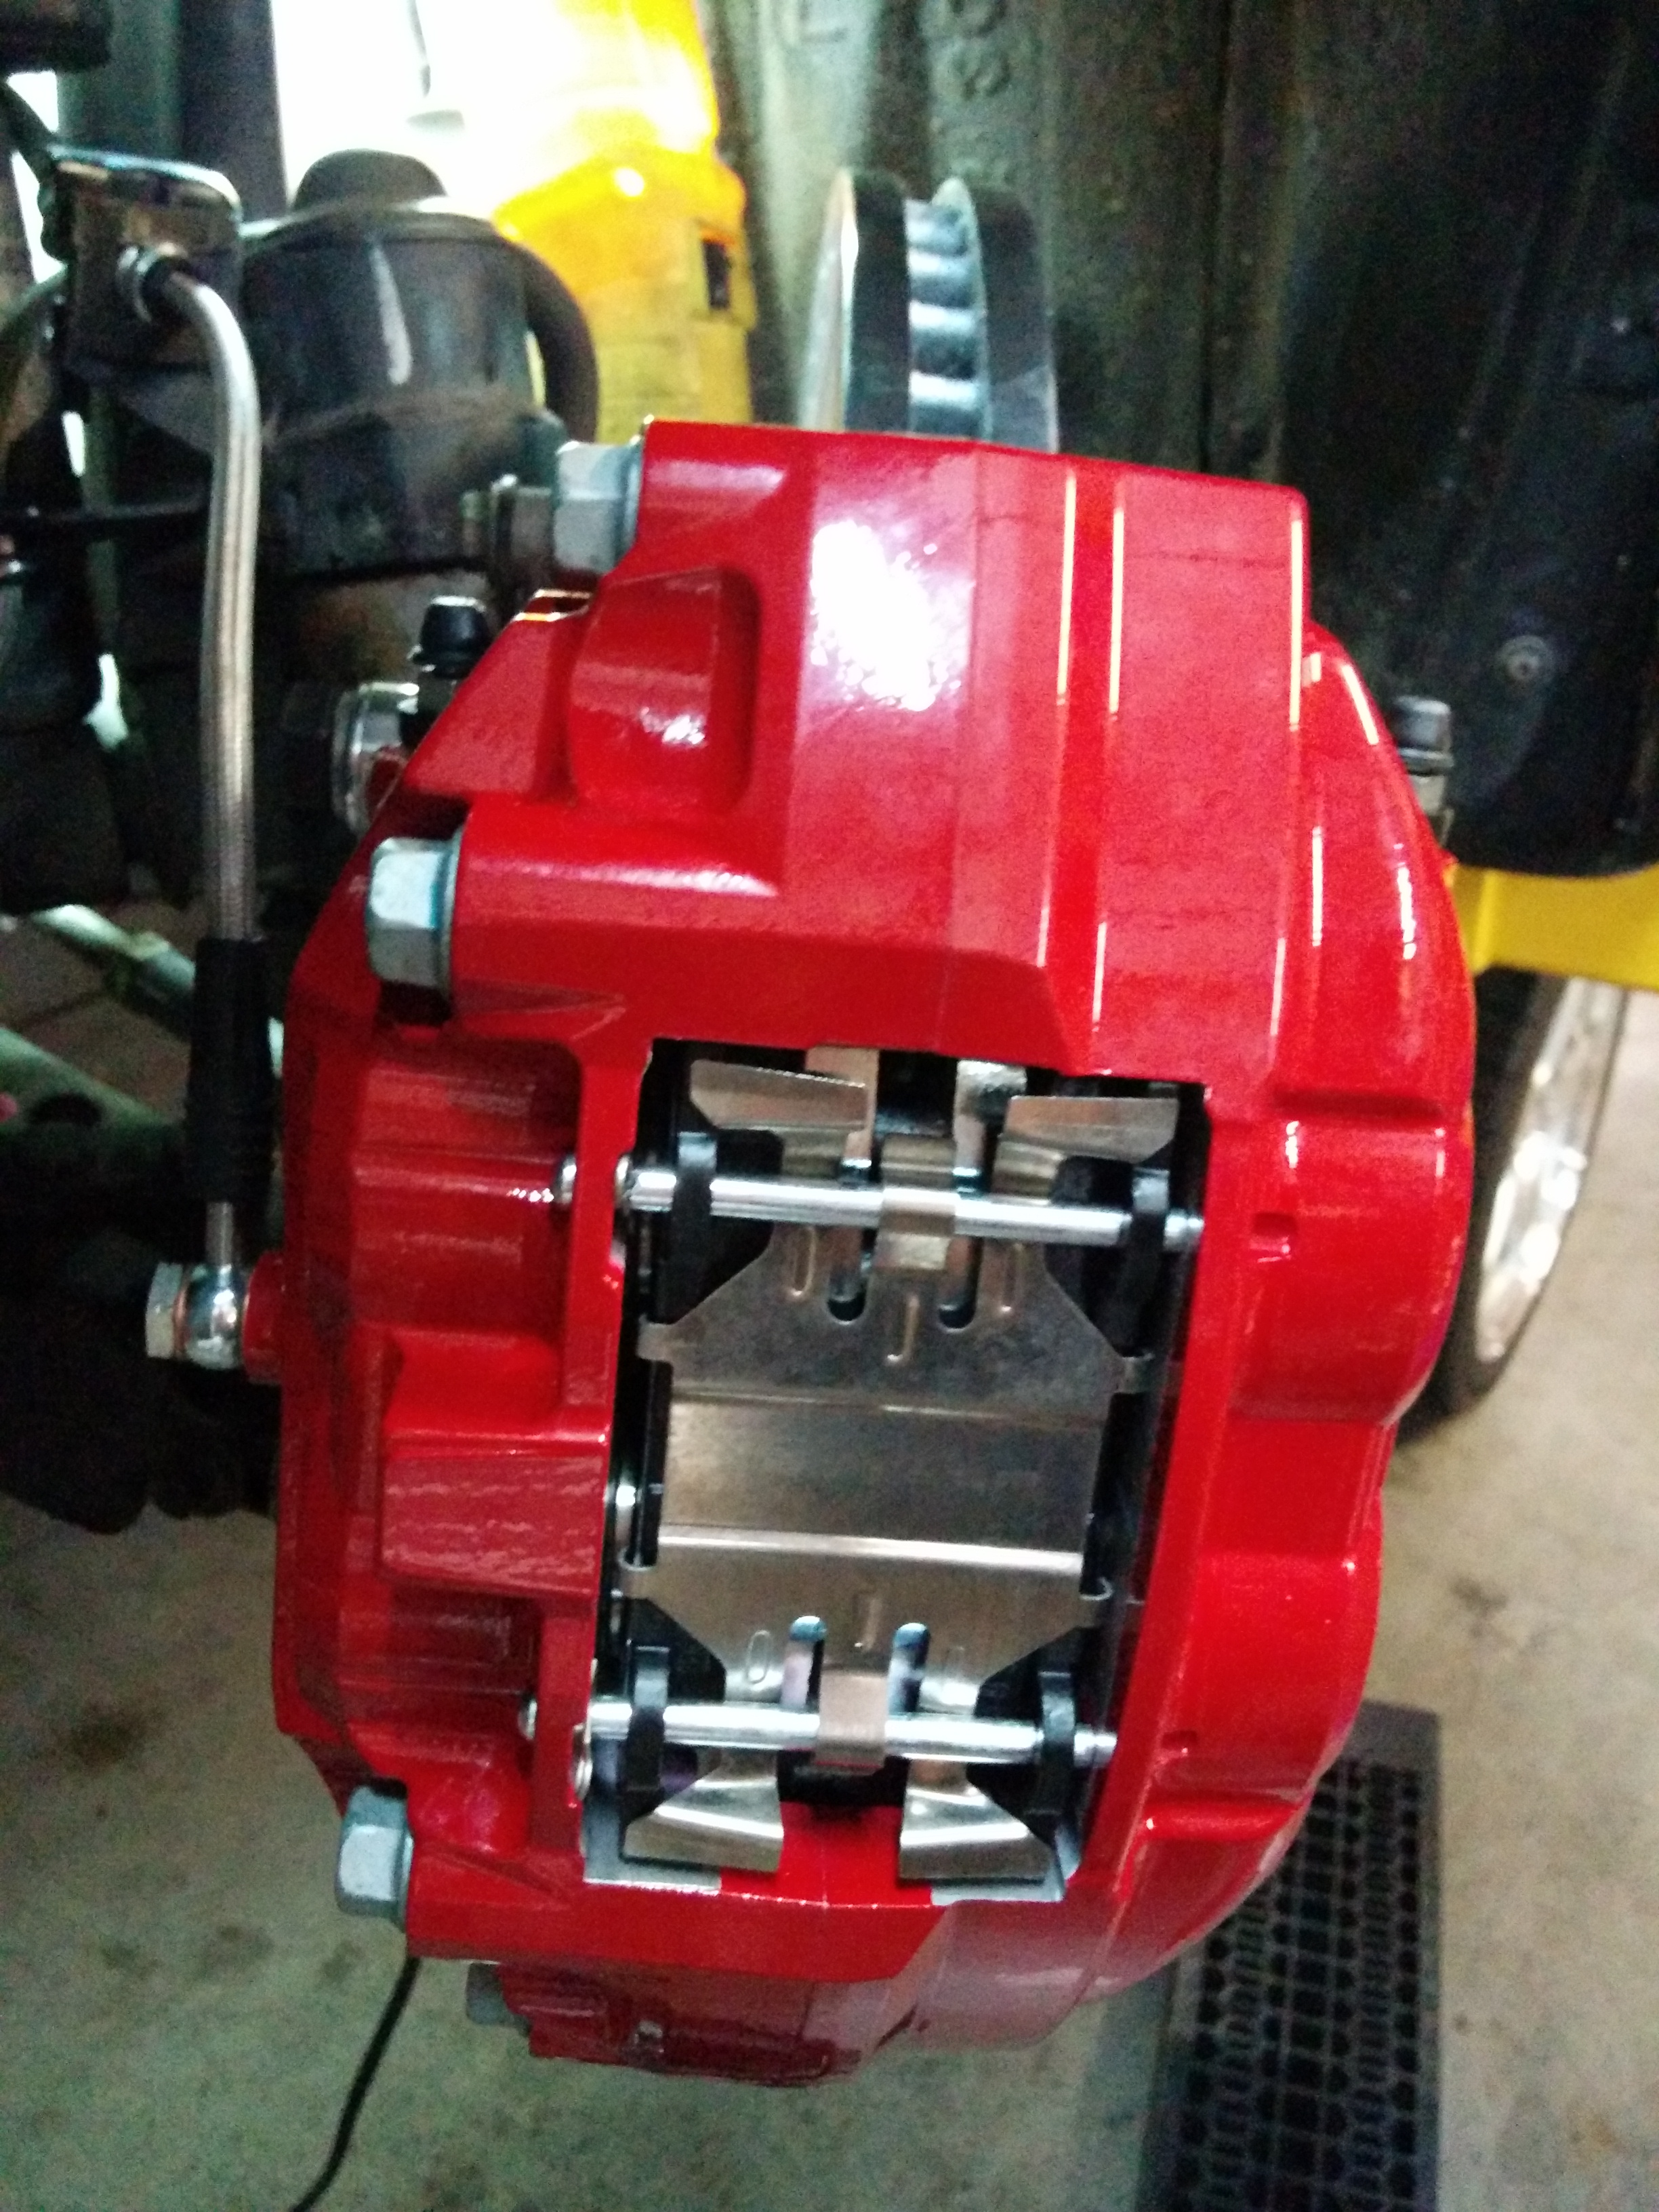
 And installed the pads, shims, pins, and clips.
FOLLY LOUDED
After that, we were on to the rears!
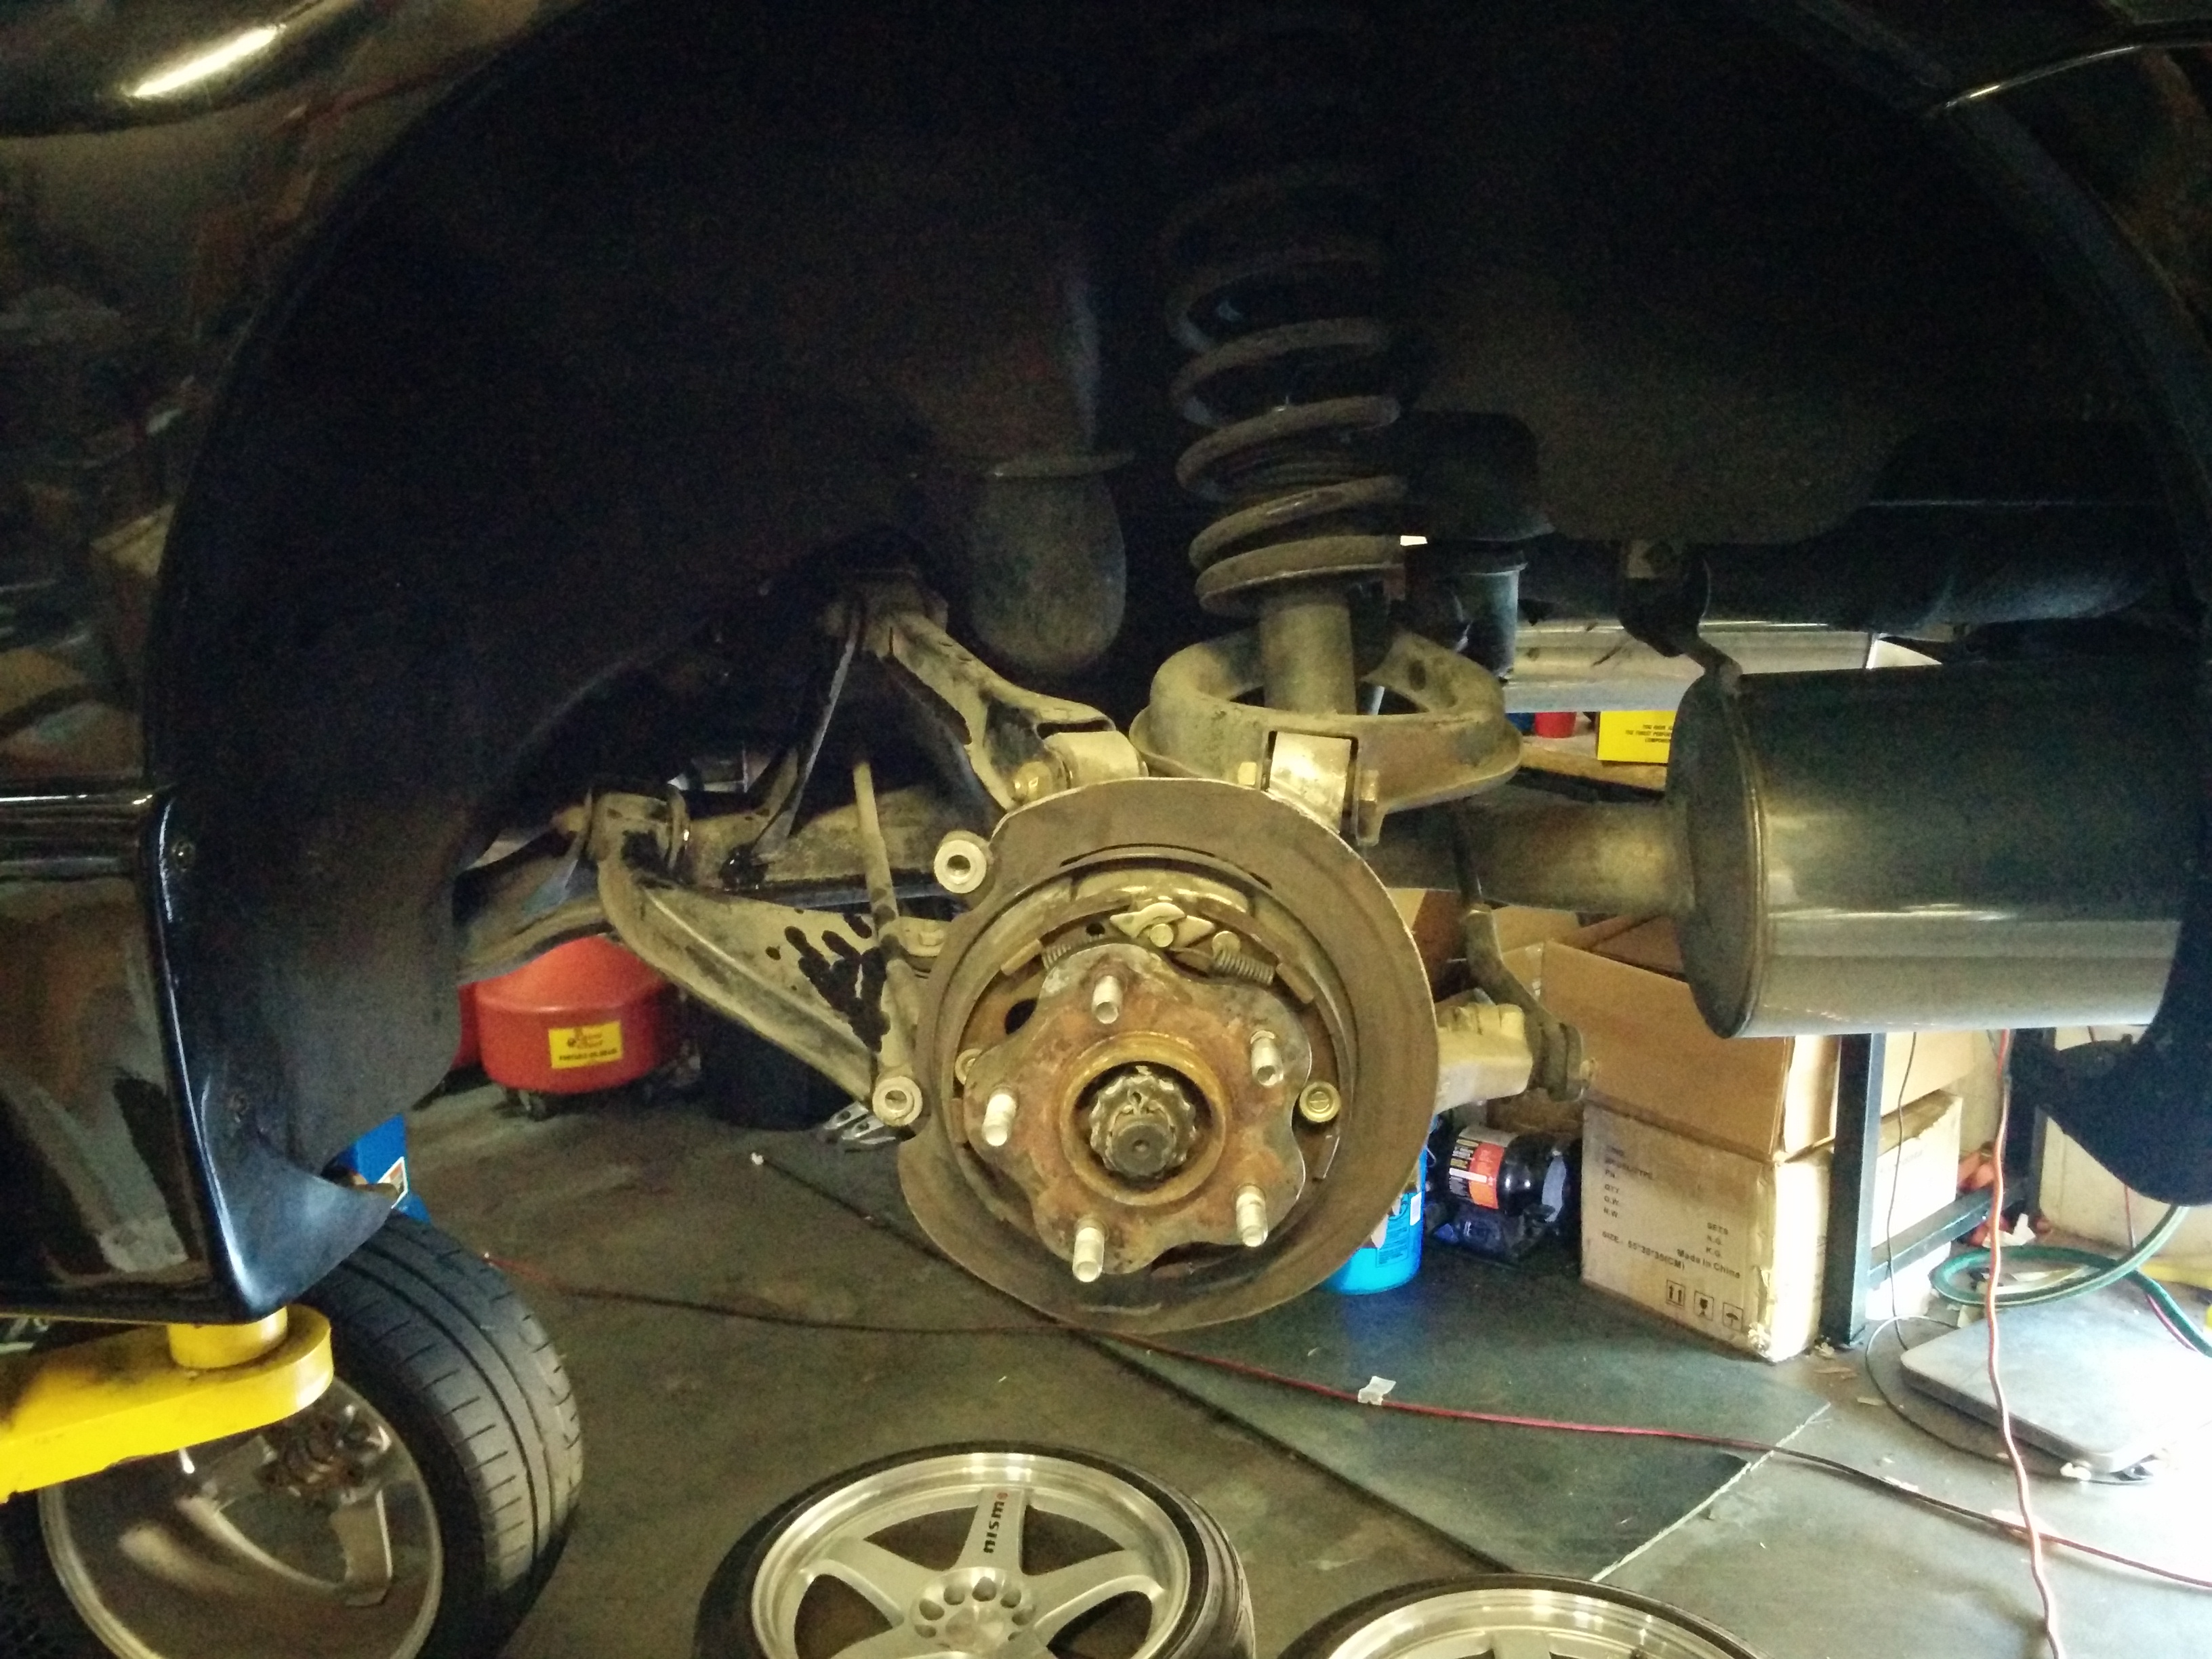
Stockers removed from the rears, exposing the parking brake assembly.
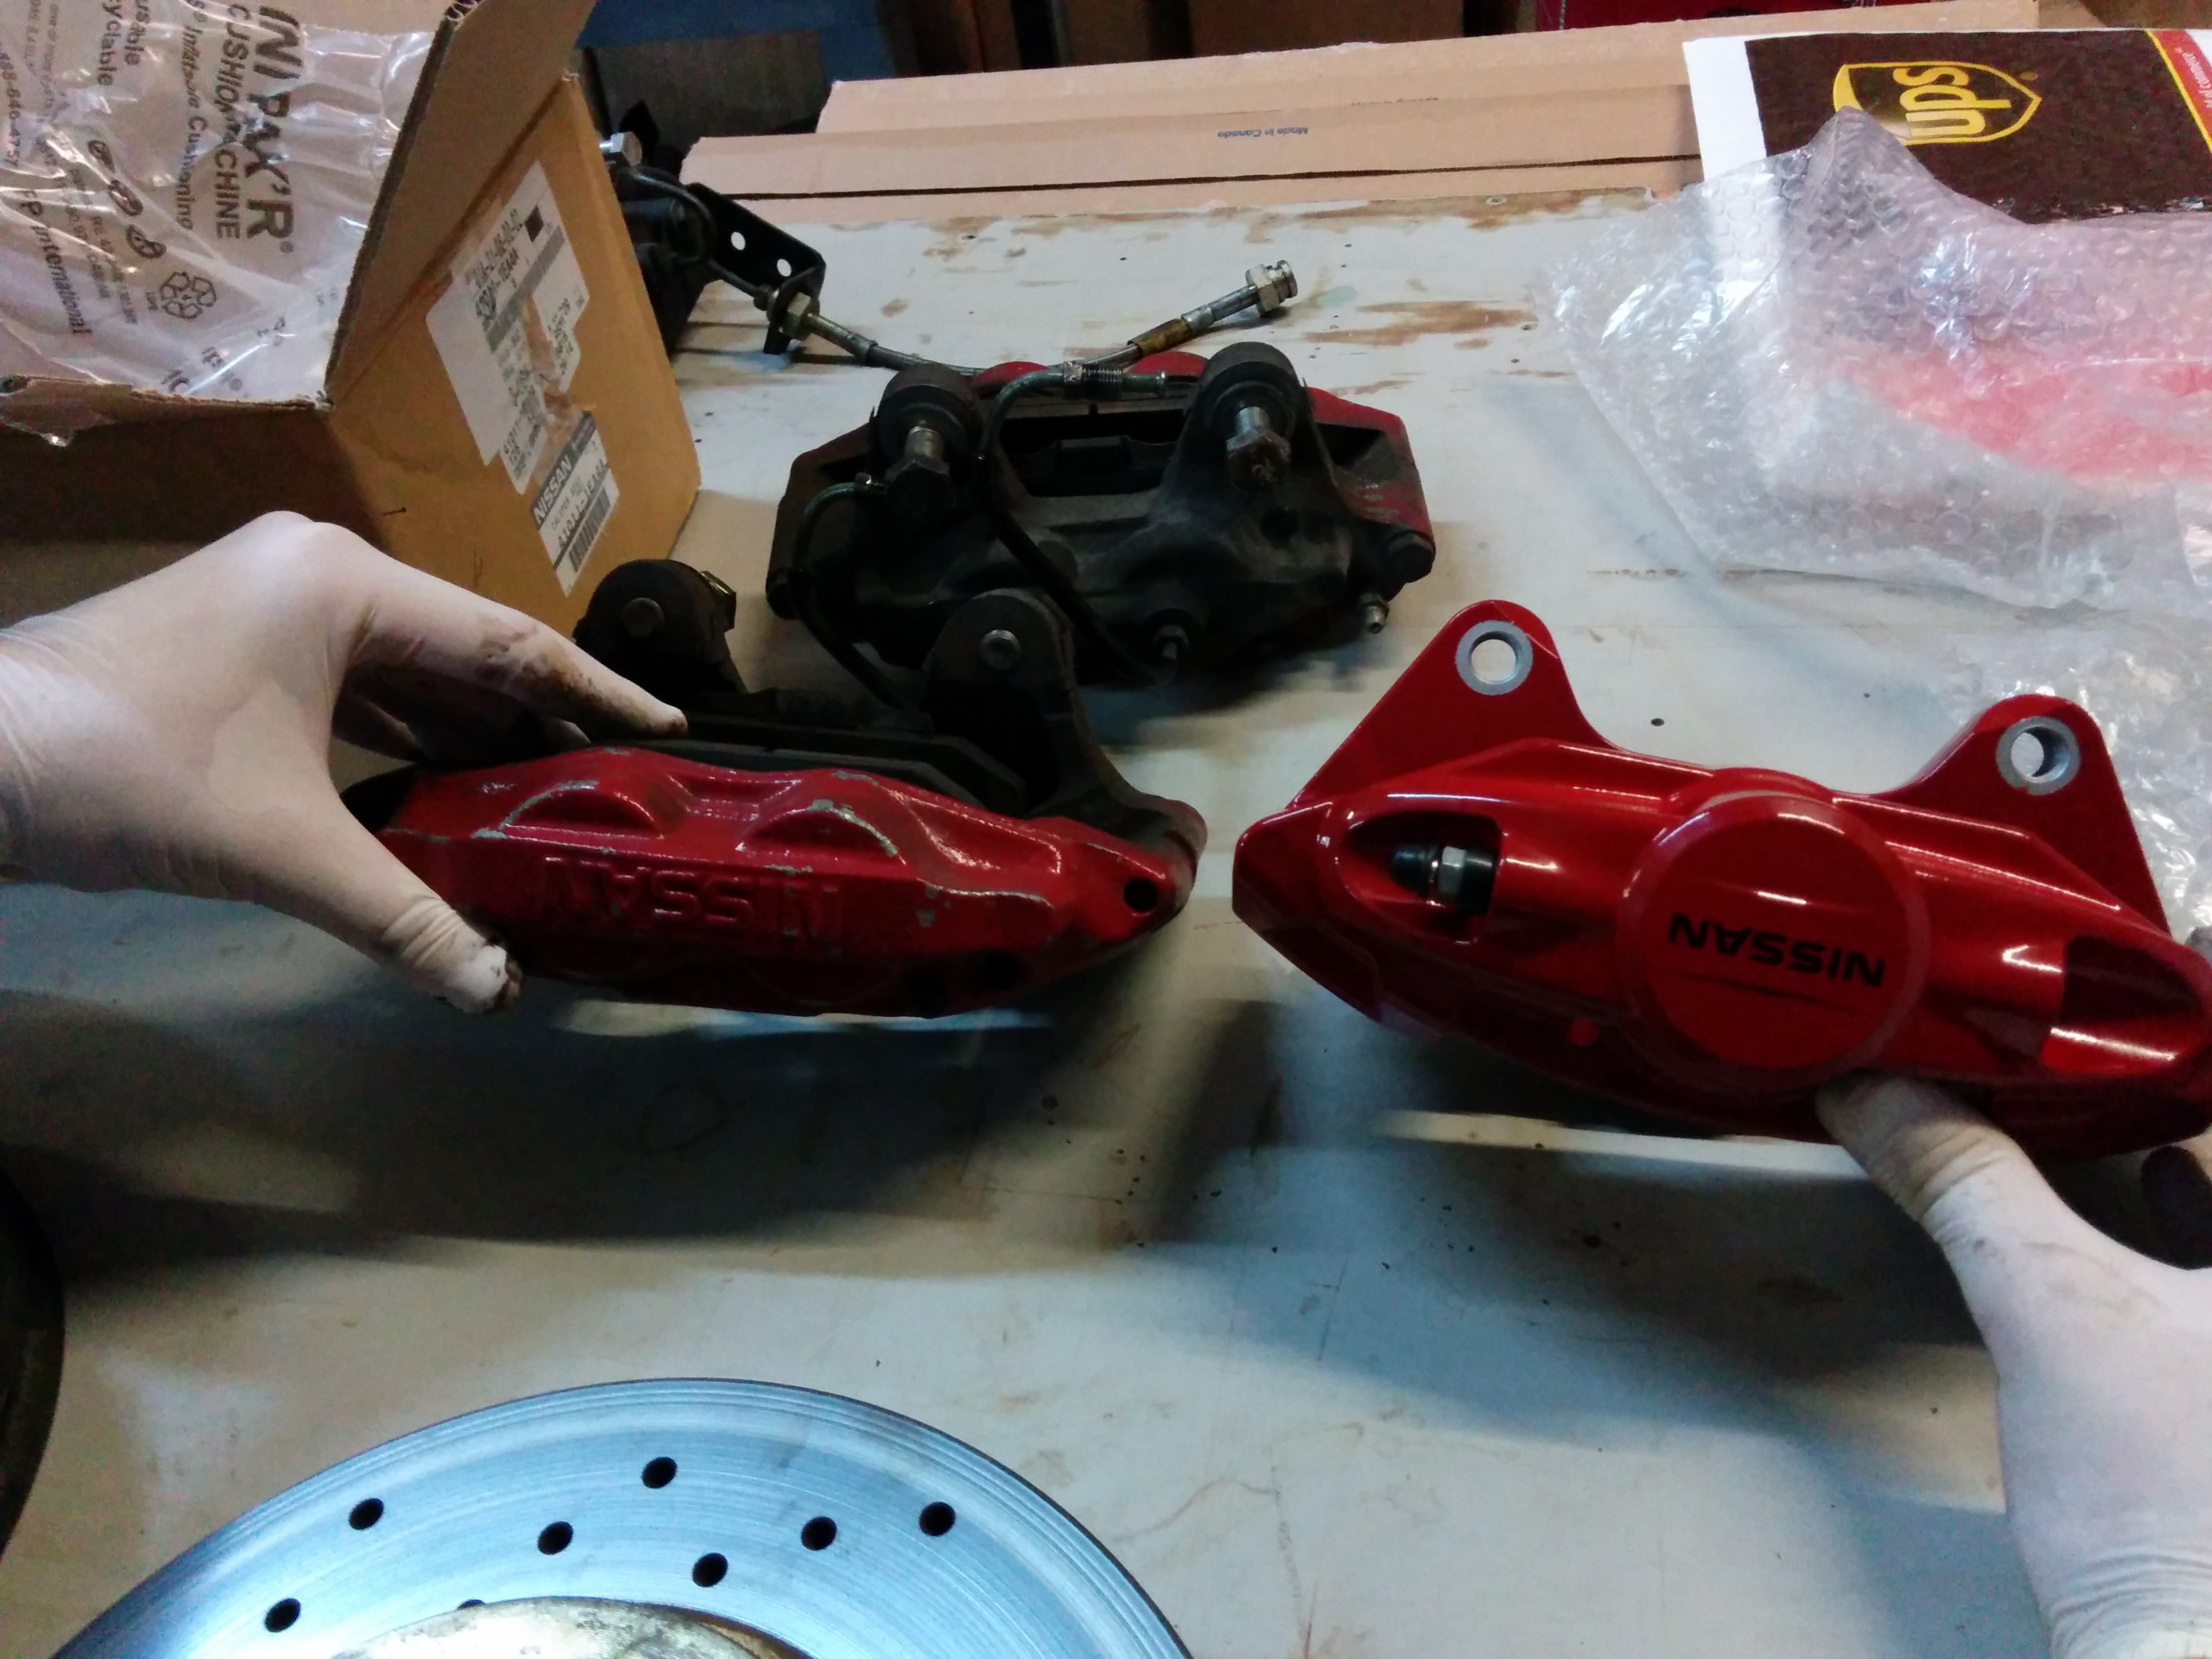
Before we mounted up the rear calipers, we took the opportunity to show the difference in size between the OEM calipers and the Akebonos. Here is a comparison of the FRONT 300ZX calipers next to the REAR Akebono caliper.
Mounting the rears was about the same as the fronts, so that all went quickly. Again, having those dust shields cut away really saved us time.
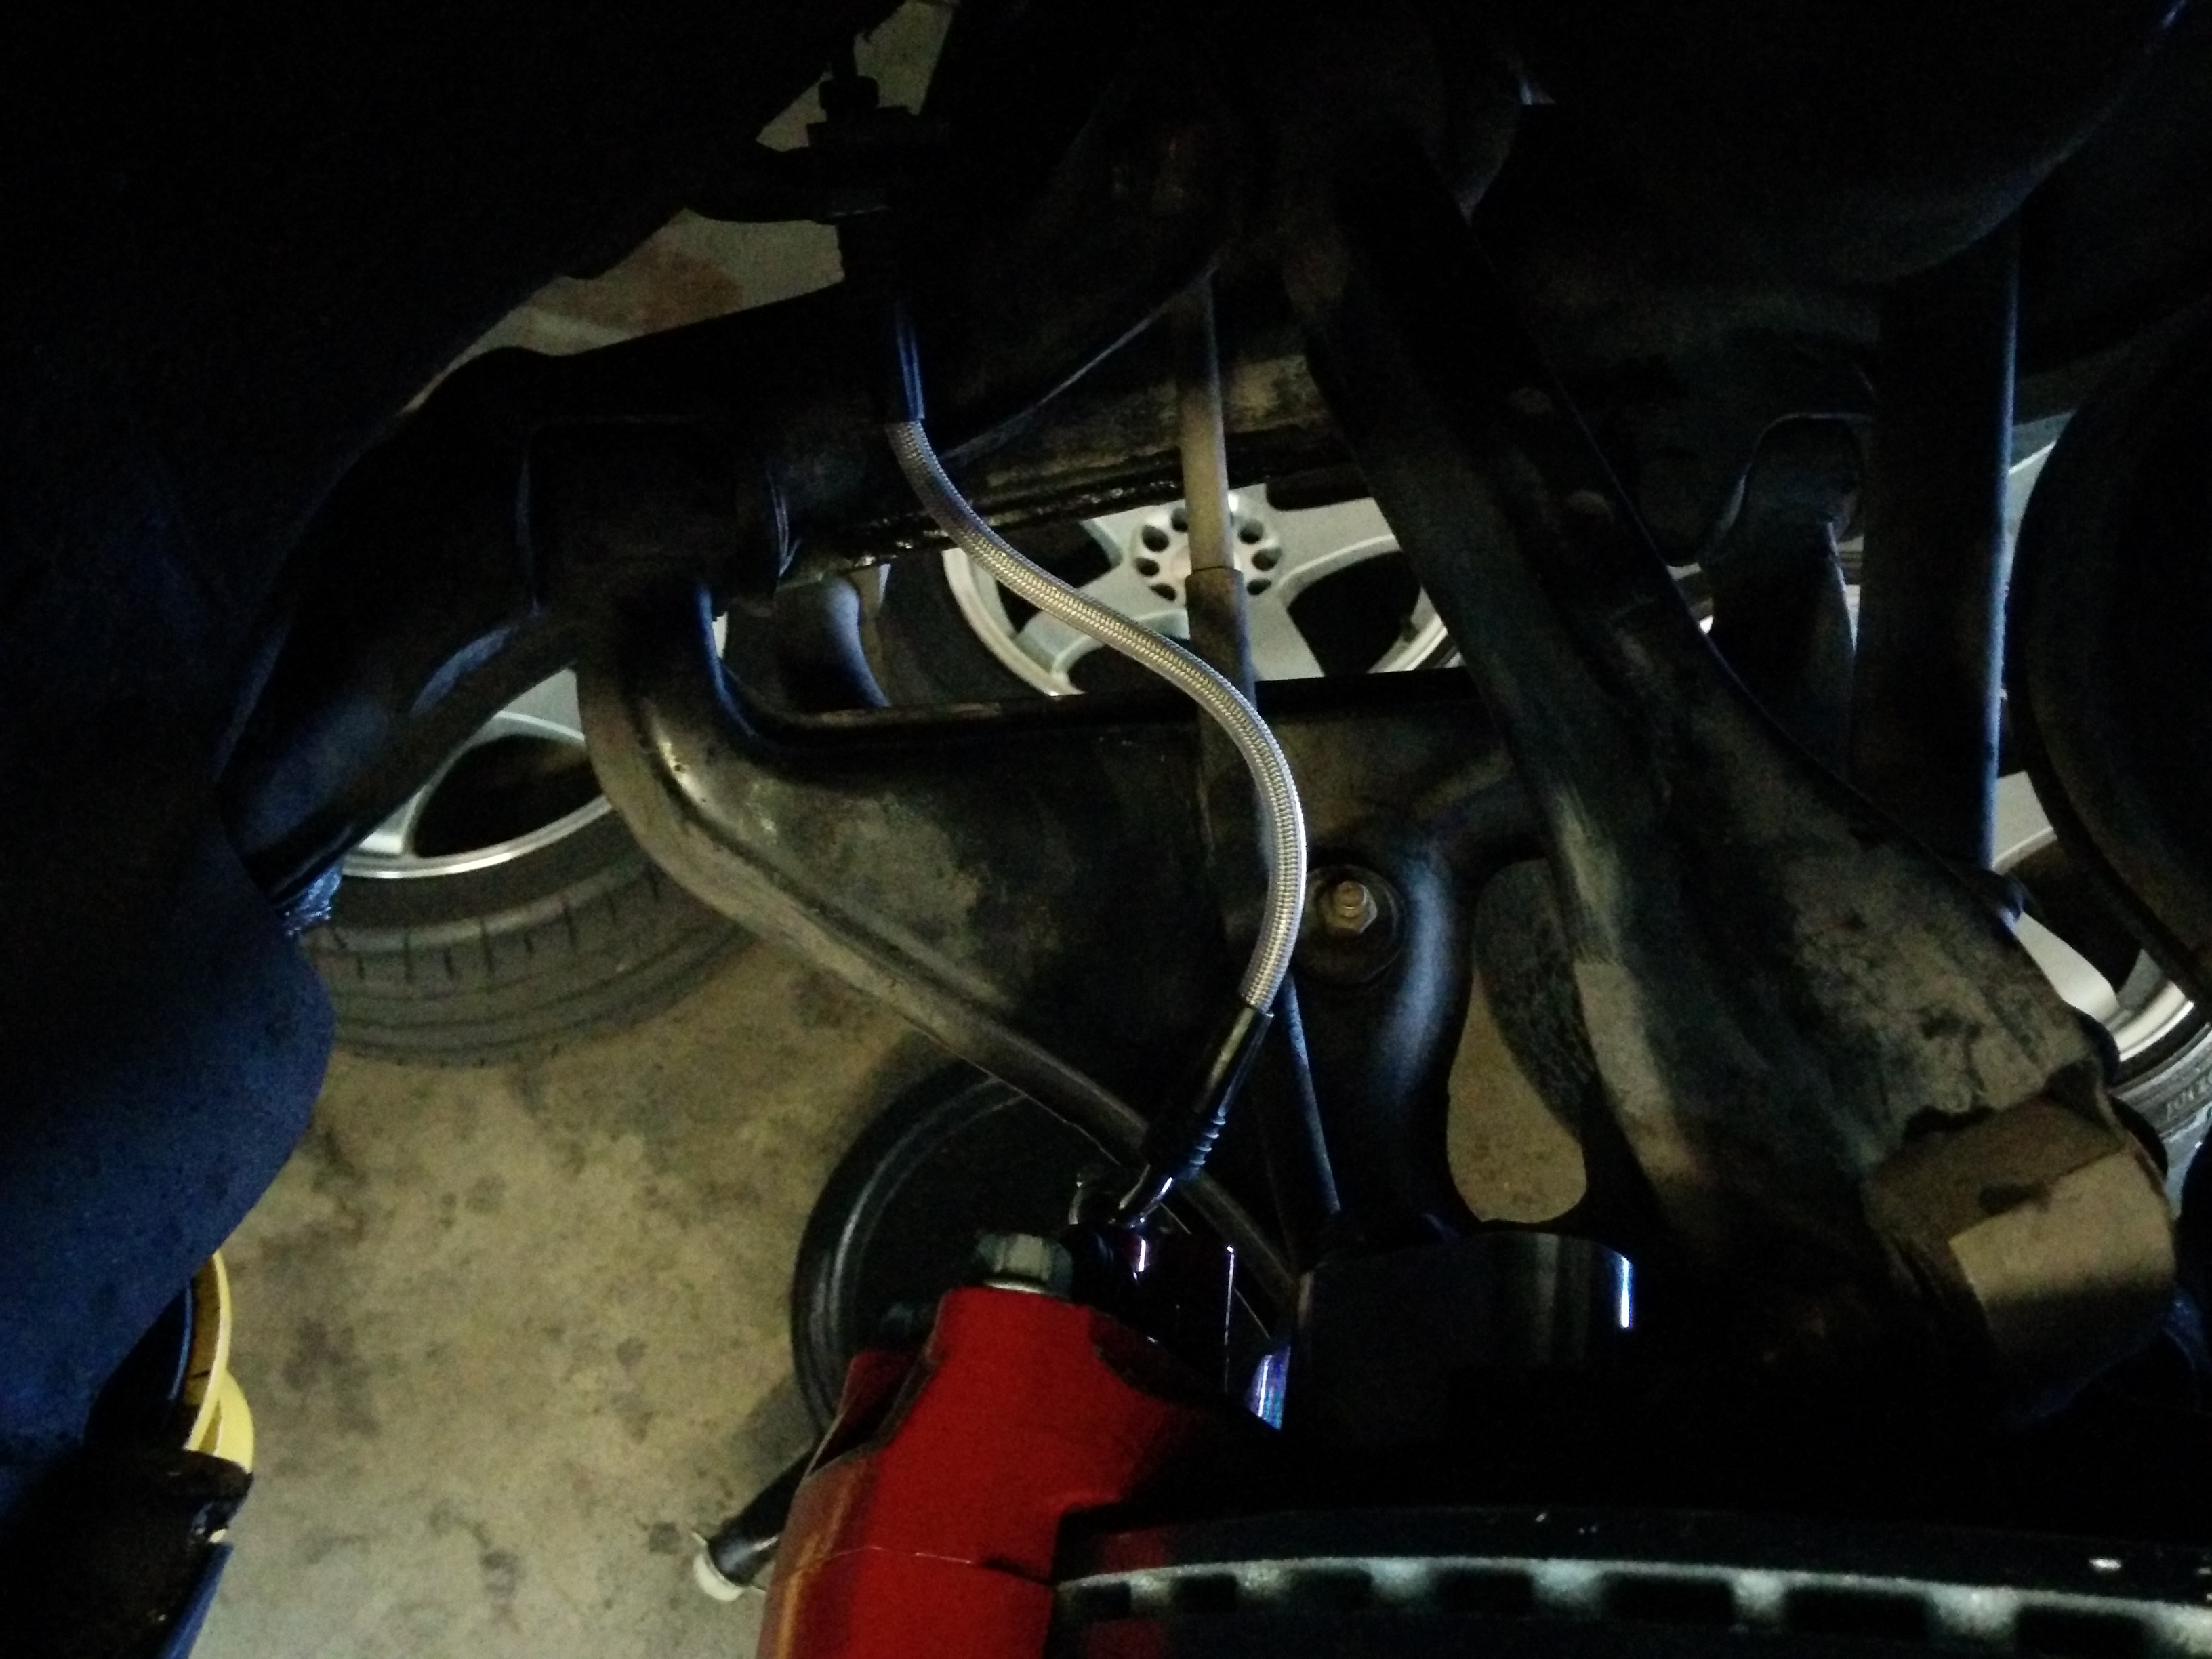
Stainless steel lines positioned to allow some play during suspension travel.
With the car in the air, it was time for a BBQ break (brake?)
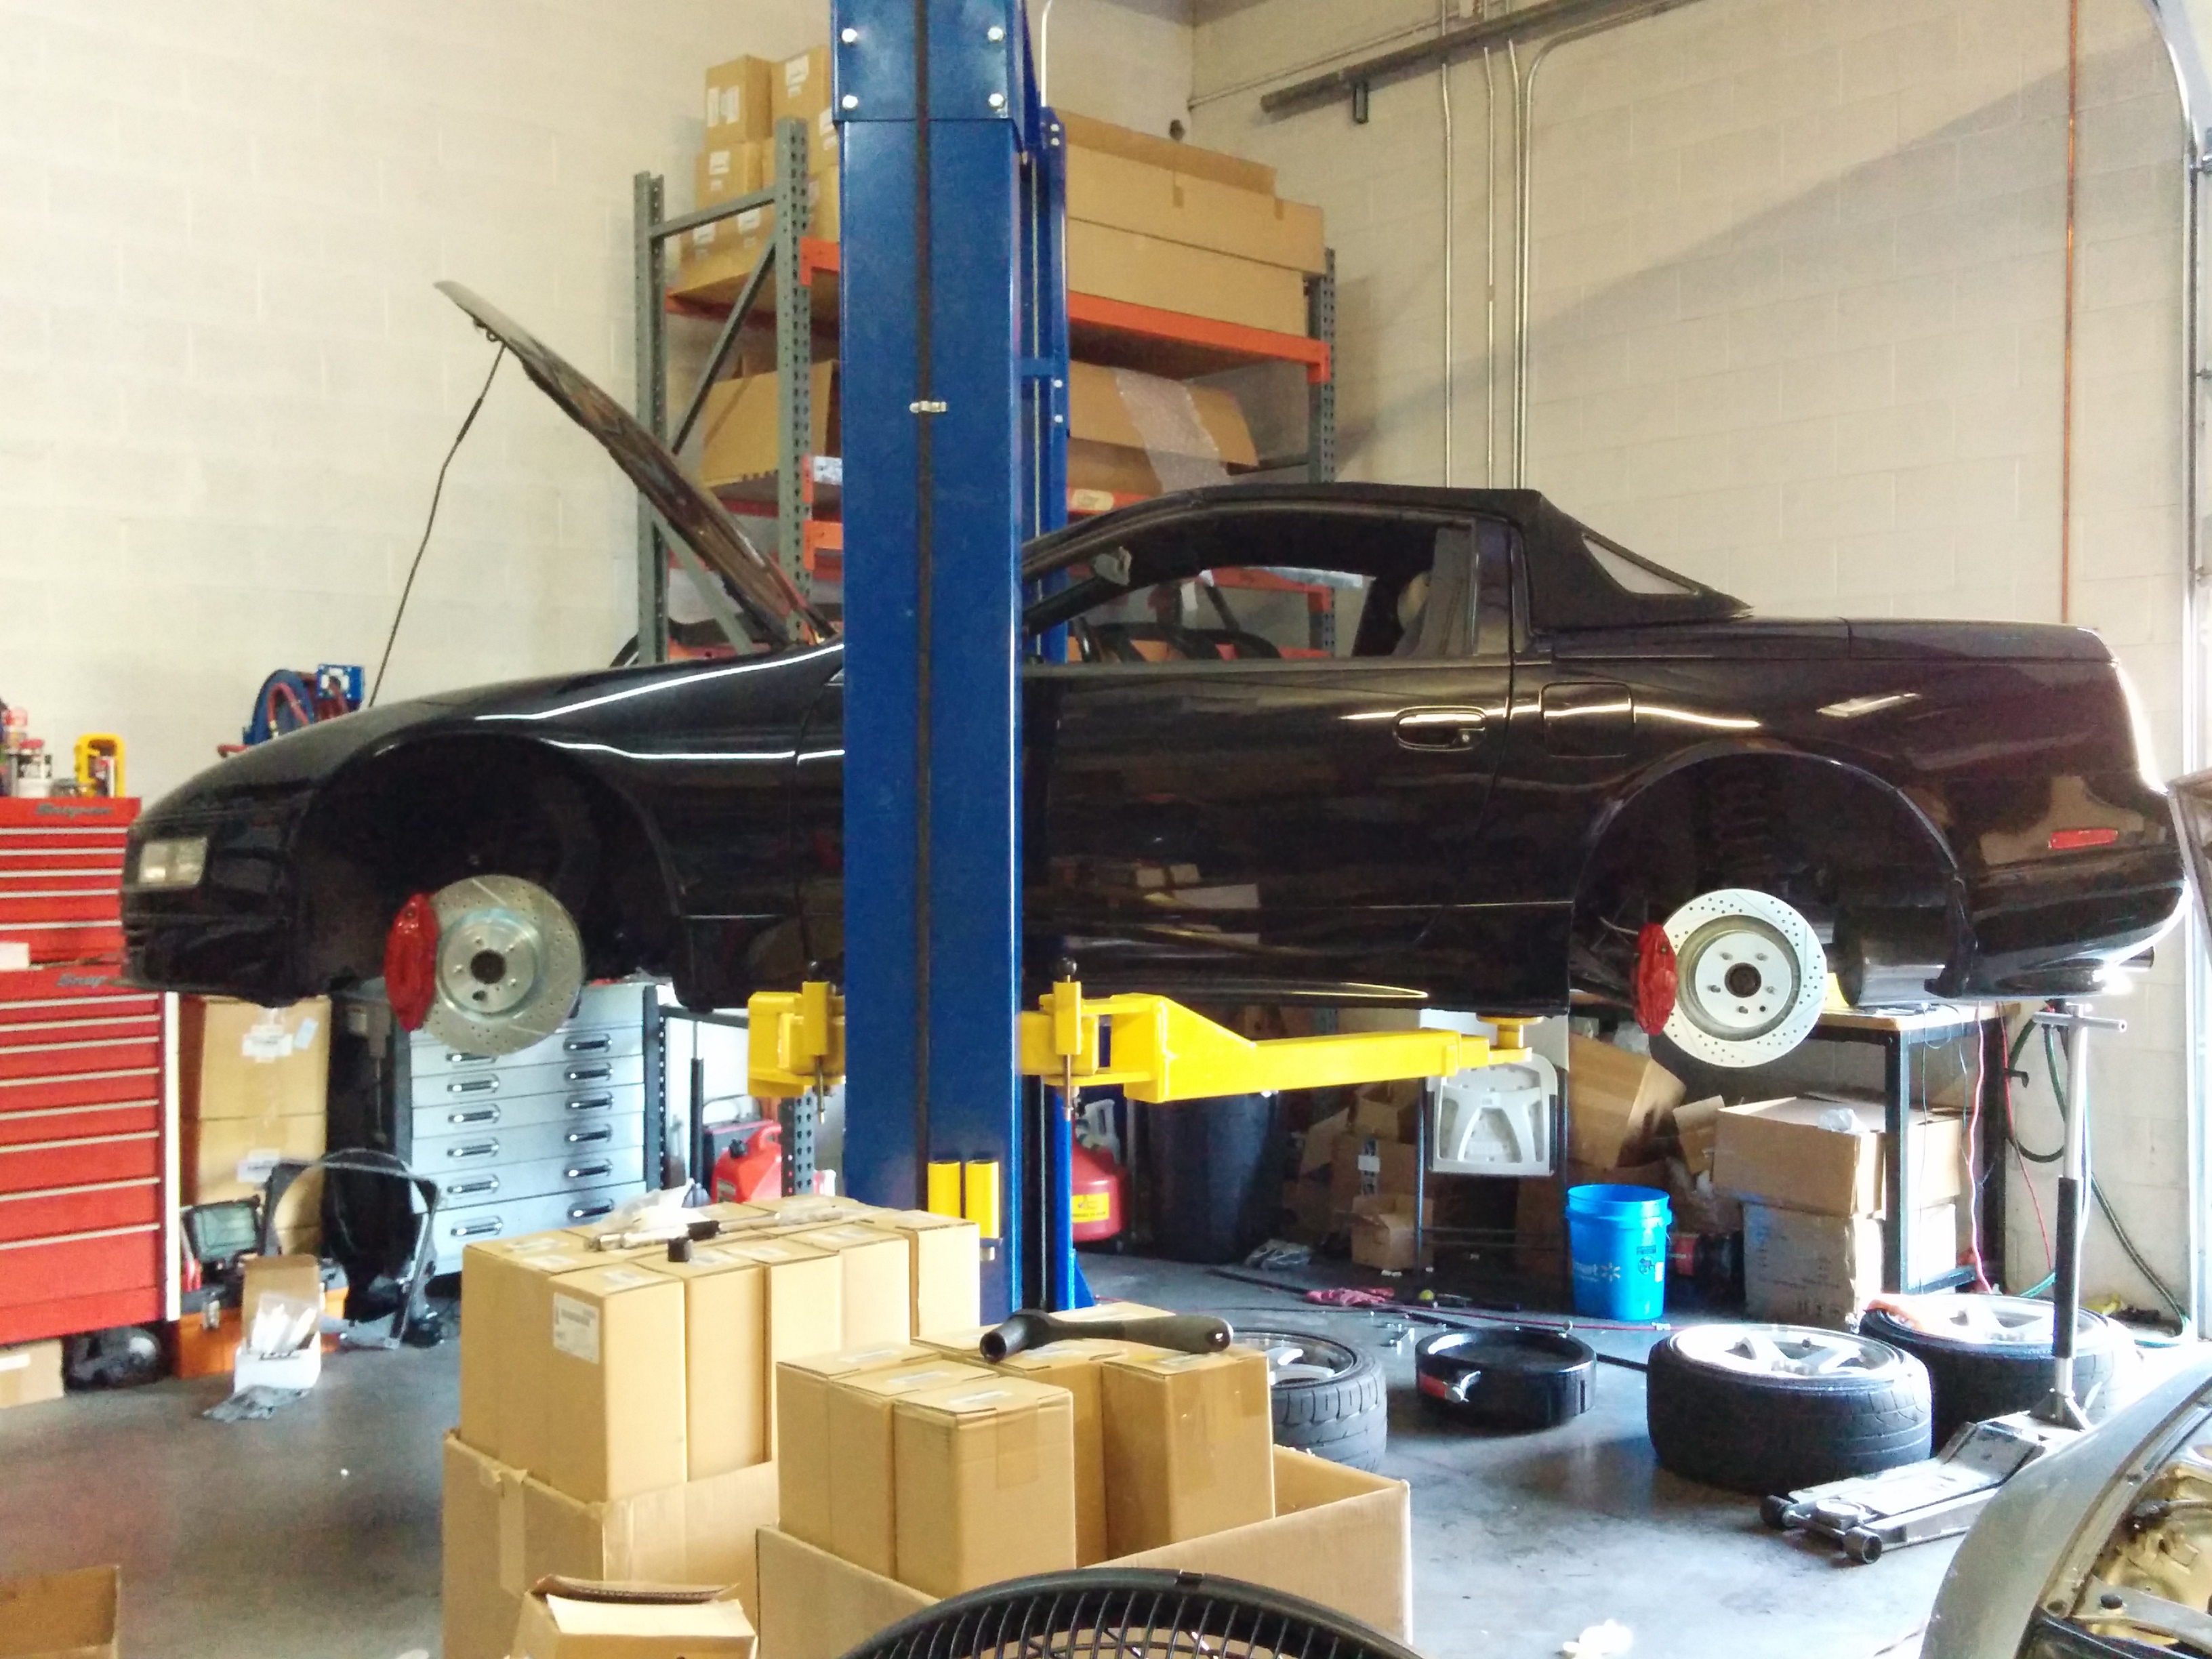
Flying Z!
After that, it was just a matter of bleeding and bedding. The correct order to bleed the brakes on the Z32 is:
- Left Rear
- Right Rear
- Left Front
- Right Front
- Front ABS
- Rear ABS
To make it more complicated, the Akebono calipers have both inner and outer bleeding points. I’ve heard two schools of thought: to either bleed the entire system using the inner bleeder, then the entire system again using the outer bleeder or doing them in the normal order, but doing inner first, then outer, then moving on to the next caliper. We used the latter method and it worked great.
And here’s the final product. These fill out the wheel much nicer!
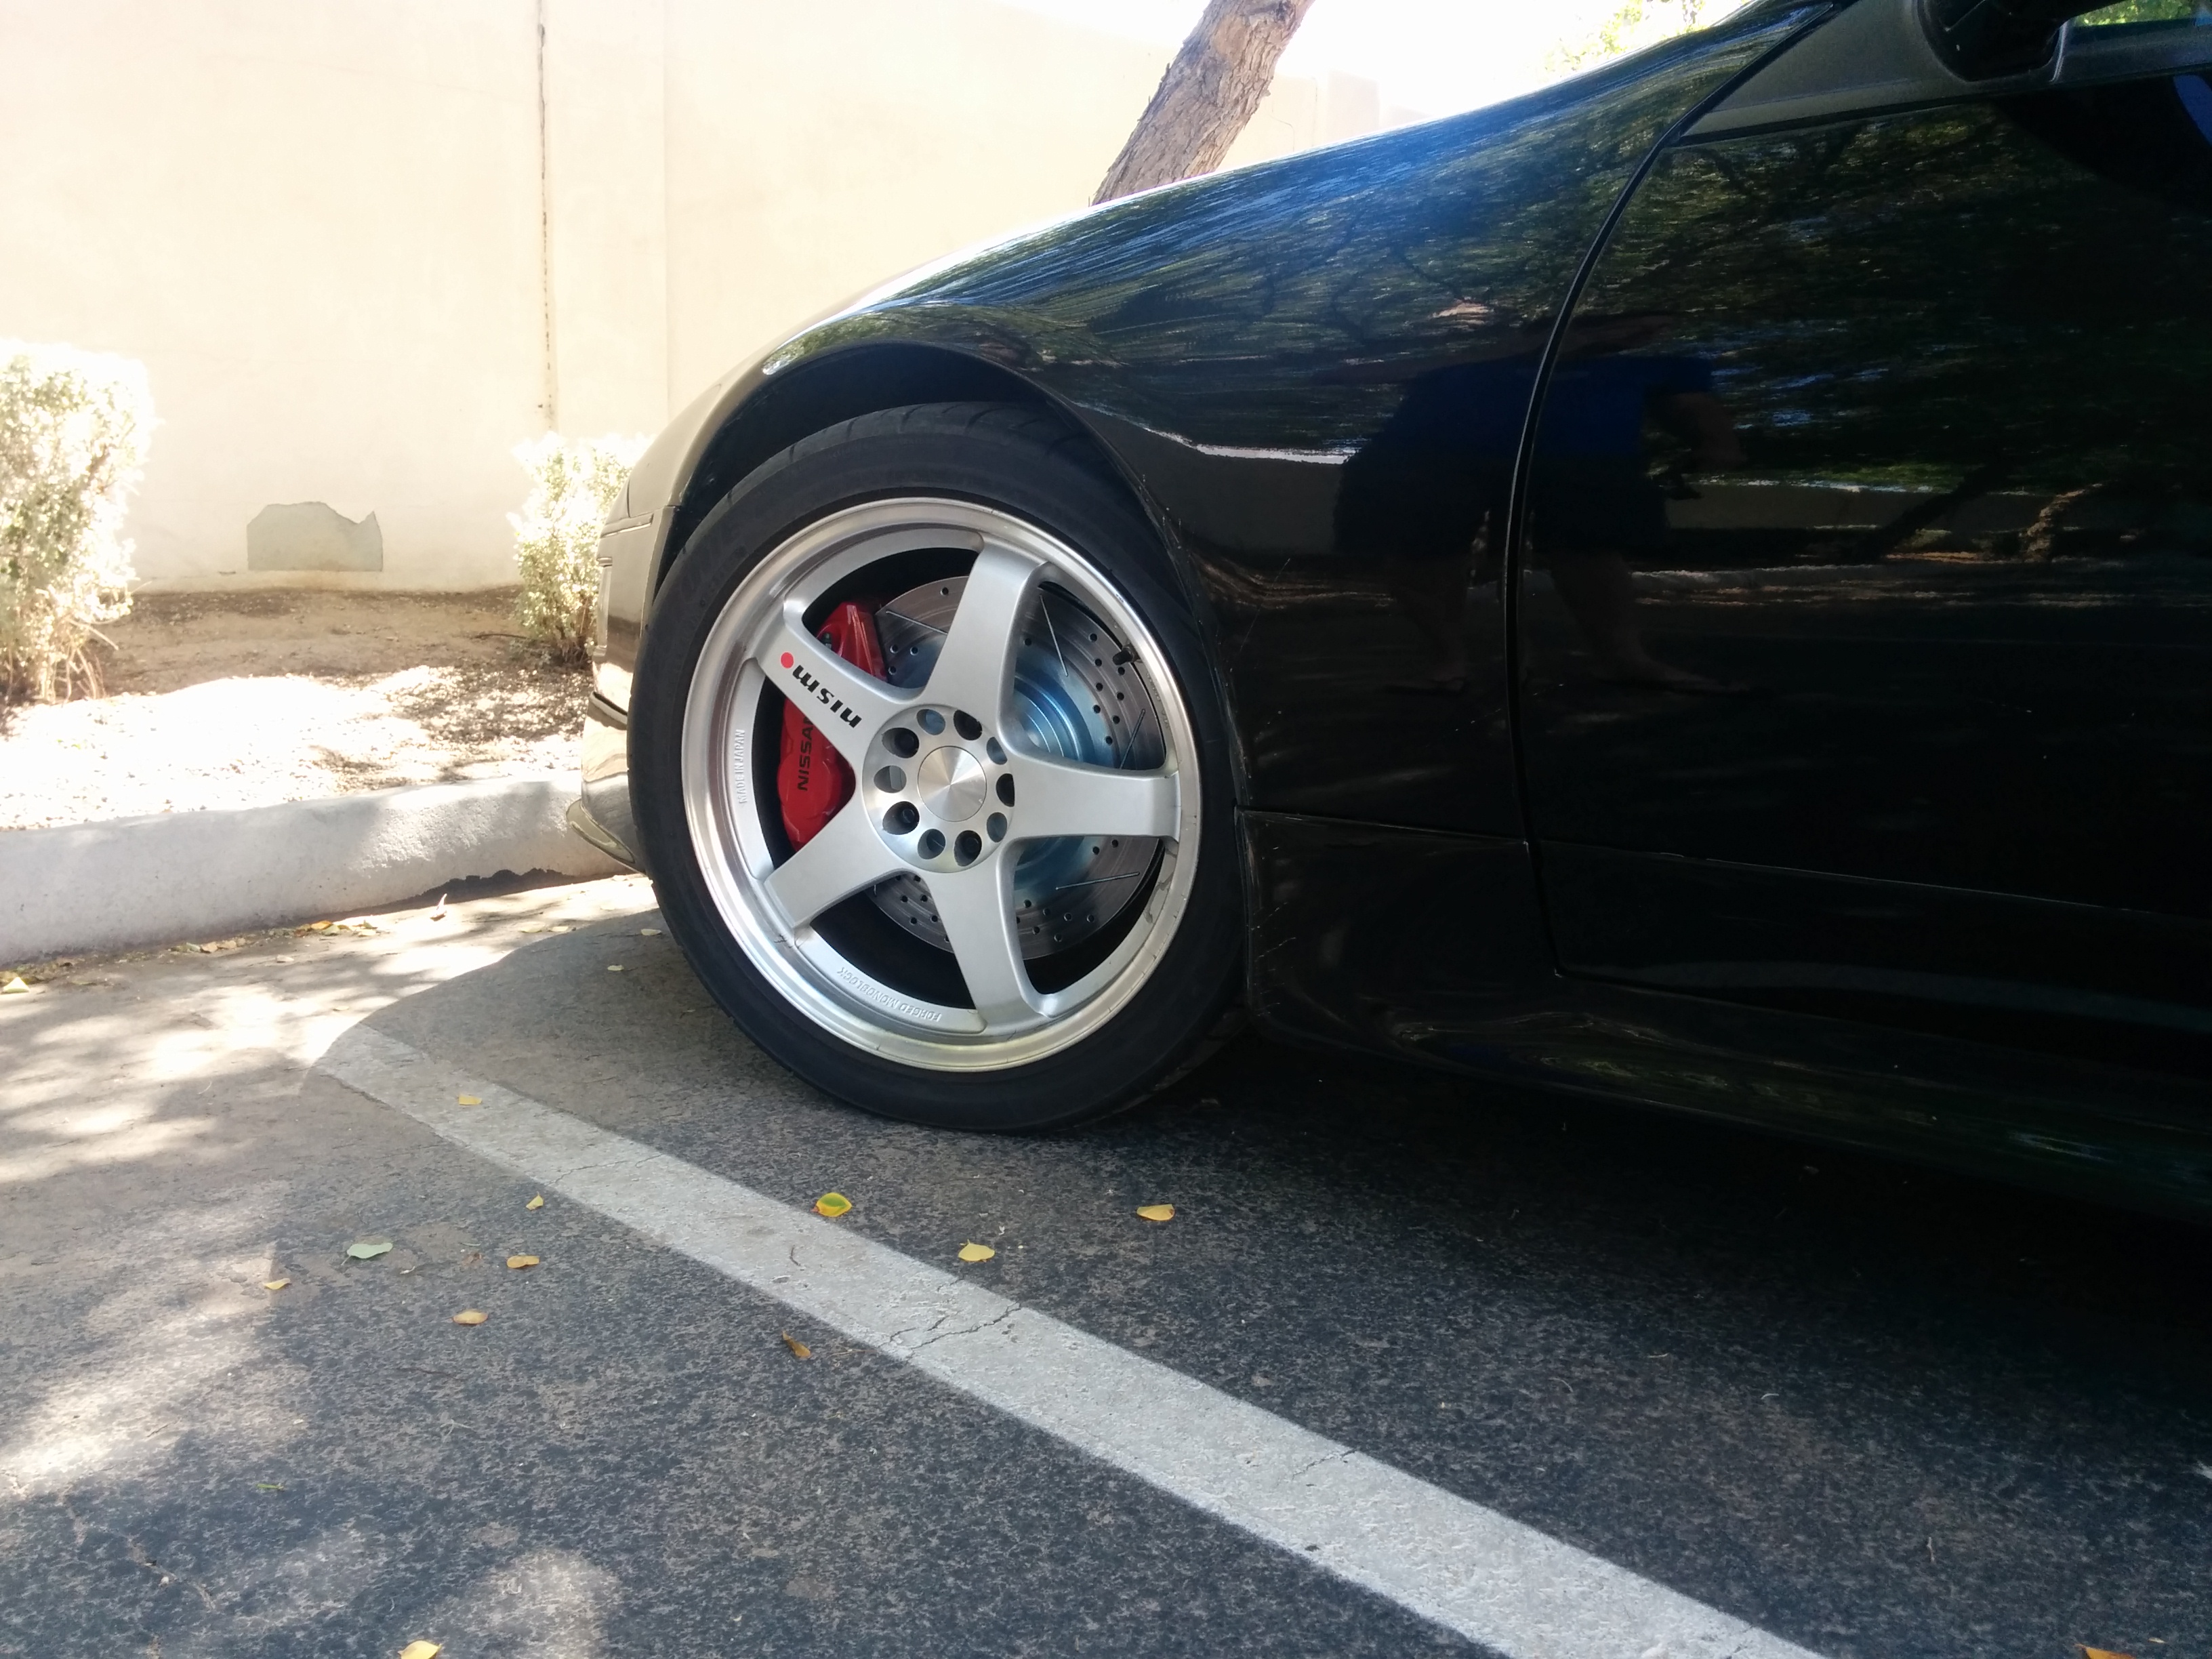
Front Wheels

Rear Wheels