I joked a few months ago that we should get a CZP 3D Printer just for the sake of rapid prototyping and making weird one-off parts that aren’t available from Nissan. So needless to say, I was pretty happy when one just showed up in my office a week later. I’ve been playing with it since, both in printing out dumb little toys (like a Dalek) and getting used to some basic 3D modelling to build custom parts, most of which aren’t very interesting or glamorous.
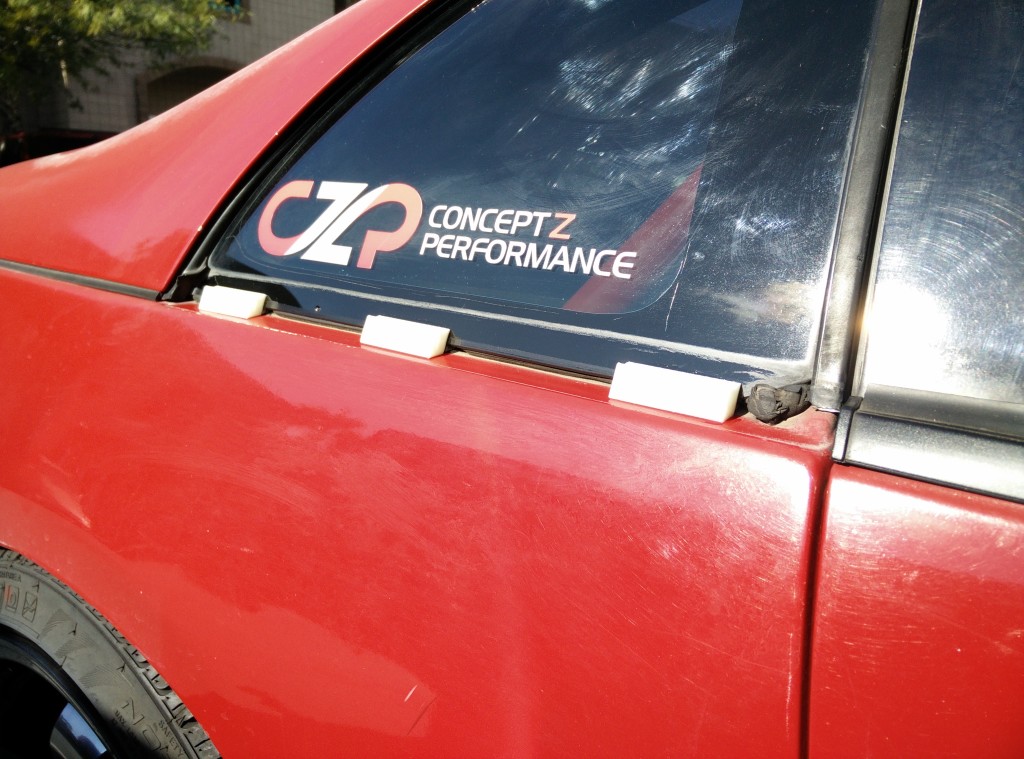
But one I just recently completed is a clip for the 300ZX’s rear quarter windows. The windows have three clips each, which are both clipped and epoxied on from the factory. Nissan has never sold these clips individually, and even if they did, you would have to remove the window completely to install them. Additionally, the clip has kind of a stupid design, where it has a locking tab to hold the molding in place. So to remove the molding, you have to pry the bottom of the molding away from the car first, then lift up. Combined with 25+ years of sitting in the sun, these clips always break when you remove the moldings, so many Zs are running around with loose or poorly-fitting moldings, or no moldings at all for this reason. Oh, and the cherry on top? Nissan has discontinued almost all of the quarter windows outright.
First, I made a “replica” of the factory clip. I basically got out a caliper and took measurements as best I could on a stock one, still attached to the window. It’s not a 1:1 duplicate, but it’s pretty dang close. Then, I made a modified version, in which I basically chopped off the portion that goes under and around the window. This way, the modified clip could simply be glued to the window and chassis, so you wouldn’t need to remove your window.
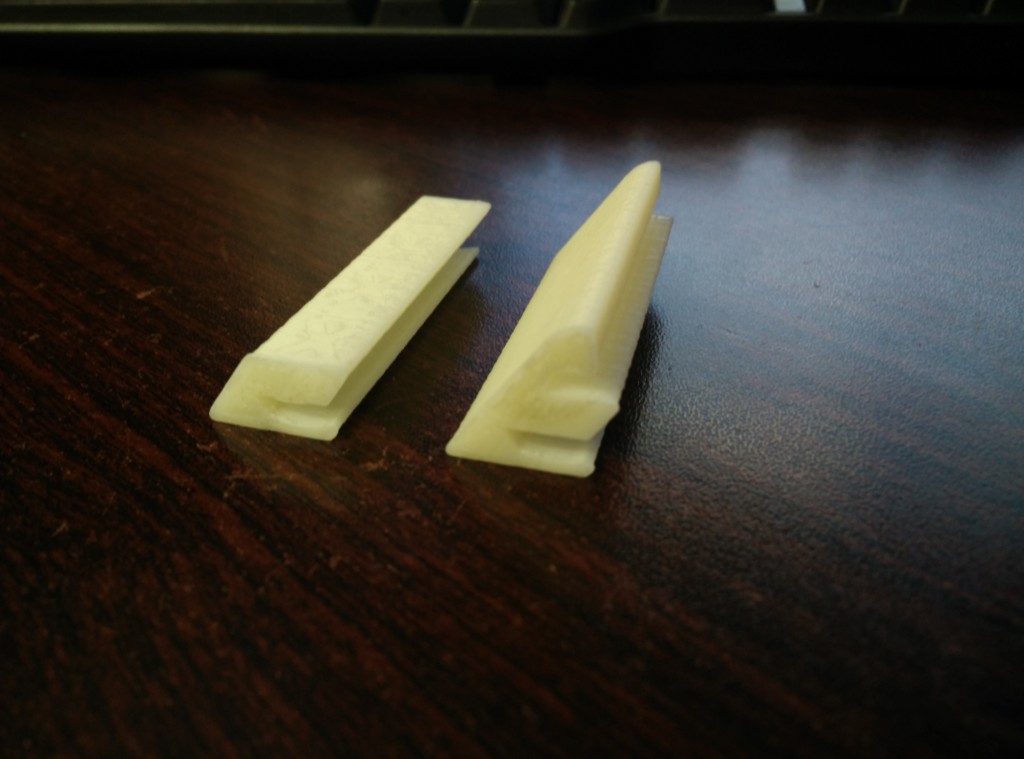
Right: A replica of the factory clip made from scratch. Left: A modify of that same clip, without the segment that attaches to the window.
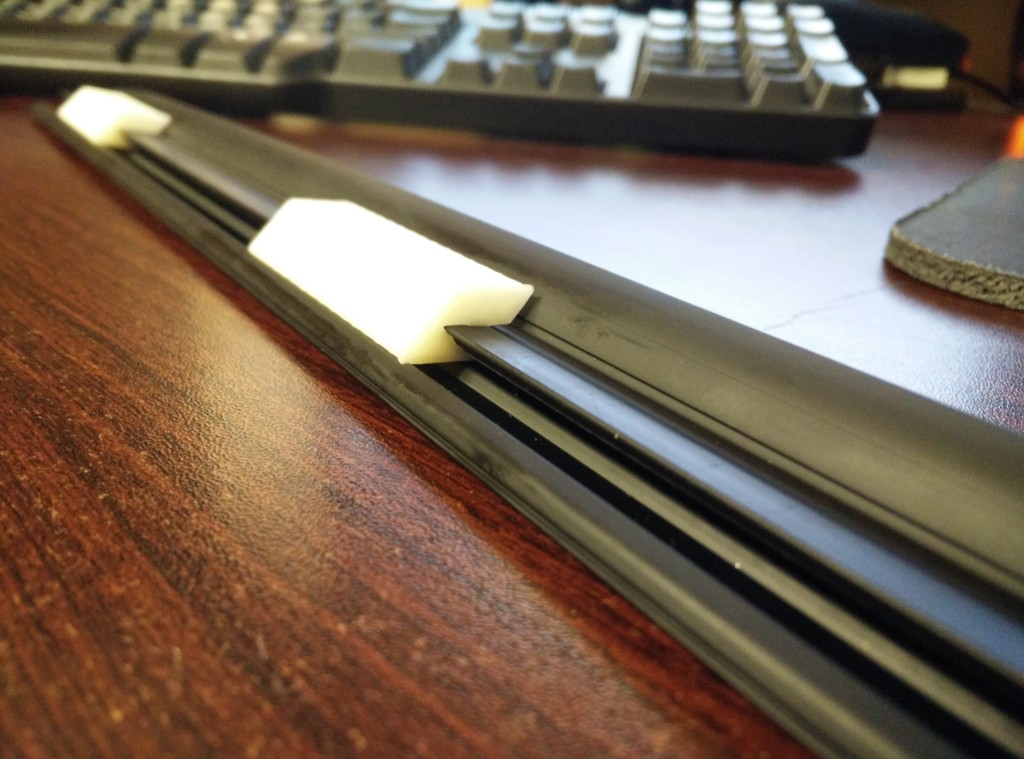
Here’s how it looks when you clip them onto the molding. The design has been revised a few times since this picture.
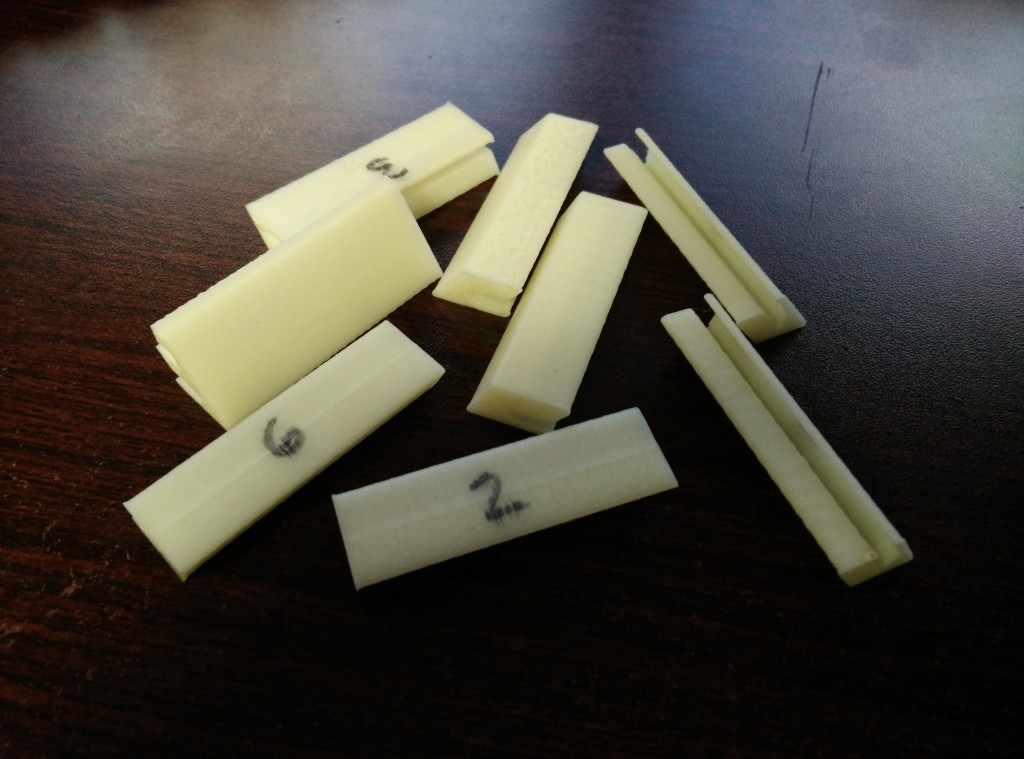
I actually did 7 different revisions to it, to get the angle where it meets the car right, and to change how it attaches to the molding. As I mentioned, the factory clips have a tab that locks the molding onto it, so I altered the design slightly. I didn’t even bother with the locking tab, since that’s what causes it to break when you remove the molding, and instead added two little “bumps” to the part that wraps around the molding. There’s a groove in the upper portion of the molding (internally), so the clip now grabs onto that groove to keep it nice and snug.
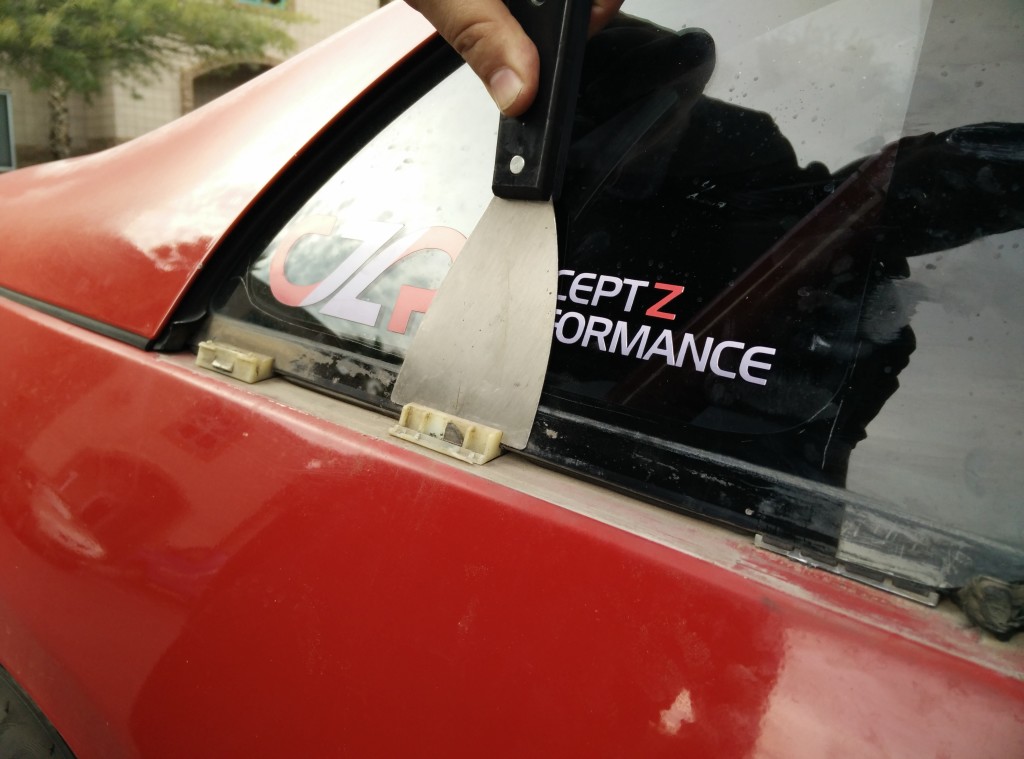
After the 7th revision, I was happy with how it sat on the car and happy with how it clipped to the molding. I removed my molding. Big shock, another one of the stock clips broke.
Luckily, the old plastic is brittle enough that a little bit of abuse is all it takes for it to break off.
Then repeat two more times…
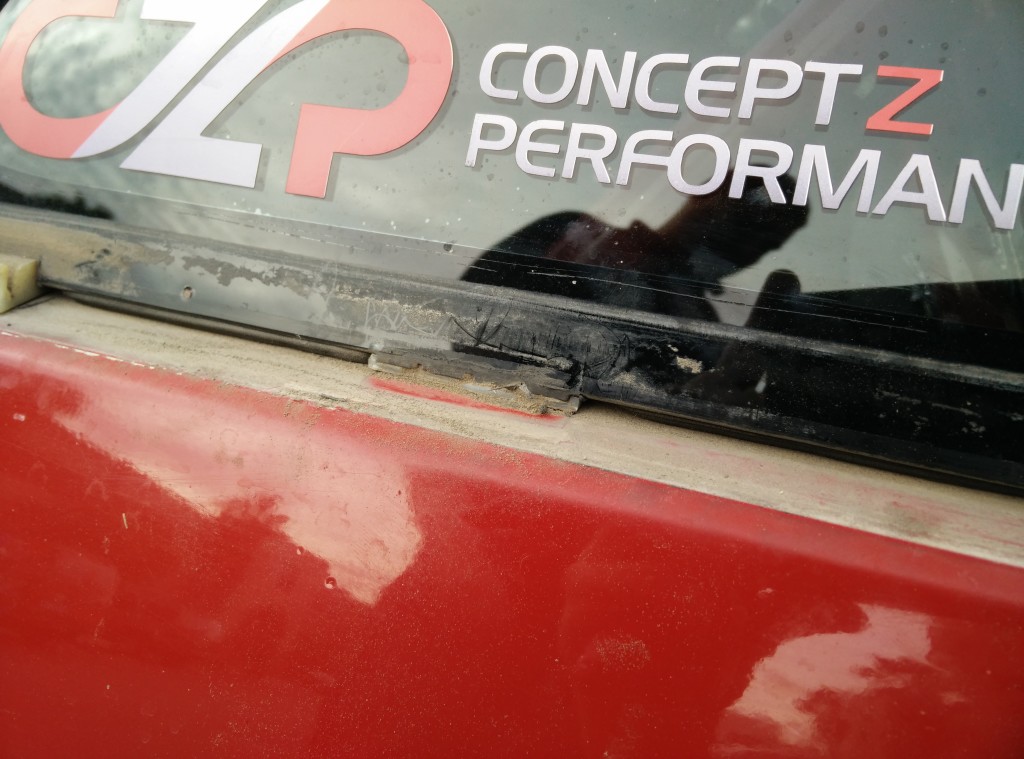
Clean up 25 years of dirt and grime.
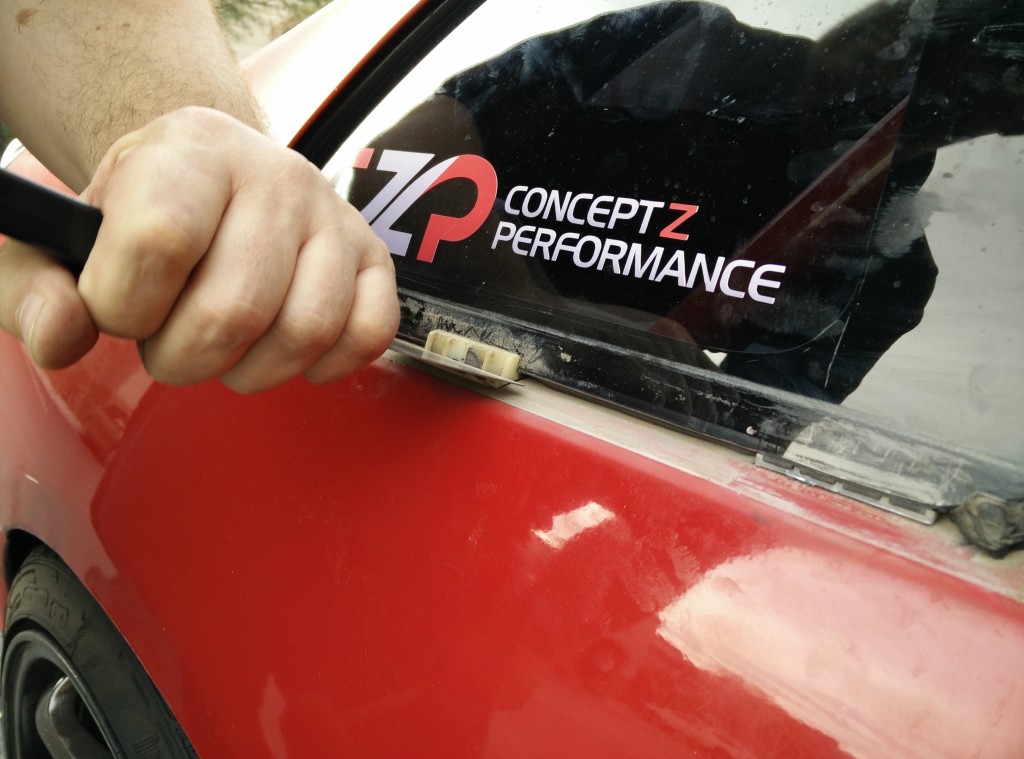
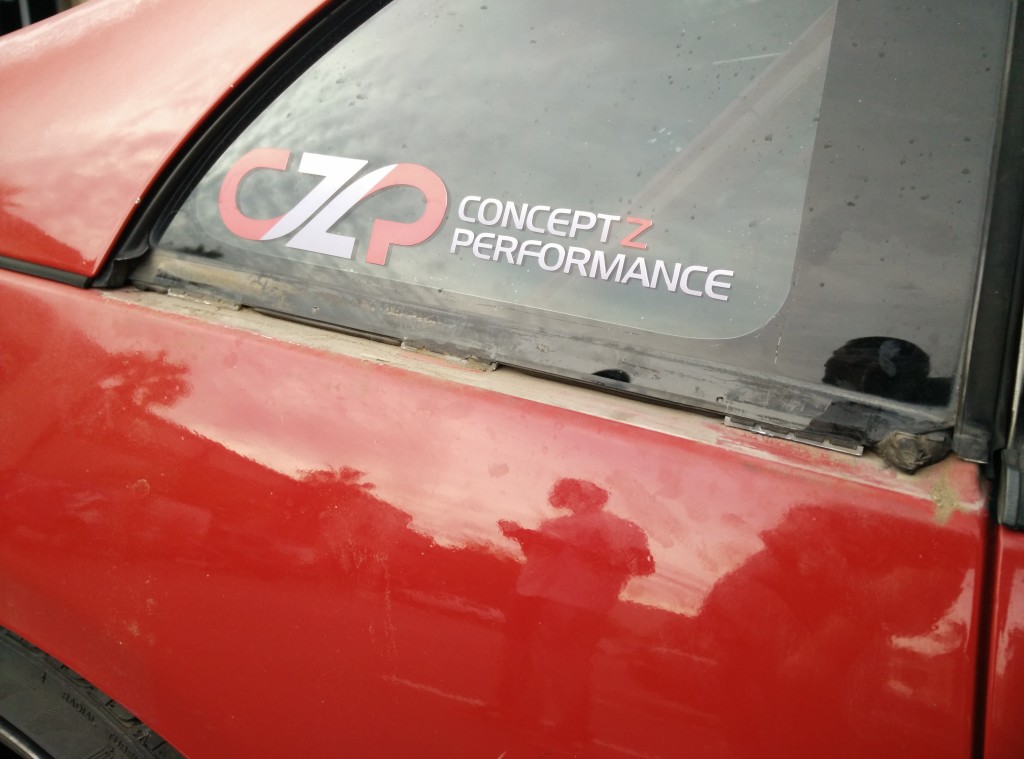
Then mix some epoxy or urethane adhesive. I found it worked best to mix the adhesive on a paper plate, then just dip the clip into it so the back and bottom are coated in adhesive. Then just drop them in place, lining them up with the locations of the old stock clips.
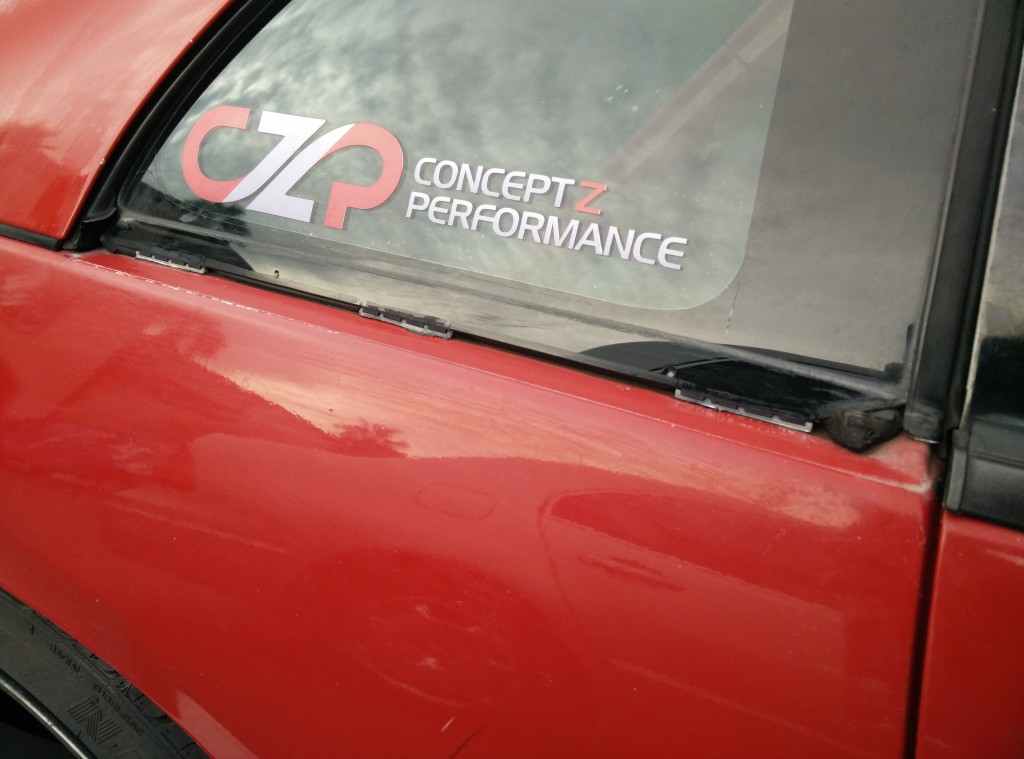
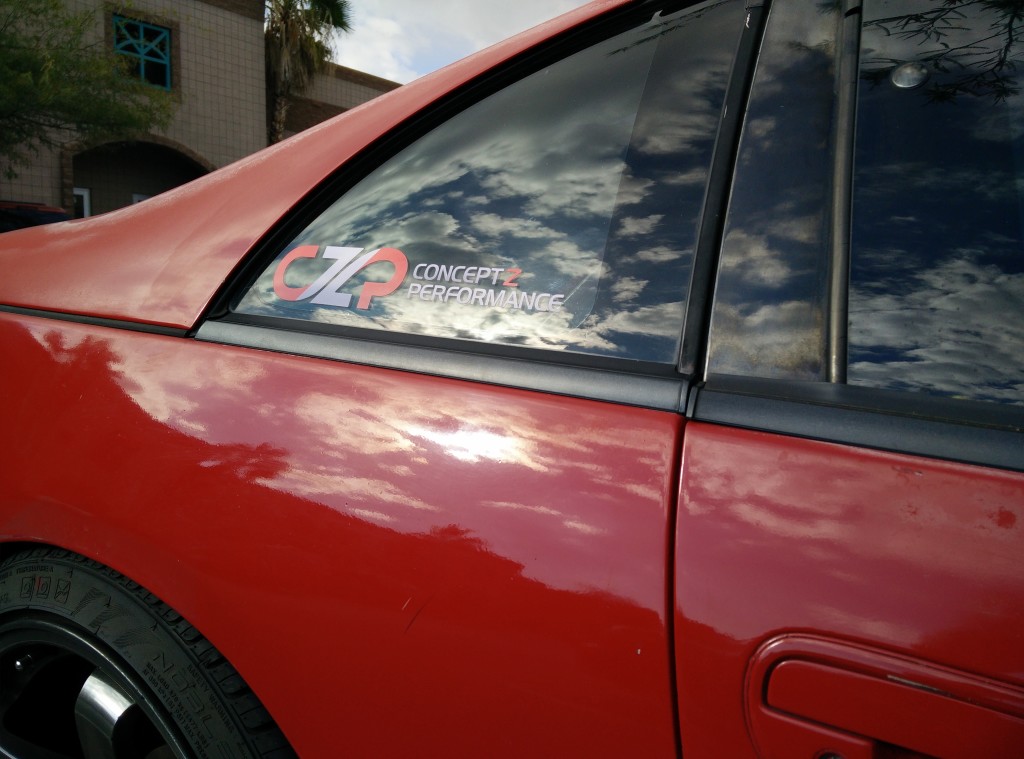
Finally, after waiting for the adhesive to set, just install the old molding again. If you’ve never done this before, insert it into the back-most corner first, under the OEM rubber molding that’s part of the quarter window. Then carefully push them straight into the clips. You’ll need to open the door if that isn’t obvious. And that’s it!
I’ll give it a few days or weeks to see how it holds up, but so far I’m very pleased with how it all came out!
What do you guys think? Would you put 3D-printed parts on your car?
definately~! keep me posted
Awesome work Nick. Can’t wait to see what else is in the works.
How about the tiny plastic end caps that ‘finish’ the mouldings at each end. These have a habit of ‘dissapearing’ and make the moulding look awful.
3D those perhaps
The forward-facing one is built into the molding, and the rear-most end is covered up by the overhanging seal from the weather stripping. But those seals always fail and fall off, so I would really like to make replacement moldings that have their own cap on the rear as well, so you would just cut your old seal off the window and the molding would fill the gap back in. Also, the molding around the quarter window itself isn’t sold separately, so that might be worth making too.
Very nice work. 3D printers are definitely opening up the world to newly designed aftermarket parts. Whilst i got lucky with my original clips when i replaced the moldings. This part will be a valuable piece for many restorations or updated vehicles. Solid work there!
I agree, I have always thought 3-D printing has it’s place and is part of the solution for reproducing parts, especially interior and trim.
The convertible Z32 has many parts this could be useful for that are no longer available from Nissan
Great job Nick!
I have a suggestion for another molding clip that isn’t available from Nissan. It’s the very last clip for Slicktops that hold the main roof molding on. All the others are the same and all white, but the very last clip is white and black and is physically shorter (in terms of height, not length) that the others. If you look at most Slicktops that have had their moldings replaced, you’ll notice the end closest to the hatch is sitting too high. I don’t have a Slicktop anymore, but I ran into this problem. Just a thought!
Great idea, one of our guys here has a slicktop and I think he’s due to replace the roof moldings on it. I’ll see if I can get my hands on it!
I have been dealing with this issue on my ’95 slicktop. Just had new moldings installed, using new clips and the back ends of the moldings sit up too high exposing the clips from the side. Any ideas on how to get a proper fit?
I’ve heard you can just shave down the white moldings to make them sit at the same height as the black ones, but I haven’t actually tried myself to confirm or see the details there. Nissan basically pretends the black ones on the slicktop don’t exist. I’d like to make a replica if I could get my hands on one!
If I could be certain that the materials used in the 3D printing were of the same or better quality as the OEM, then yes, I would use 3D printed parts on my car. I would encourage lots of quality assurance tests – heat, cold, bending, breaking, corrosive material exposure, and so forth.
Would I put 3D printed parts on my car? Really depends on material quality. My impression now is that something like this wouldn’t be great long term.
Also, I noticed your quarter and door moldings don’t exactly line up. I have the same issue on my drivers side with new moldings. I think its because my door mounts have sagged. I need to do that adjustment some day…
Nick, This is awesome…. I work for a company that sells 3D design software and printers and have access to various types of printers and materials. I was curious if you’d be willing to share either the solid model, or the STL file… My clips are busted also
Hey can I buy some of these from you?
We’ll have them up on the website here soon
Now if you could come up with a way to fix the problem of the rubber seal that covers the end of molding. I know that rubber seal only comes with new rear quarter window. Maybe make rubber piece that could cover the end of the molding. Cover end of molding and run up window seal and hide finished end under hatch. Old seal becomes dry rotted and breaks away leaving end of molding exposed.
Nice job!
Ntce, just let me know when i can order mine! Oh an Nick, Next could you make something for the (2 upper) screw hole’s on the “Cluster Lid” above the AC vents. Thanks
I actually put them online because I got so many requests for them:
https://conceptzperformance.com/Cart/description.php?II=18101
For the screw holes, are you talking about these?
https://conceptzperformance.com/search.php?search=Radio+bezel+top+screw+finisher+LHD
It’s funny your selling a part that can be scanned a reproduced. Why don’t you just sell the file? Lol I have a Z logo emblem I created on thingaverse.com. It’s free to download!
Great idea. Keep looking forward.
Now, how about some 3D end pieces for the T-Top hook finisher to replace the dried, faded, cracked rubber ?
That I would really like to see, but probably not suited in ABS plastic. There is a newer technology of 3D printing that would make this possible with a more rubber-like material:
http://carbon3d.com/
I think this is great Nick. This opens a whole new world for us Z32 owners. With the ability to (cheaply) print items that Nissan has discontinued, maybe we can actually stop relying on parts cars for the odd bits and ends. Maybe we can actually start putting NEW parts on, not just ones that are used (But haven’t broken yet).
There’s a 3D printer at the library near my house, I plan on 3D printing some gauge pods, I’ll have to paint them to match the interior. But they’ll look awesome. And by awesome I mean totally ghetto. But that’s what I enjoy.
I think “Ghetto-fab” is the term you’re looking for!
Great idea! I would definitely consider using 3D printed parts for trim pieces for both the exterior and interior. This 3D printing would be great for the small “odd” pieces- like a part that cannot be purchased separate as an OEM replacement part without purchasing the full assembly.
So pics of the 3d printer?
It’s nothing special, it’s a daVinci 1.0 AiO:
http://us.xyzprinting.com/product/dv10aio
But the scanner it came with is basically useless
You should post the .stl file on Thingaverse.com! Or send me a copy of the file! lol
lol
Why would you say the scanner in the Da Vinci AIO is useless?! It works great for mine! Lol
Pretty sure ours is defective. Not a single thing we’ve tried scanning (even simple plain white pill bottles) come out correctly. There are huge pits and valleys missing, random artifacts all over the place. daVinci support was equally useless
I am really impressed that you were able to print and modify the clips.Is there anything that a 3D Printer can’t do? I am half convinced that pretty soon you will be able to print the car window itself instead of just the window clips.
Nice job. 3D printing is great. I would hope that someone would design wheel center caps in black or chrome with the Z logo on them. Could it be a hot item?
Nice post.
Yes!