We generally like to run new harnesses on the Z32 because the wiring harness is so prone rotting and baking, so it corrodes and cracks and causes all sorts of running issues, but sometimes it’s necessary to just replace one or two connectors.
I’ve grown very fond of these solder sleeves my friend Pat turned me on to. They basically consist of transparent shrink tubing, with adhesive, solder, and flux all in one, and they don’t require any soldering iron to put use, just a heat gun. So in addition to basic harness construction, I wanted to show how to use these solder sleeves as well. In this example, I constructed 6 injector adapter harnesses, which allowed the customer to run new style injectors with his old style harness without having to do any cutting or splicing on his part.
First, I trimmed them down slightly, as the pigtails were too long to use.
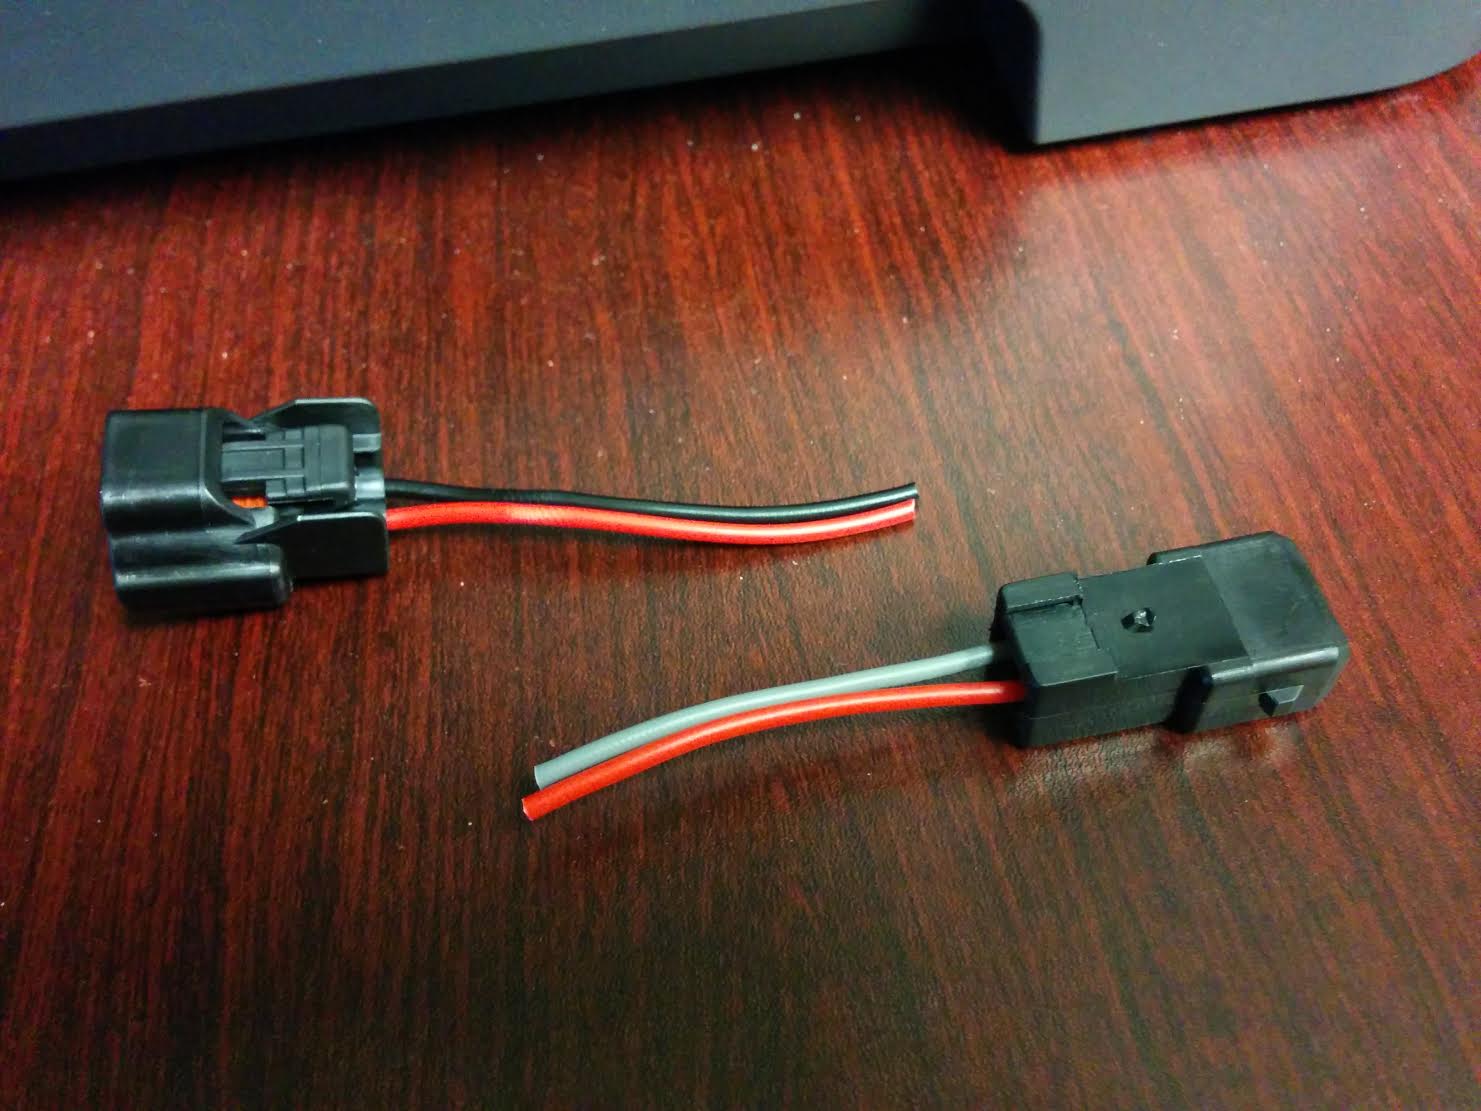
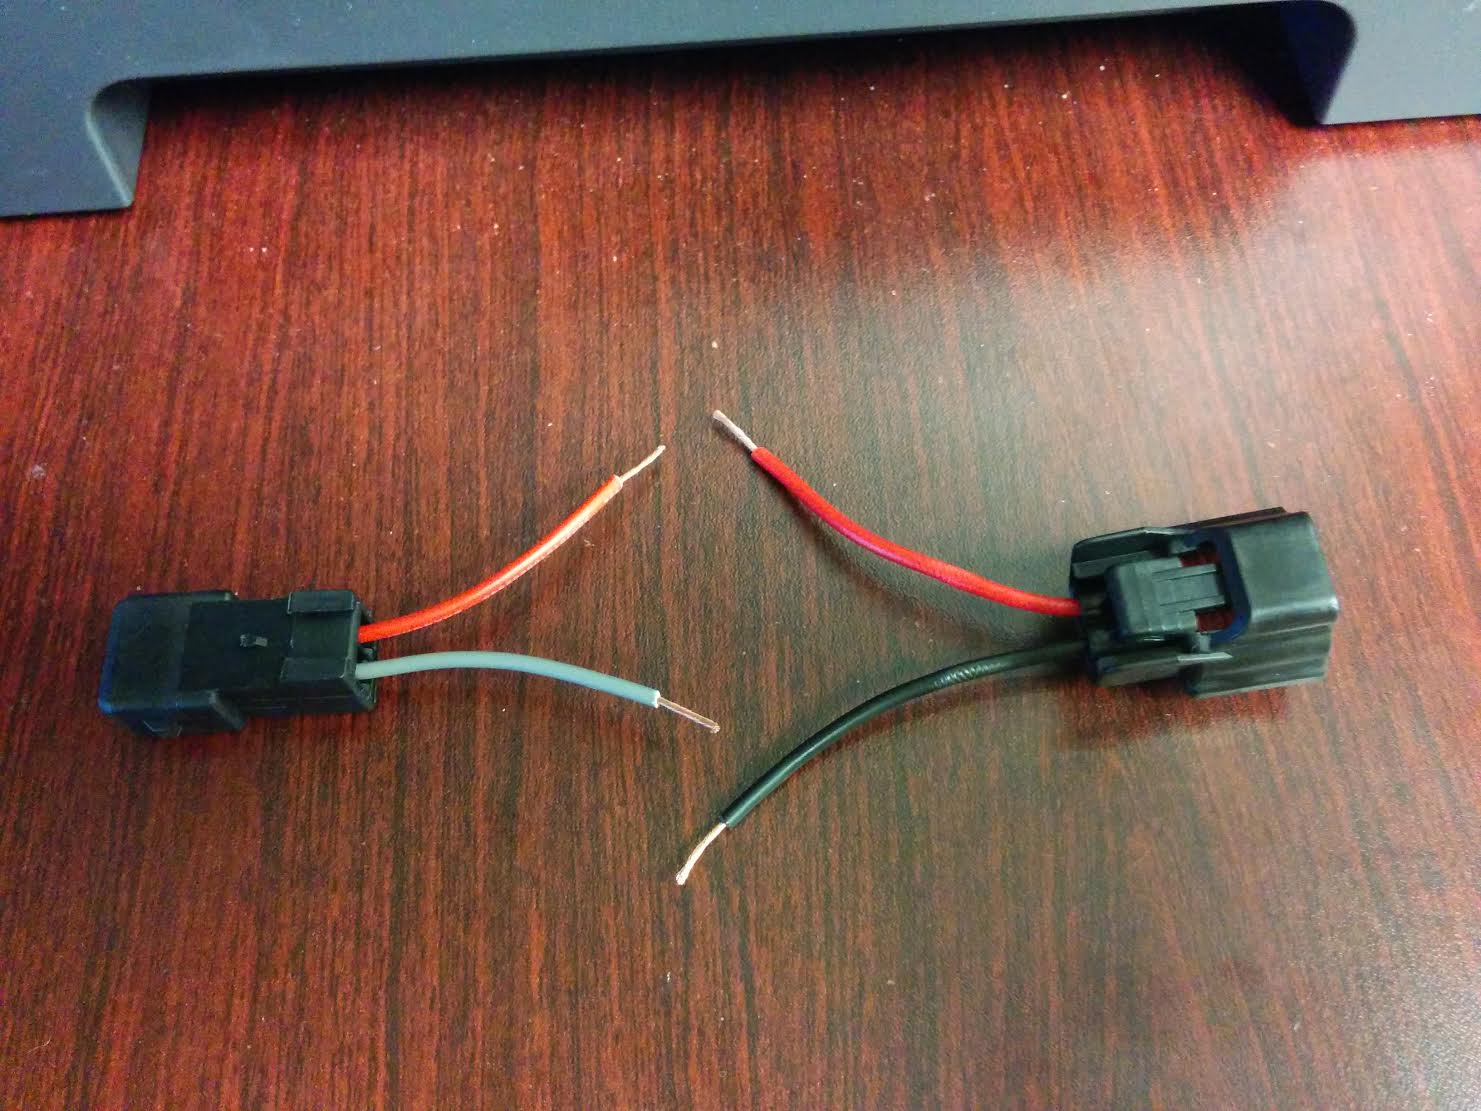
Then, strip each wire to get them ready to be spliced. While injectors aren’t polarized, I like to make the colors match (red to red and black to grey in this case).
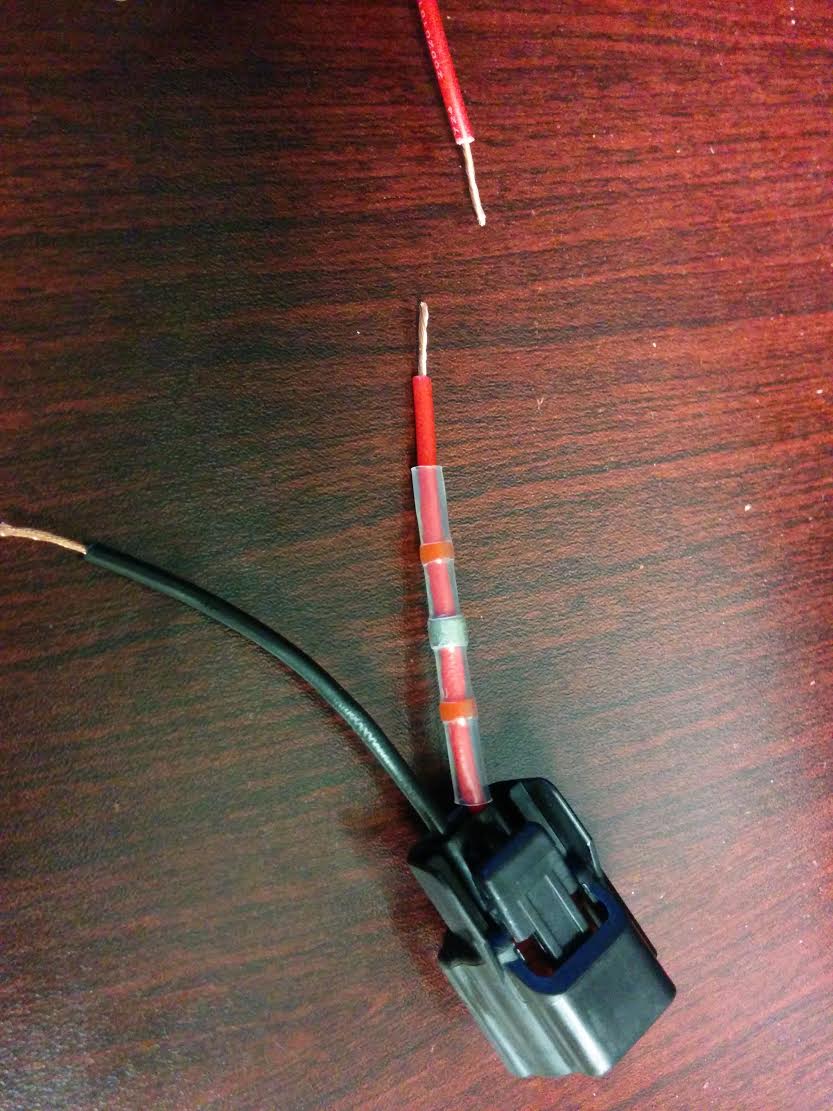
Slide the solder sleeve down one of the wires you’ll be joining.
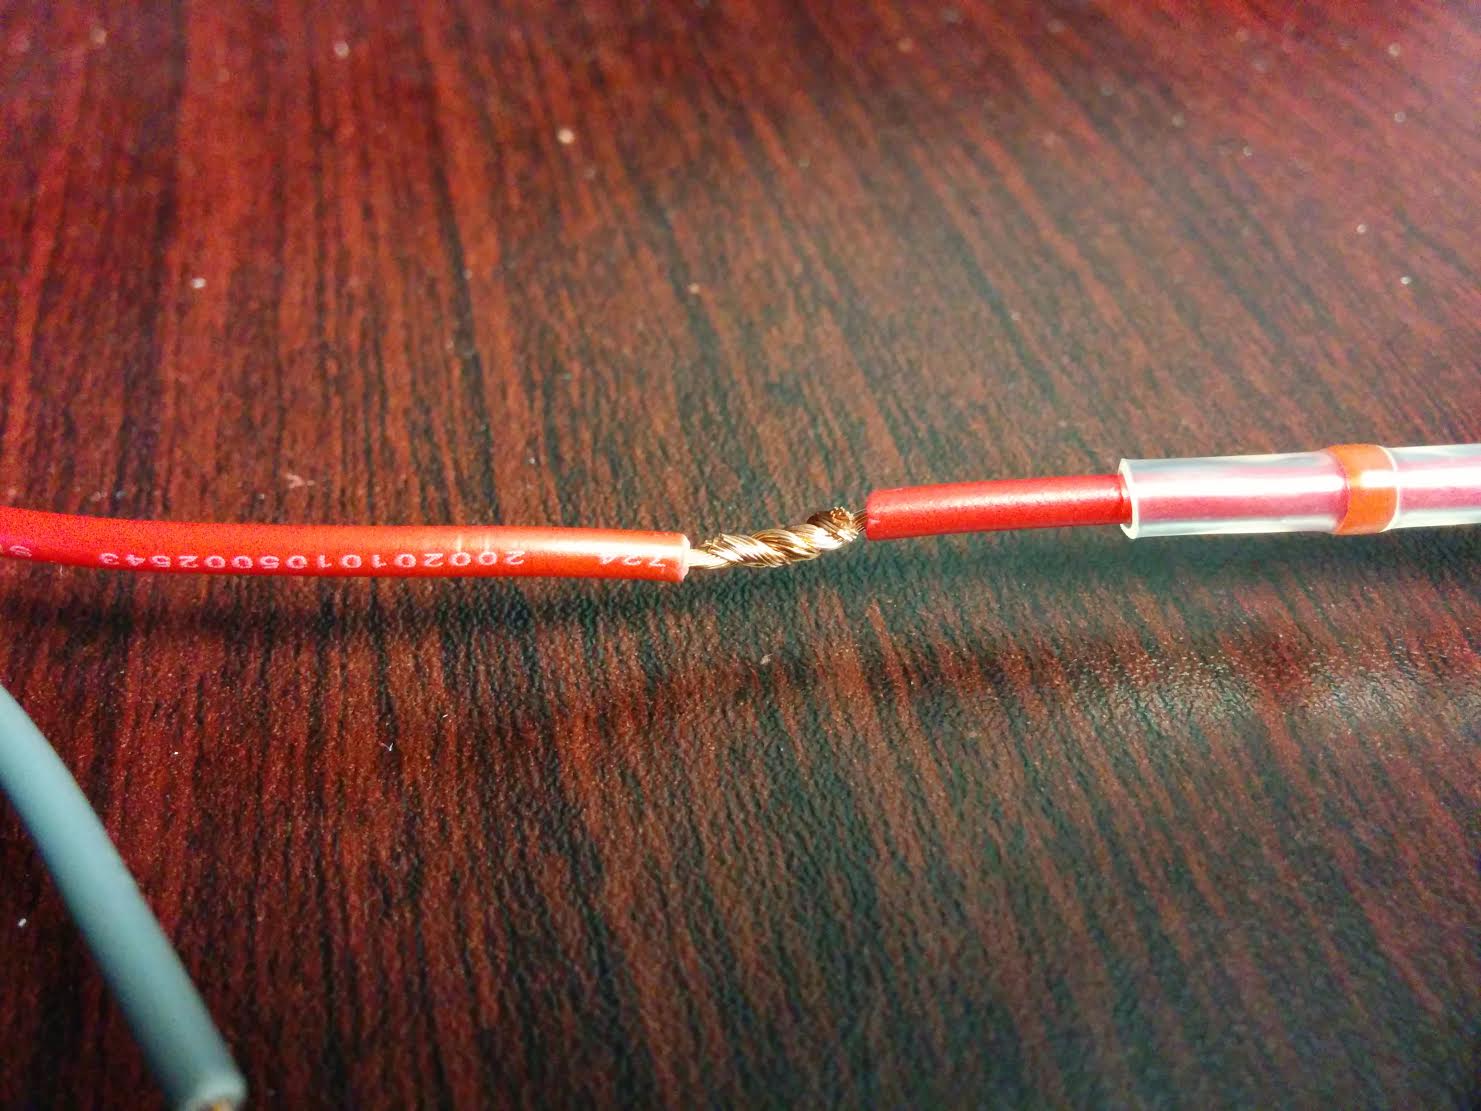
Then twist them together to make a tight, straight union.
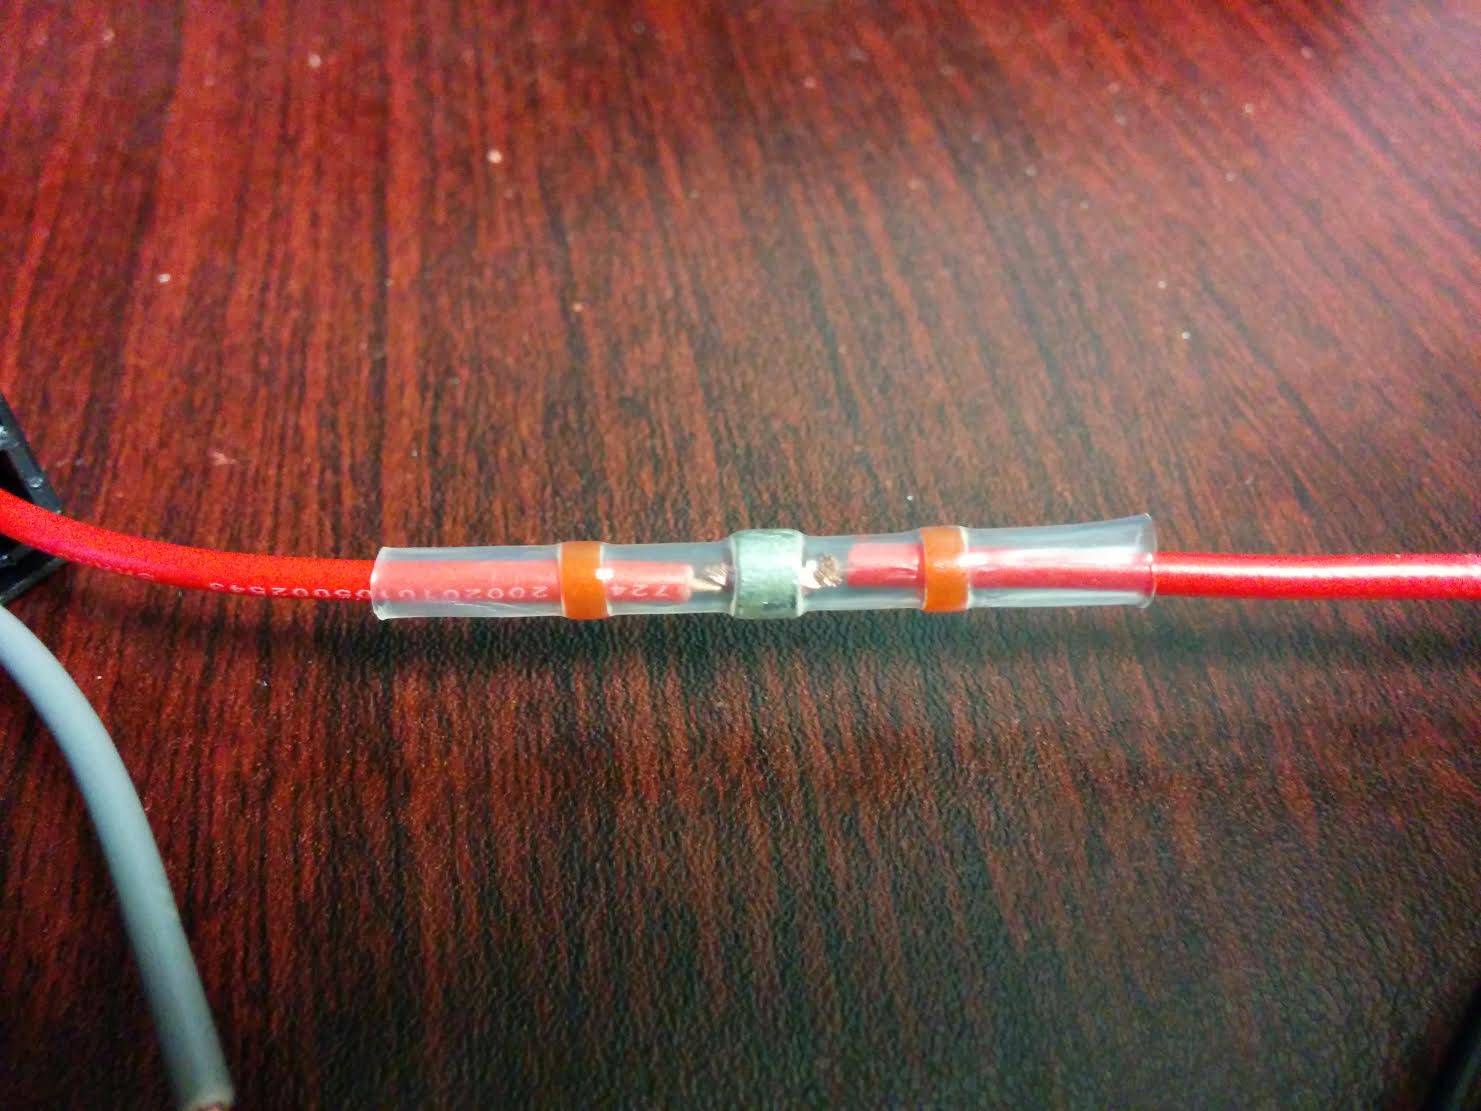
Slide the solder sleeve over the union. The solder should be centered on the joint, with the adhesive rings on the wire’s insulation. This prevents solder from leaking out when you’re heating it, and prevents the adhesive from landing on the solder joint.
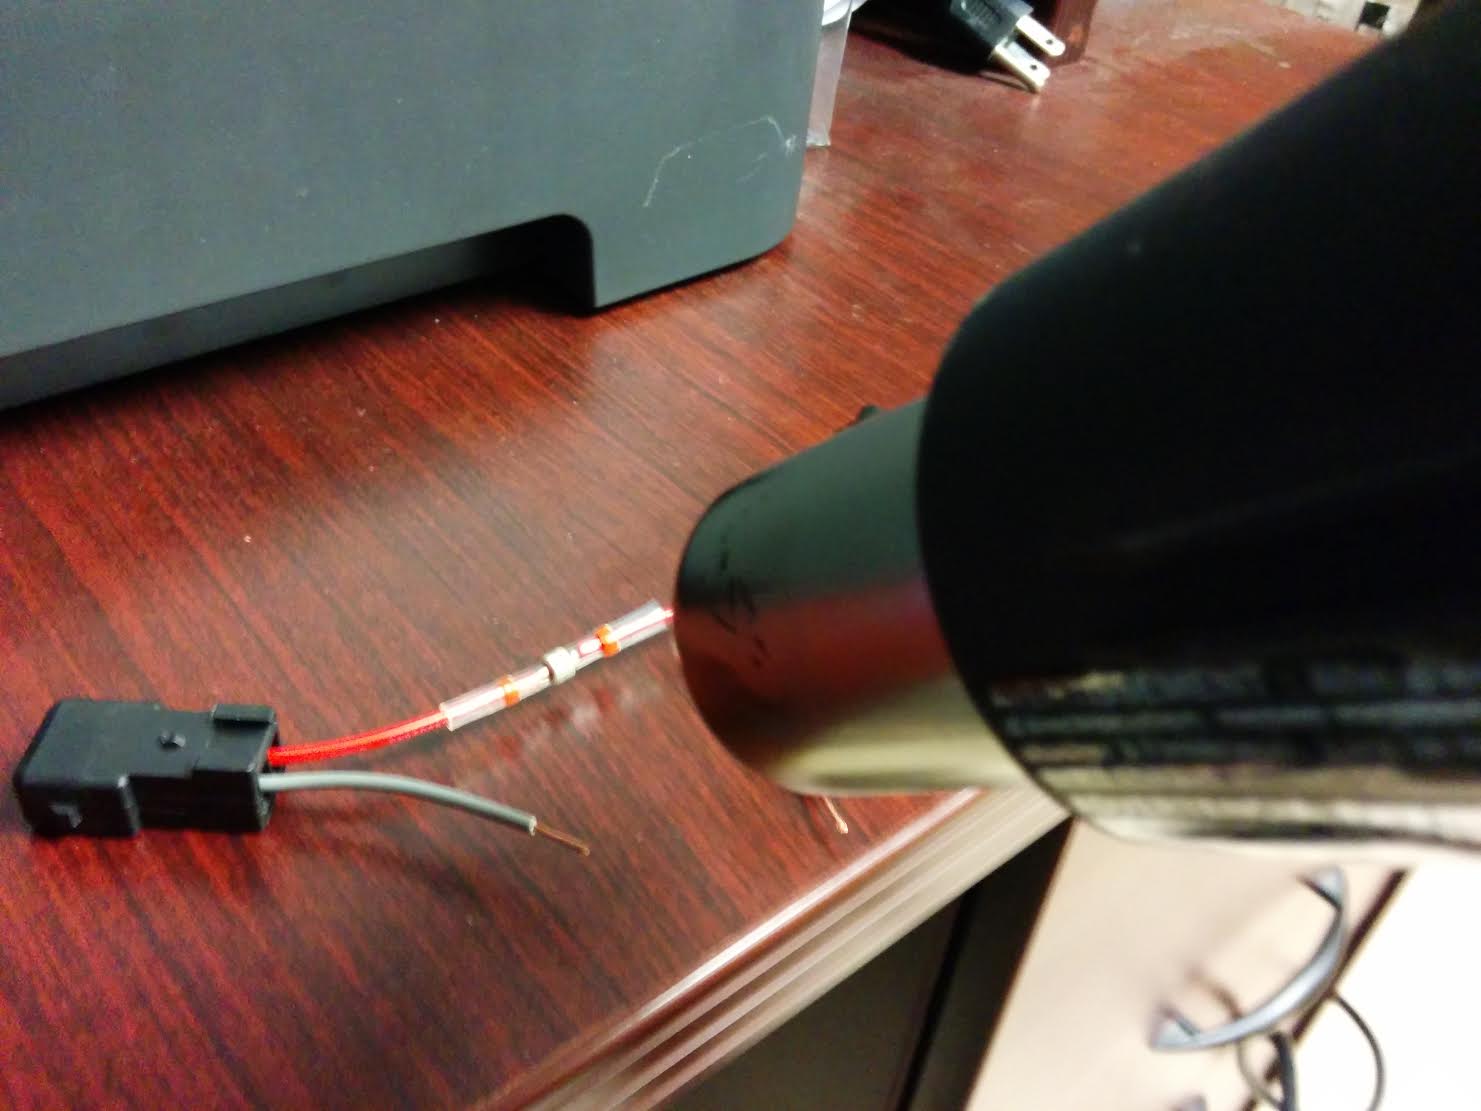
Then just aim your heat gun at it on High, and move it back and forth to evenly distribute the heat. I tend to focus a little bit more on the outsides first, to make sure the adhesive closes around the wires before letting the solder melt. When you heat up the solder ring, you’ll see the flux bubble slightly before it “pops” and collapses on the union. Continue applying heat until you see the solder evenly distribute throughout the “cavity” around the wire union.
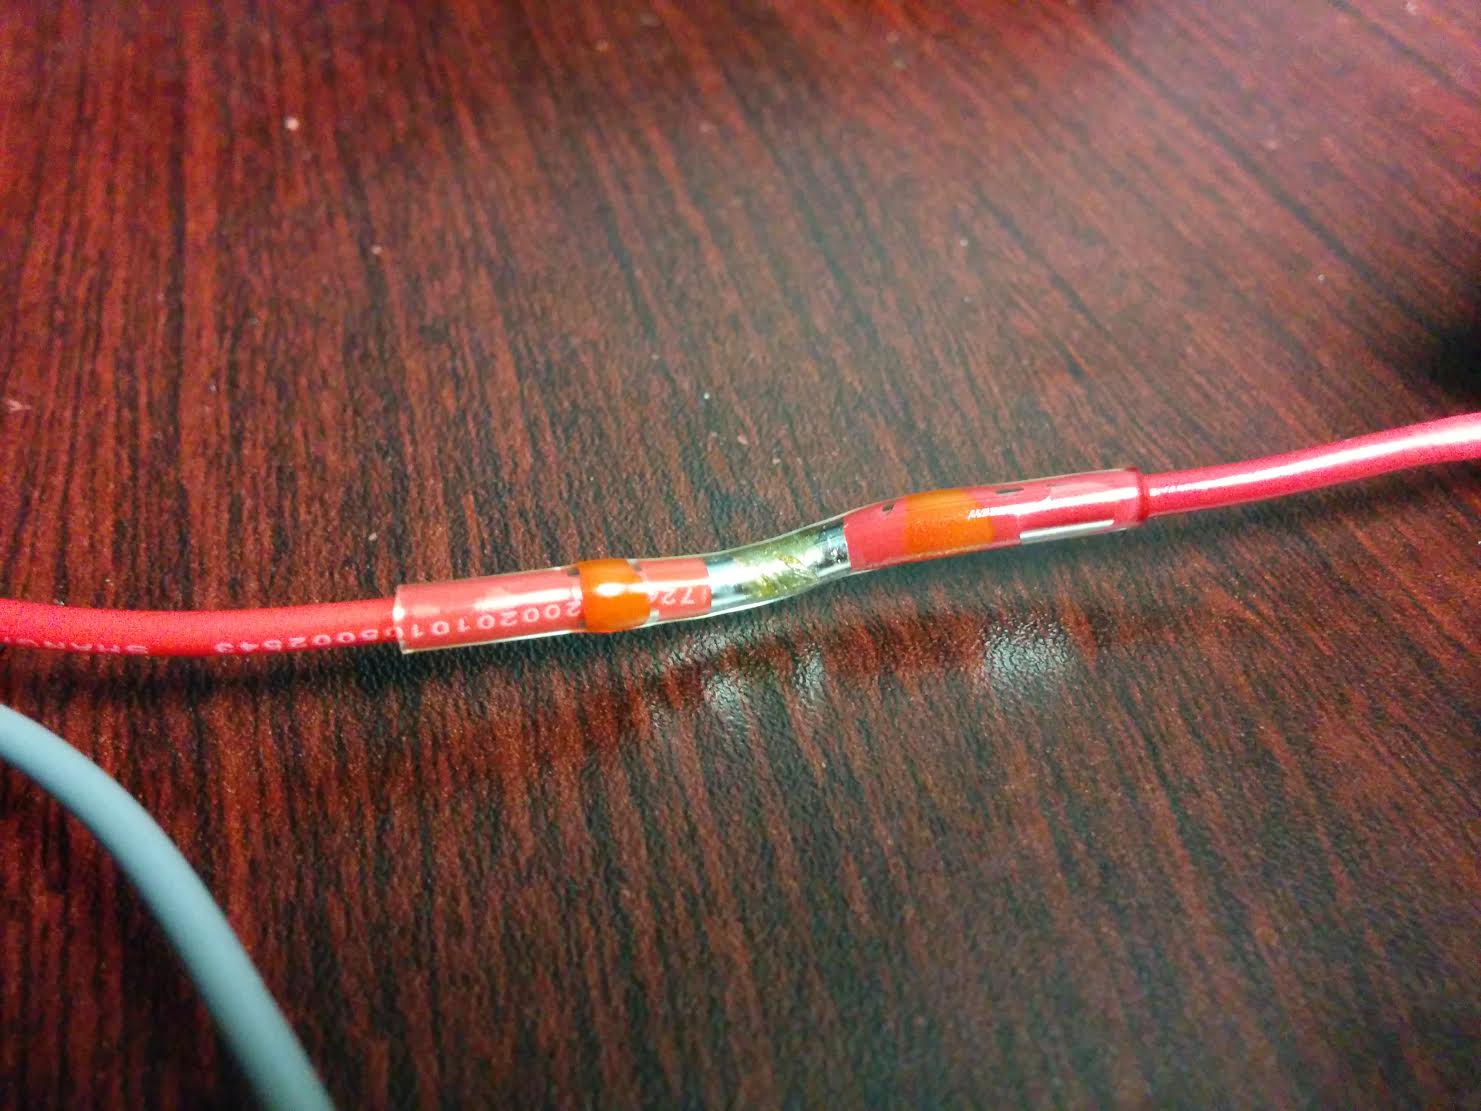
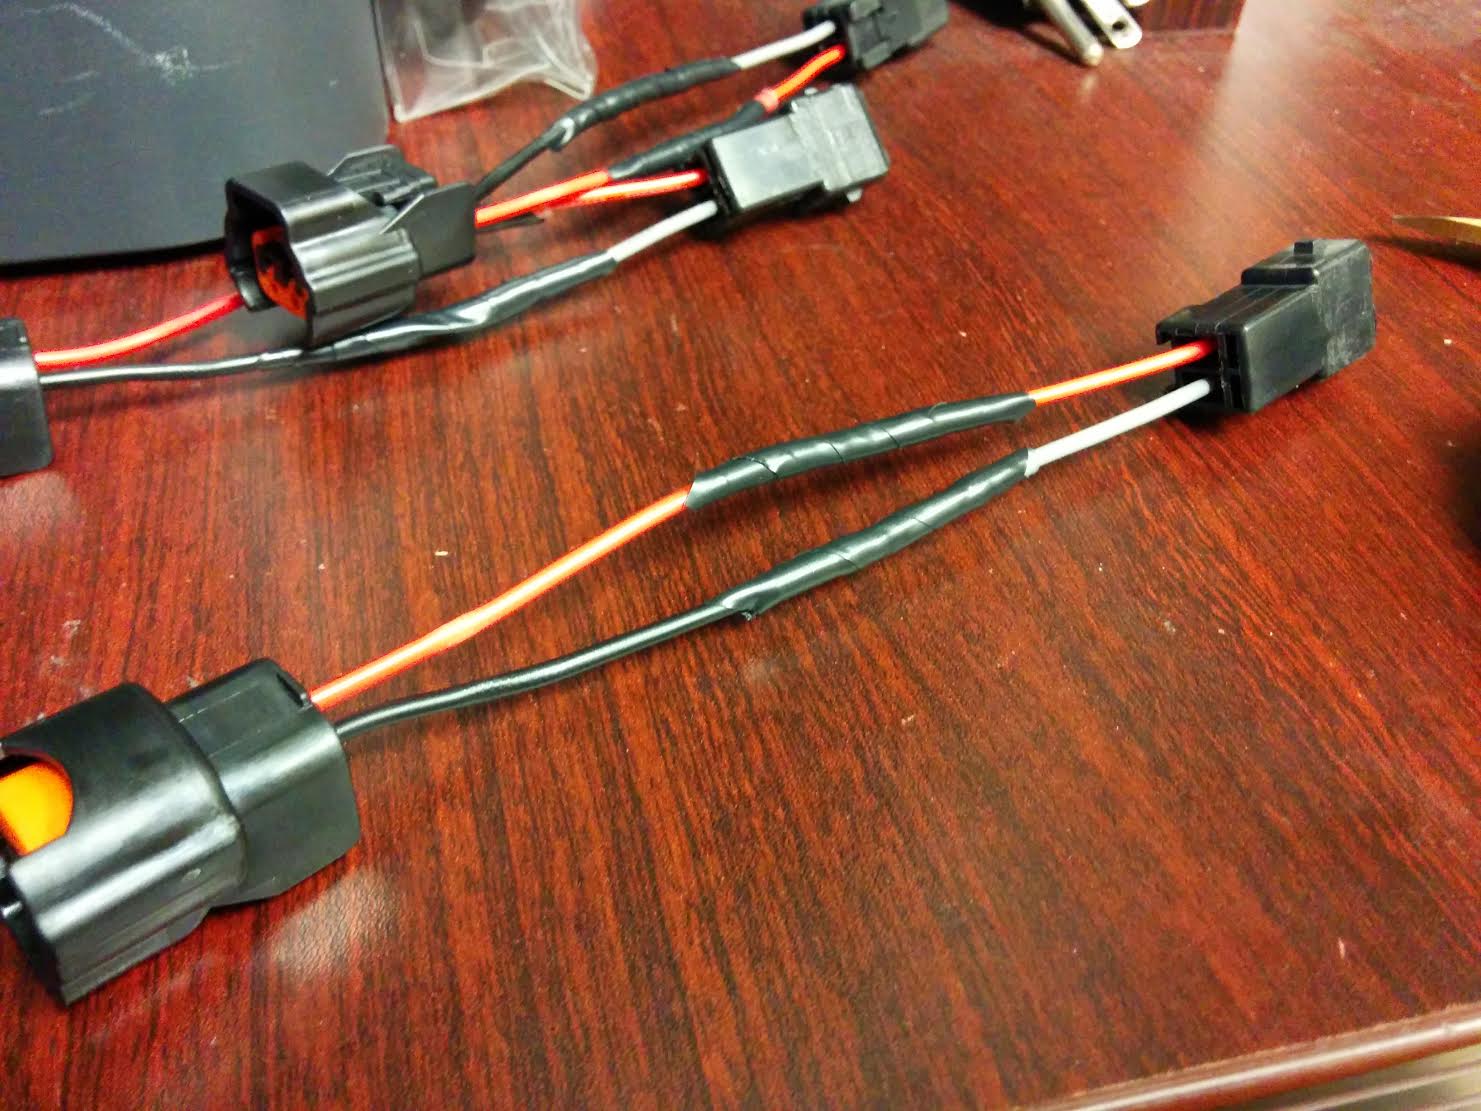
It will remain clear and shiny while it’s hot, and gradually turn opaque once it’s cooled down.
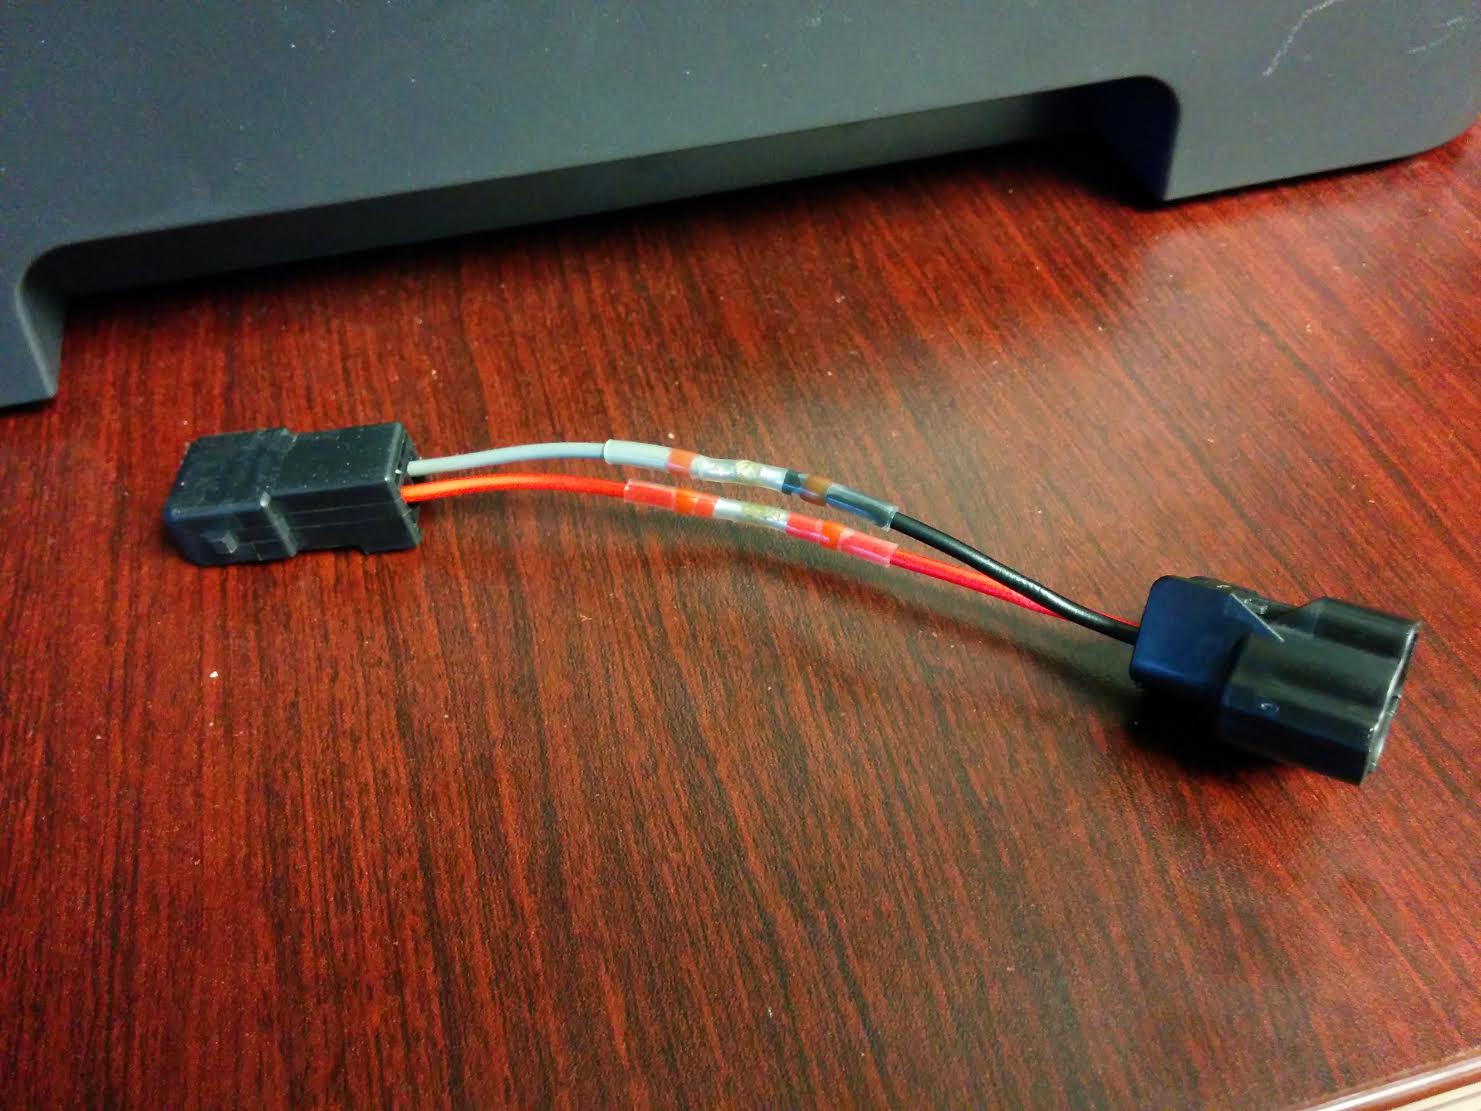
Here is the harness after finishing both connections. Be careful not to aim the heat gun at both. Let the first union cool down, and just do one at a time.
Then repeat 6 times…
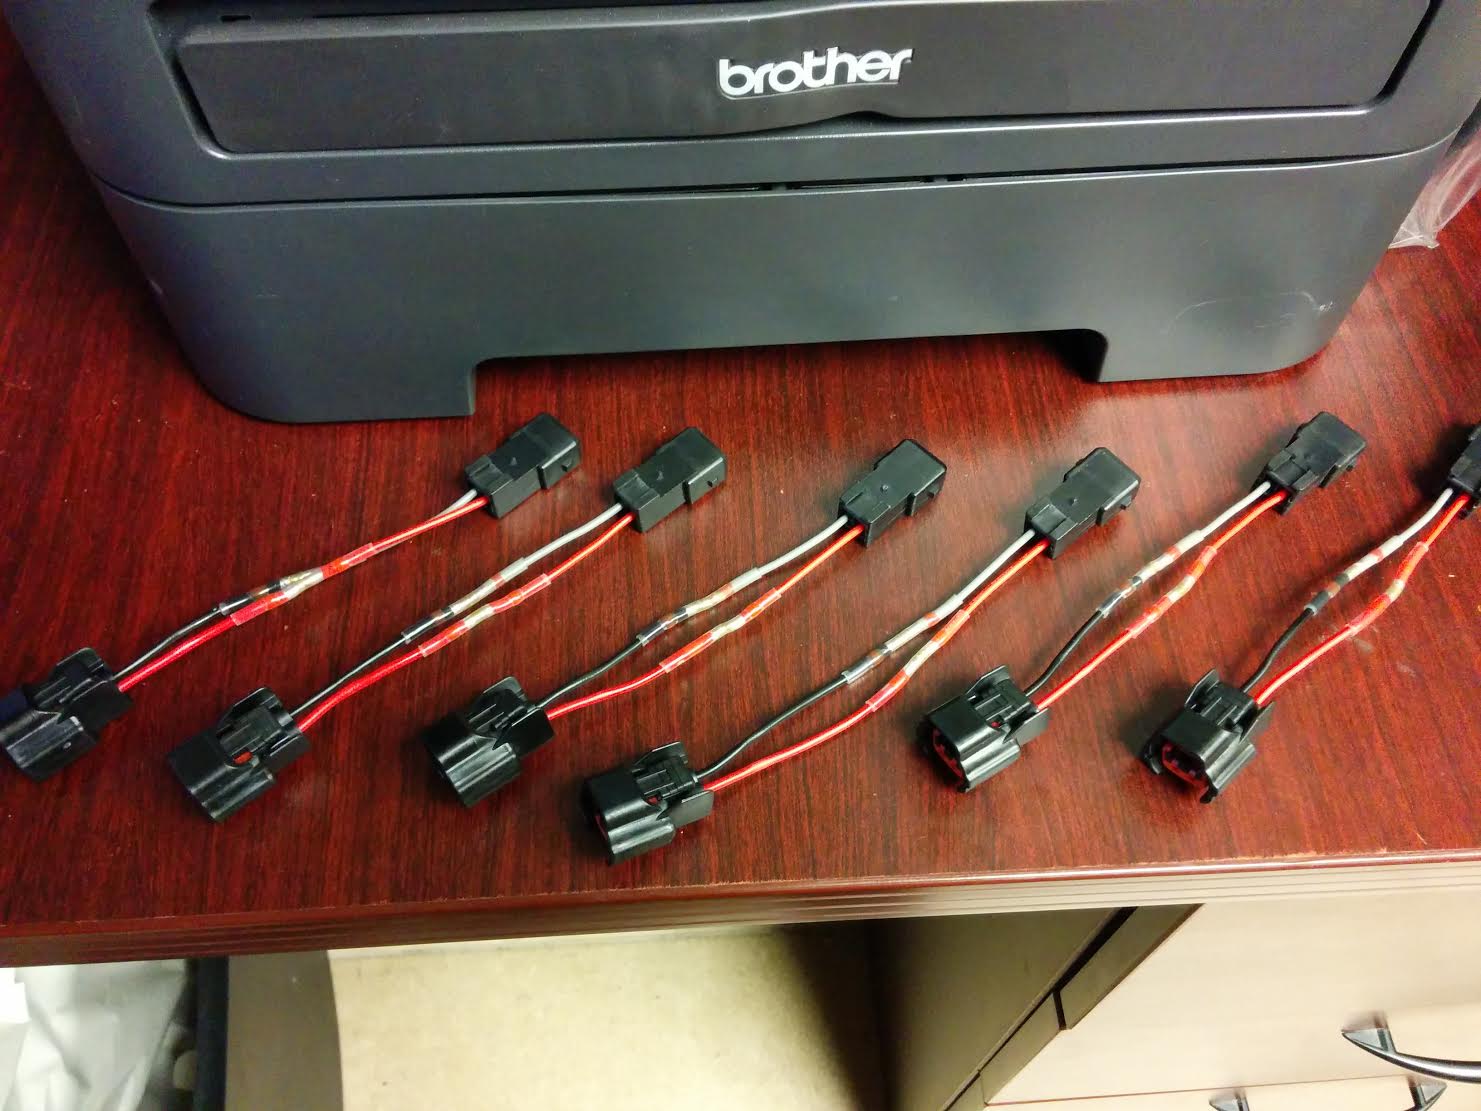
And melt part of your printer in the process…
Now that the solder joint is complete, it’s time to give the harness some nicer fit and finish. Despite using high quality shrink tube, I like to wrap the tubes with a little but of electrical tape. In the event of the connections being pinched together or melting for whatever reason, this is one extra layer of security.
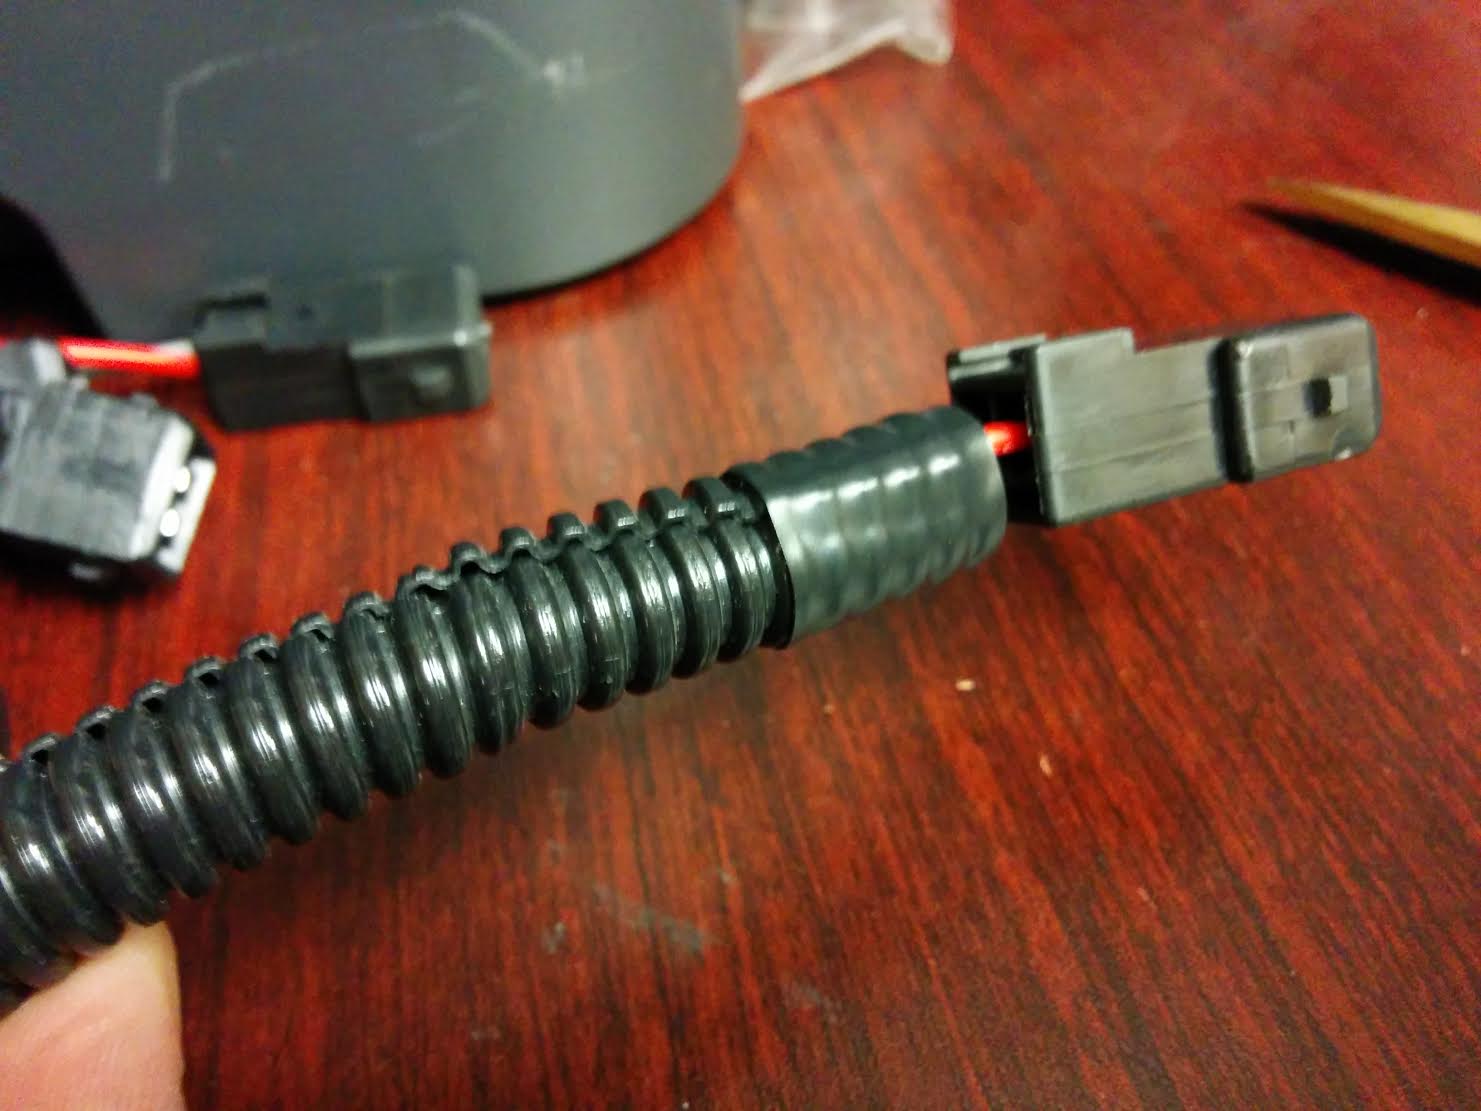
Then cut a length of flexible wire loom, with a few mm of wiggle room on either end, and push the loom onto your harness. I like to make the harnesses as close to OEM as possible. One thing Nissan does with the harness, is conjoin the tape holding the loom with that holding the wire. So on each end, peel back part of the loom, and start a wrap of electrical tape around the wire.

Then, push the loom back onto the wire with the tape coming out through the slot.
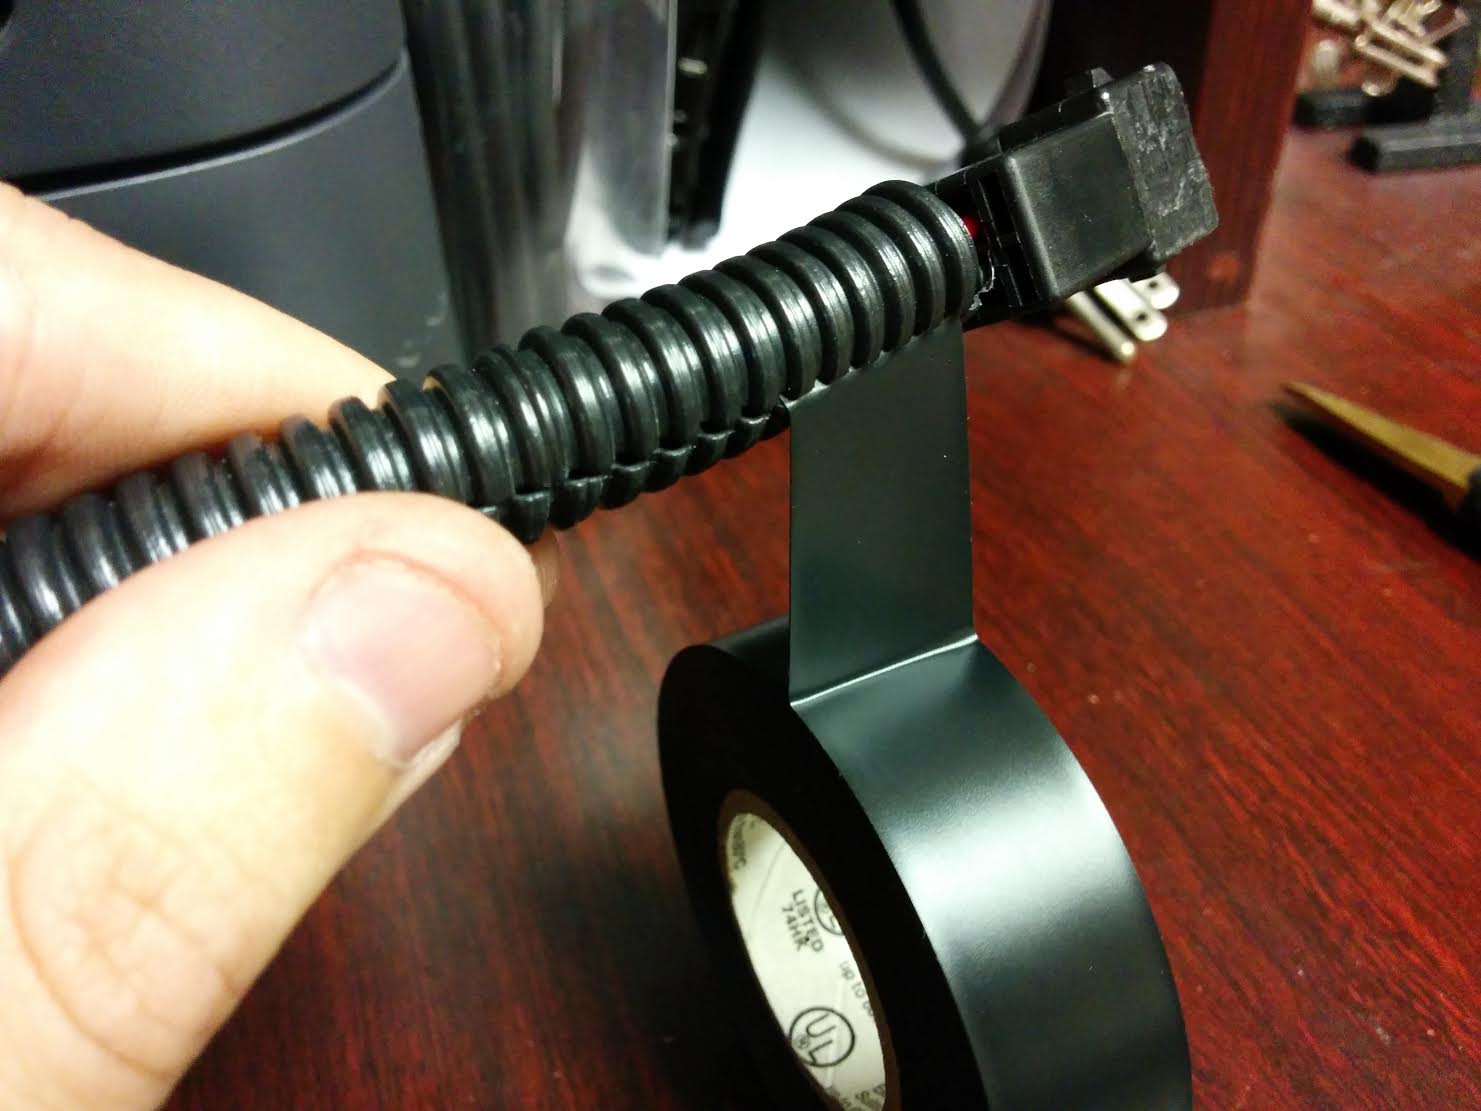
Tightly wrap the tape around the end, and press it together firmly when you’re done to make sure the tape won’t lift. This prevents the loom from sliding up and down, coming off, or letting the wires tug out through the side.
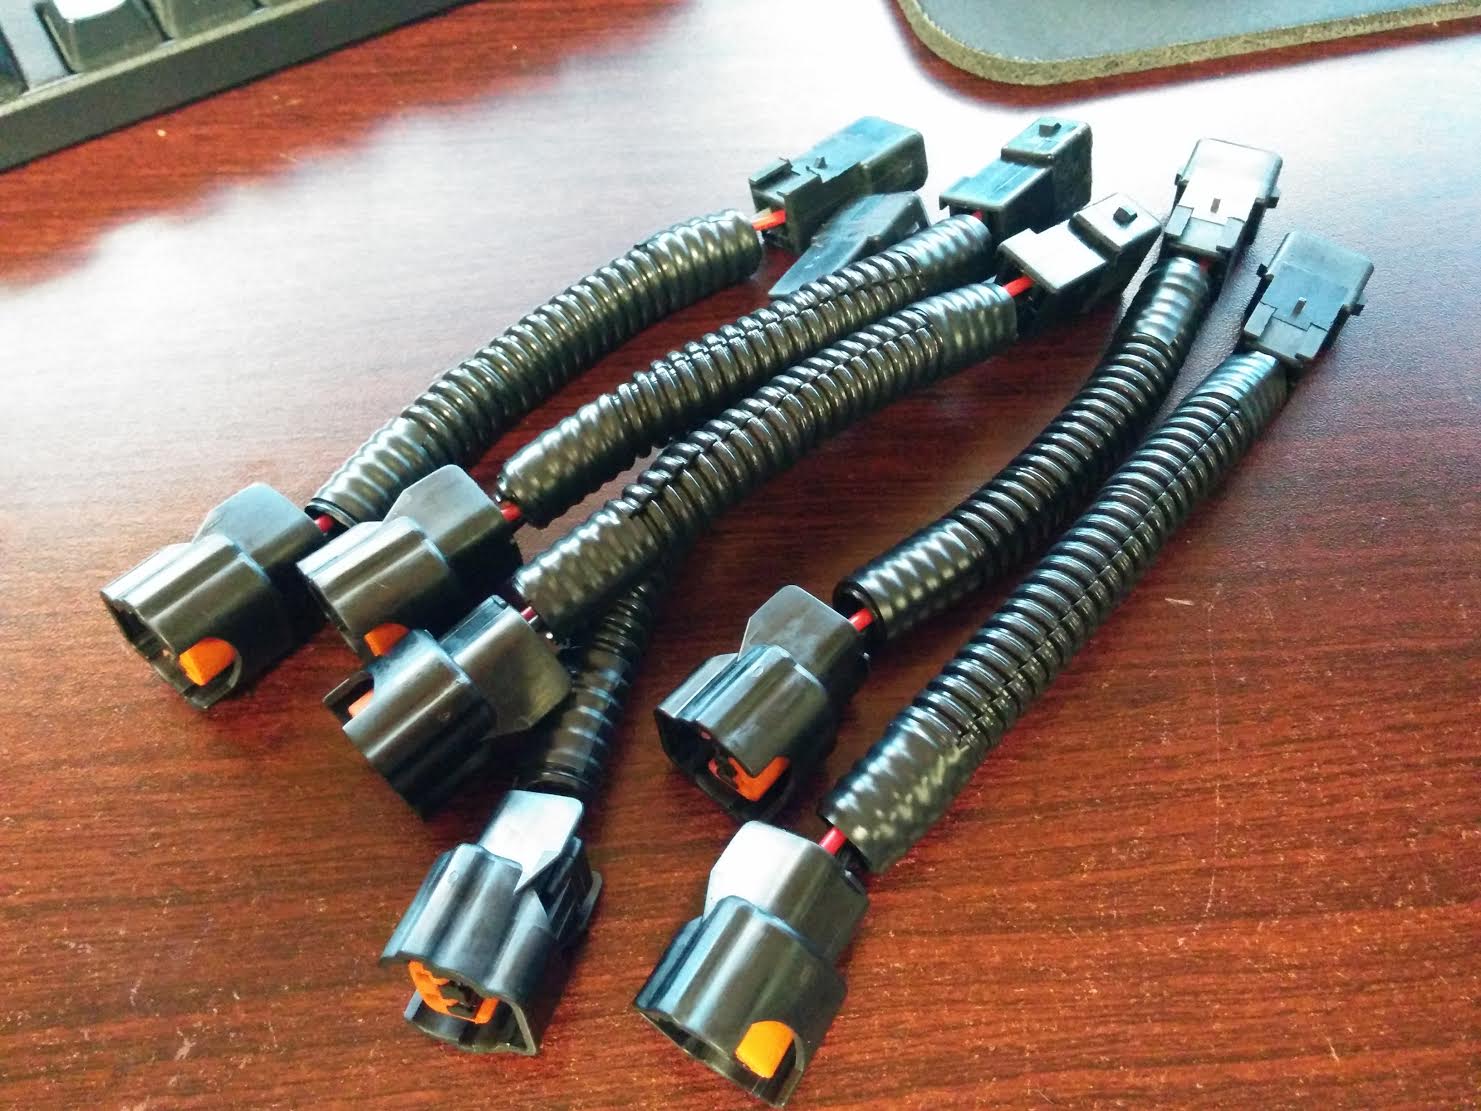
Then just repeat for each harness, and you’re done!
Helpful guide.
Really clean work. Will try these solder sleeves next time I have to solder wires